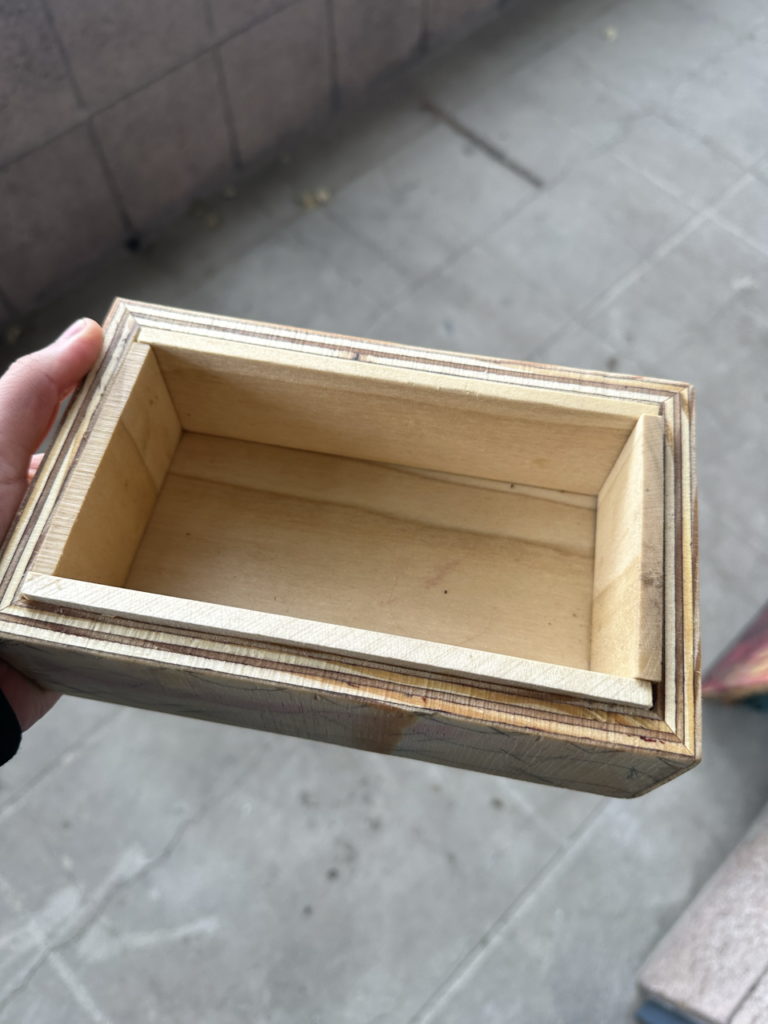
For the final project of this class, I wanted to try and make some more progress on the wooden box i was trying to illustrate the wallpaper groups on. When I left off, I had built the box, but need to cut it open using the bandsaw and then also install panels inside to allow the lid to lock in place. Then, I wanted to use the laser cutter to engrave a pattern on the top!
I used the bandsaw to cut off the top, and I thought it gave a really cool look to the box with the lines from the side of the wood + the grain all going together. I also decided to use mineral oil to give the box a nicer finish.

After that, I wanted to install panels on the inside so the lid would sit snug and stay. I used my scrap wood to cut some panels and used wood glue to attach them. I didn’t do a perfect job with lining everything up, but it still worked great! I added another layer of mineral oil to seal these panels.

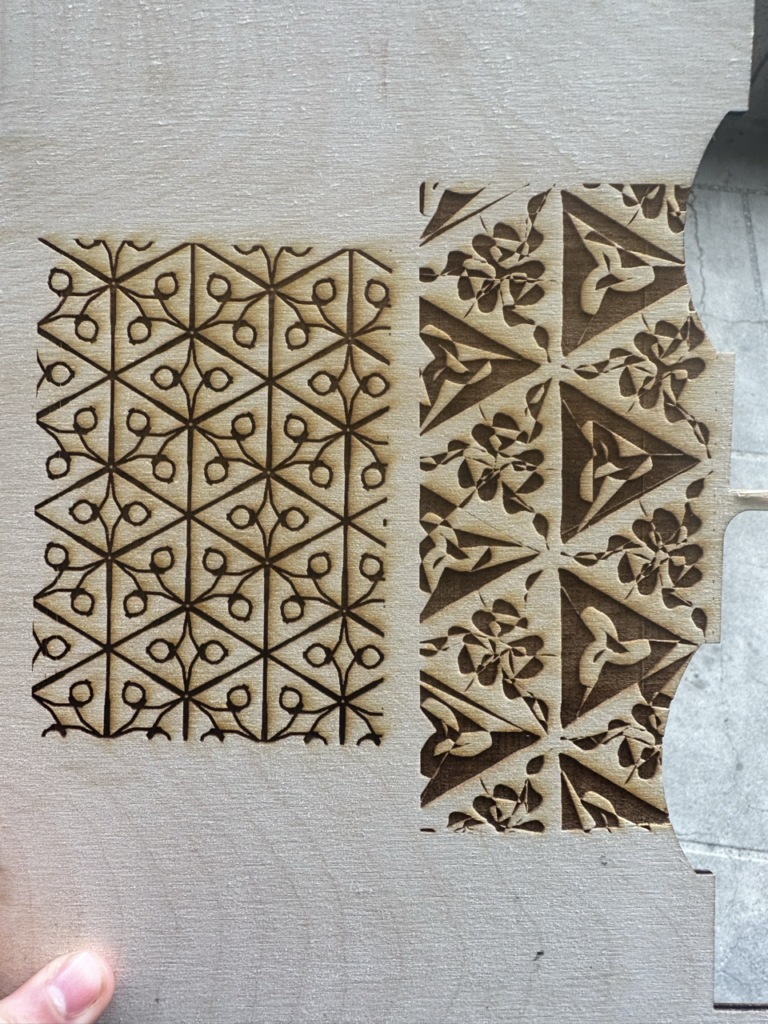
Now my box was done! I was really happy with it and it was time to start the process of adding the wallpaper tilings. I was really nervous to mess up the box, so I did a lot of practices using the laser cutter. I also had to draw the wallpaper patterns I wanted and convert them to SVG files. I used the glowforge, which I had not used before but it was super easy and really cool that it had a camera!

I did a bunch of practice, and this is where I’m pausing on this project for this week! I intend to work on it more during our reading days and finals week because I want to give this box to my dad as a late birthday gift when I next see him. I also want to engrave a nice message on the inside of the top which I think I can use the laser cutter to do! I’m really excited to have handmade a cool gift for someone I love!
This was my first time using the shop and the laser cutter, and I feel much more comfortable with both of those resources now! The laser cutter intimidated me a bit, but stewards were super helpful! 🙂
Leave a Reply