Cutting the coin
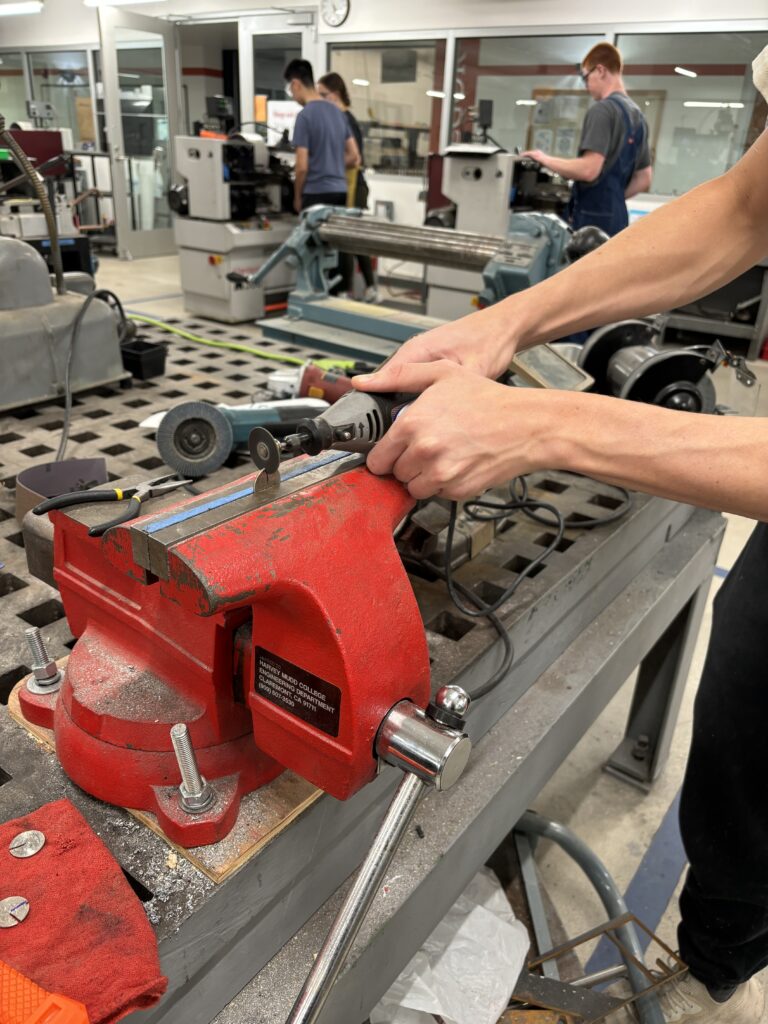
In order to cut the coin I used fixed the coin with a vice in order for it to stay still when cutting it with the dremmel.
My first attempt of cutting the coin didn’t seem very effective, as I cut across the coin not very straight as I didn’t expect as much dust to come from cutting the coin. However, after a few tries on a dummy coin I figured out the technique managed to cut two coins through.
Connecting the two coins
To connect both cut coins, I fit the coin in to the vice and lined it up with the other coins opening. Then I grabbed a hammer, and hammer the coins in together which made this new double coin.
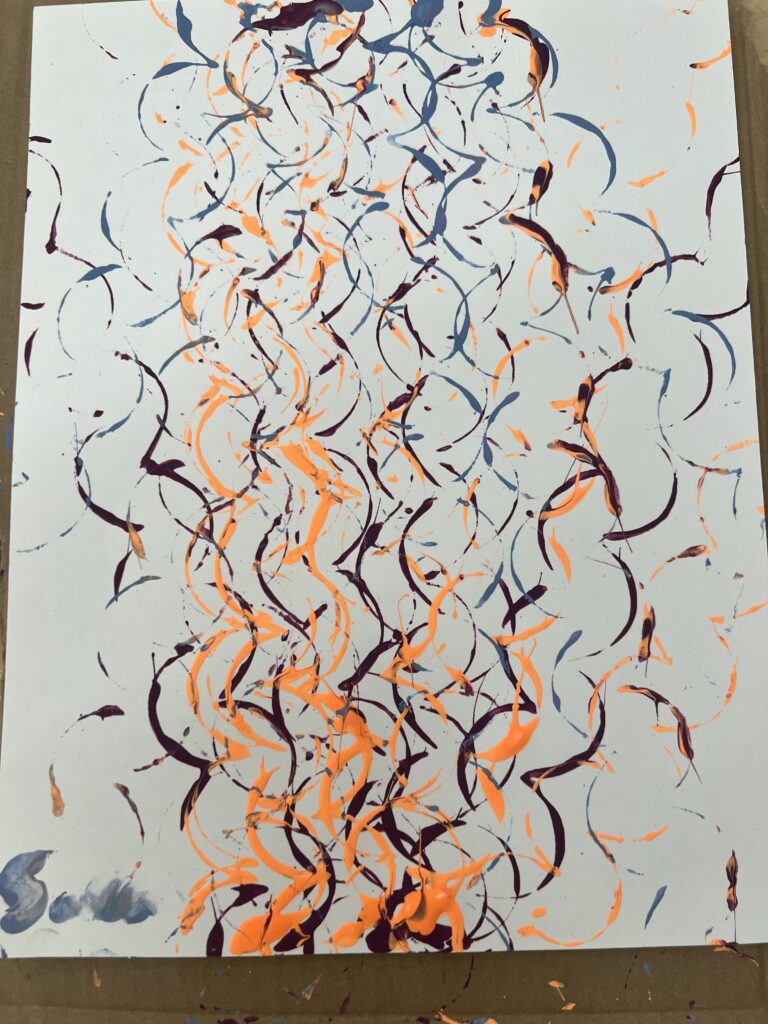
Making the art
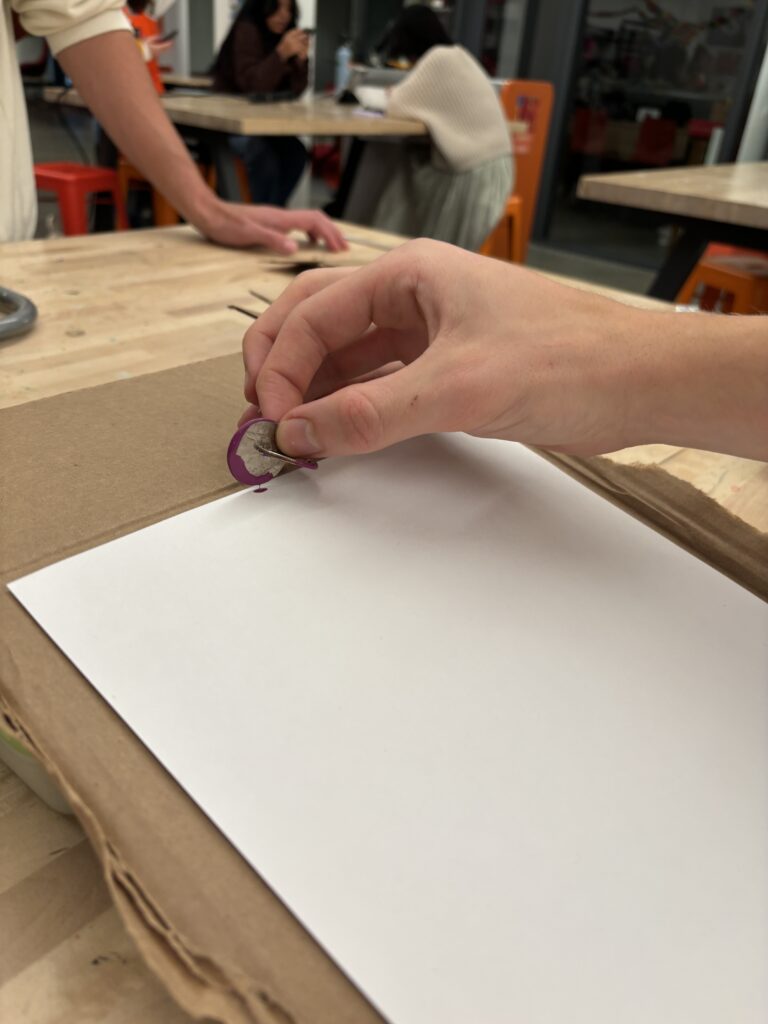
In order to get the shape of the double coin rolling onto the paper, I set up the paper at angle using a plastic box at one end and a carboard ramp. Then I dipped my double coin in paint and set it off from the top of the ramp. I repeated several times and then flipped the page around. I tried getting cool patterns by alternating colors and the direction in which the coin went down the page.
Creating a Sierpinski Triangle
The first step in laser cutting the triangle was to write up the Python code that creates the a png of the triangle. Savva taught me how to do this using turtle in Python. The code gives us a png of the triangle. I chose to add another layer of triangles to make the laser cutting job a bit more detailed. The image from the code looked like this:
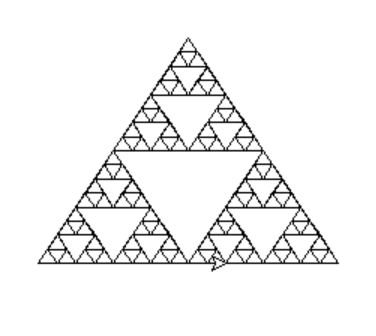
During the process I learned about how these triangles are actually produced and what they are. According to Wikipedia they are “an equilateral triangle, subdivided recursively into smaller equilateral triangles”. So, you can see how the initial triangle is subdivided and the middle one stays untouched. This process then is repeated recursively as many times as you want. I also learned about how these triangles have actually been used in floor tilings. Specifically, floor tilings in churches in Rome, which I found fascinating.
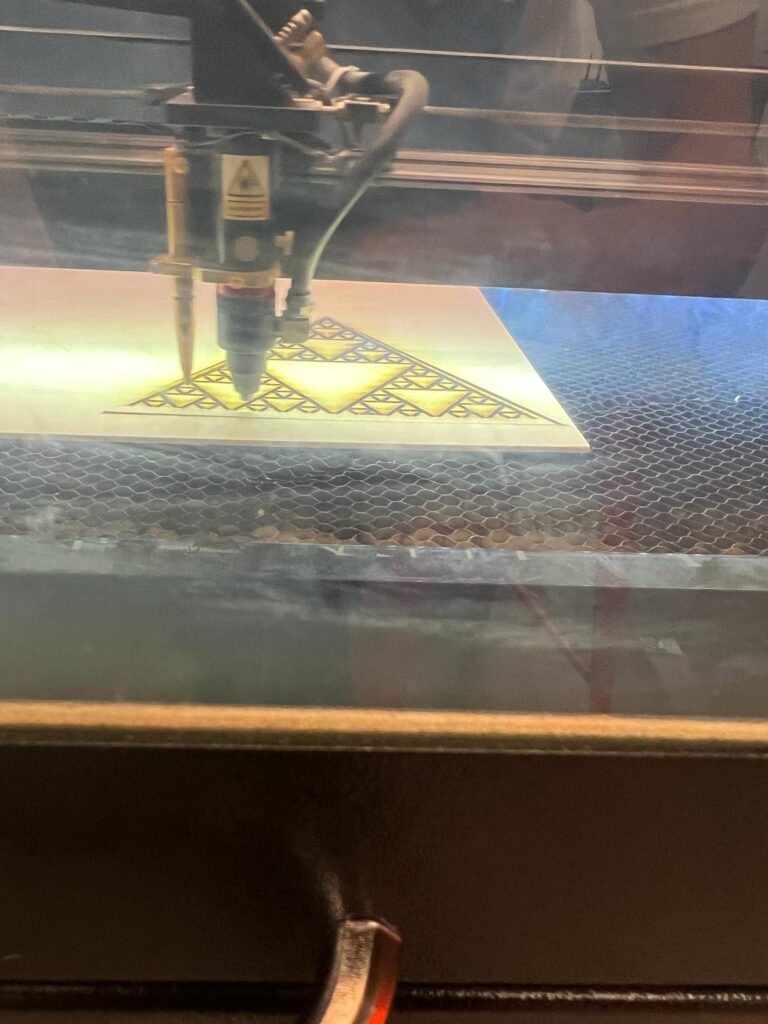
After writing up the code I had to learn how to use the laser cutter. Savva taught me, but he had also only done it once before so we kind of had to relearn the process together. We started by taking the png of the triangle and converting it to a pdf because the laser cutter can take a pdf. We were then able to import the pdf into the software on the computer for the laser cutter. We were not completely sure how to focus the laser cutter so we called in a steward to help us and she taught us how to focus it to start our cut. I also wanted to cut the triangle out rather than just engraving the piece of wood that we chose. So, she taught us how we could do this as well. We created another triangle around the triangle that would cut all the way through, and then the actual Sierpinski triangle is jut an engraving that doesn’t get cut through. Once, we focused the laser cutter we were able to start the job. We waited for it to finish and then in order to make it look nicer we sanded the top for a while, giving it a smoother finish. One thing that went a little wrong was that the outer triangle wasn’t an equal distance from the Sierpinski triangle so it looks a bit off center. This is an image of the laser cutter cutting the triangle:
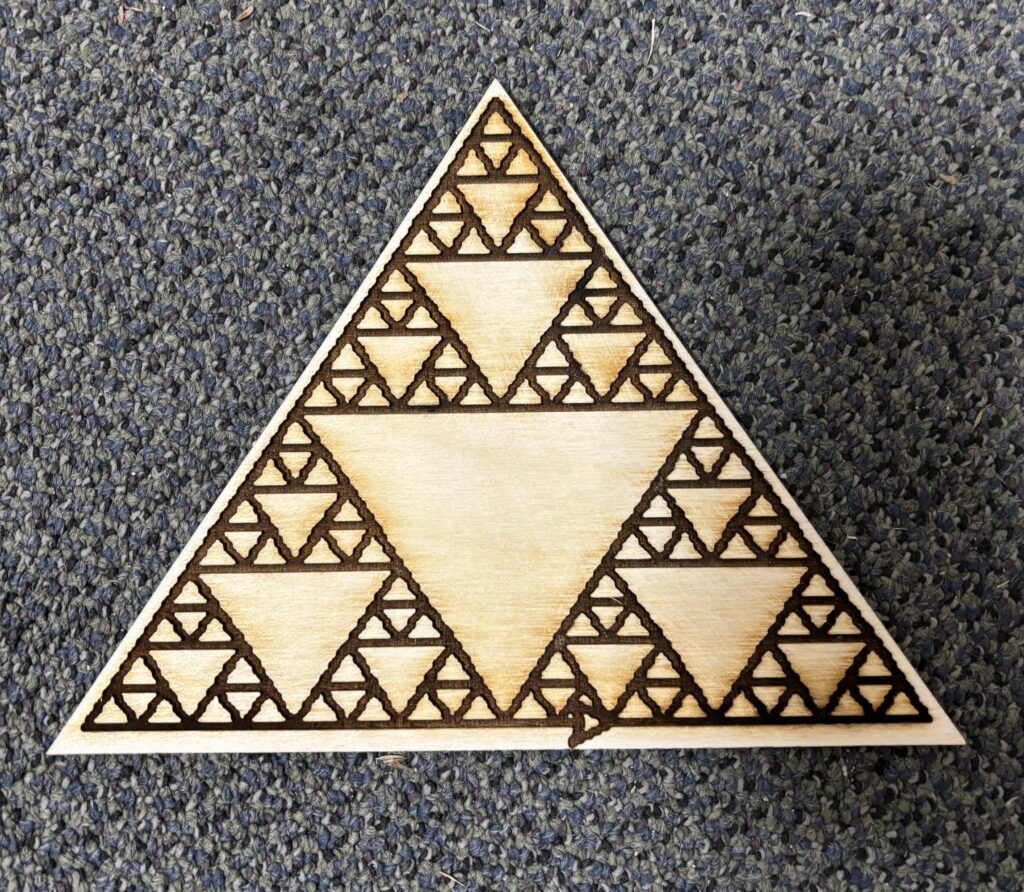
And, here is an image of the final product after being sanded:
Finally, reflecting on the process of teaching Savva how to create the Sphericoins, I thought it overall went quite smoothly. A lot of the issues that had arisen for Vicente and me weremostly avoidable this time around since we already found the ideal methods to cut the coin. Savva had never used a Dremel before so I taught him how to do that and it was a little tricky at first but then he was able to perfectly create the Sphericoin. It was also nice because once we made the actual object, the art part did not take any technical skills and he could do it however he wanted. In terms of him teaching me I thought it was fun because I did not have to go into the project blind. He knew what to do and could explain things that I might have been confused by. It was also nice to not have to think of a project idea but just have something creative to do regardless.
Leave a Reply