I like dice a lot. As someone who has played tabletop role-playing games for over 5 years at this point, collecting various shiny math rocks is one of my greatest joys. Recently, I’ve toyed with the idea of making my own dice. So creating dice a little different from the norm seemed like it could be a fun idea for a project.
But first, we should address what the “norm” is. There’s a set of solids known as the platonic solids, whose faces are identical regular polygons, and vertices are identical, with each angle surrounding them being equal. (This informative Twitter thread talks about the platonic solids and their properties, as well as what happens when you modify said properties.)
At present, there are only five platonic solids: the four-sided tetrahedron, six-sided cube, eight-sided octahedron, twelve-sided dodecahedron, and twenty-sided icosahedron.
The platonic solids make for very good fair dice. In order for a die to be considered “fair”, each side or label has to have an equal probability of being rolled. Due to the properties of platonic solids, each face naturally has an equal chance of being rolled. As such, it’s simple enough to number each face to result in a fair die.
The platonic solids aren’t the only way to make fair dice, though. A prime example of this is the D10, which appears in most standard Dungeons and Dragons dice sets. These dice have ten sides, each of which has an equal chance of being rolled.

D10s belong to a class of dice referred to as “spindles”. These dice have the same number of faces on top and bottom, thus being a class of die that only allows for an even number of sides. (Technically, octahedrons could also be classified as spindles.)
Another common way to create fair dice is to make a prism whose base is a regular polygon, and to then taper the ends. This way, each of the faces of the prism would have an equal chance of being rolled. I don’t know if these dice have a formal name, but will henceforth refer to them as prism dice, or “prisms”.
There are other ways to make fair dice, but the two mentioned above seemed to be the simplest. So, I decided to model and make a prism-style D5 (five-sided die) and a spindle-style D16 (sixteen-sided die). At a broad level, this process would be:
- Modeling the dice using some 3d modeling program
- 3d printing the dice
- Casting silicone molds of the 3d prints
- Resin casting dice from the silicone molds
The modeling program I ended up using was Autodesk Fusion 360, recommended to me for its degree of precision. It was a bit finicky with certain processes, but I’m pretty satisfied with the end results:
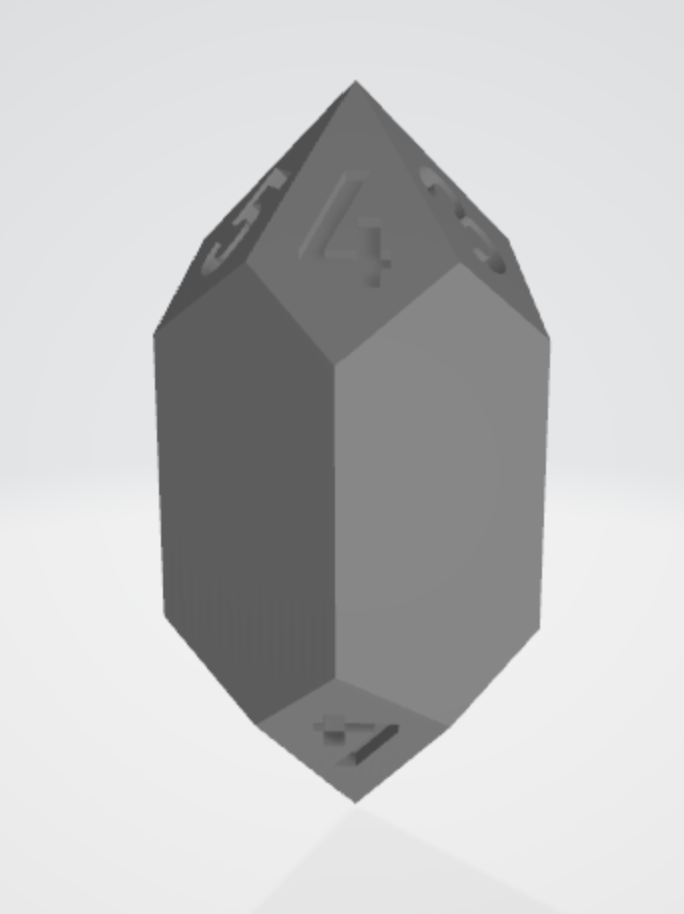

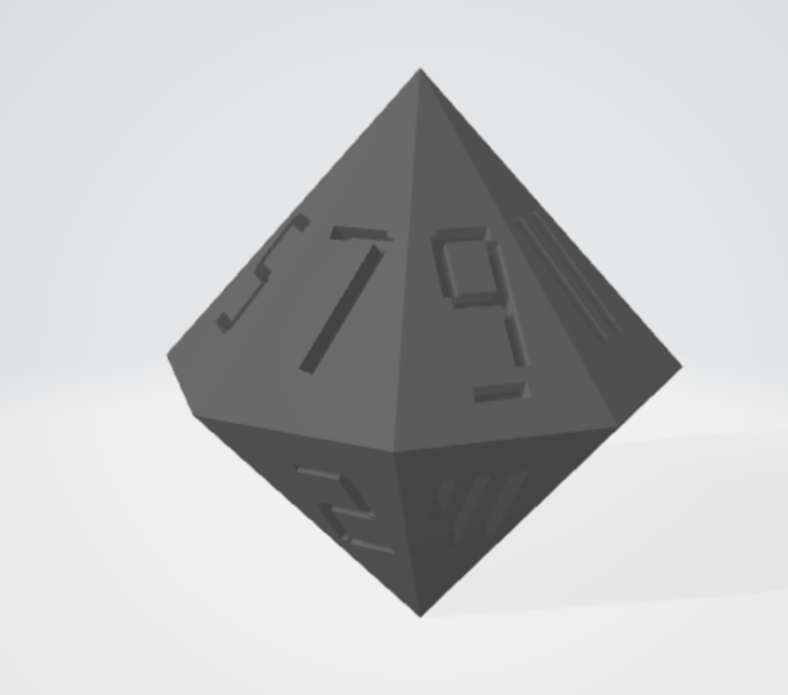
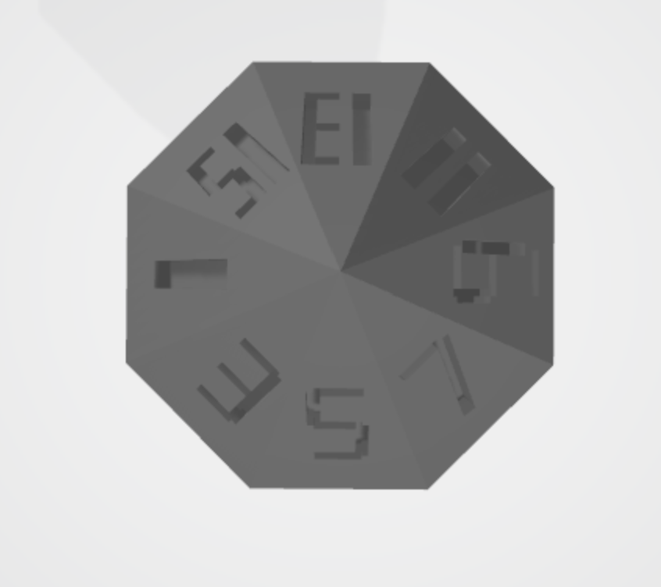
Still, I ran into some issues while modeling. I didn’t know that only spindles with an odd number of top/bottom faces needed to be skewed. As you can see in the images above, the D16’s faces align with each other along the middle, rather than being offset like a D10’s might.
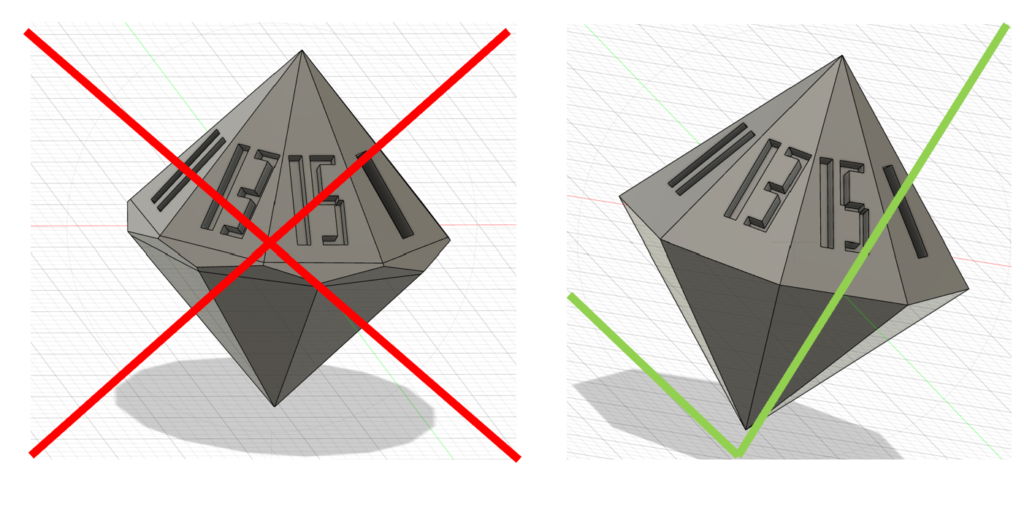
I didn’t realize this until after I had spent ~40 minutes offsetting the top and bottom, at which point I simply had to undo those changes. I also initially modeled the D5 with the numbers on the faces, like so:
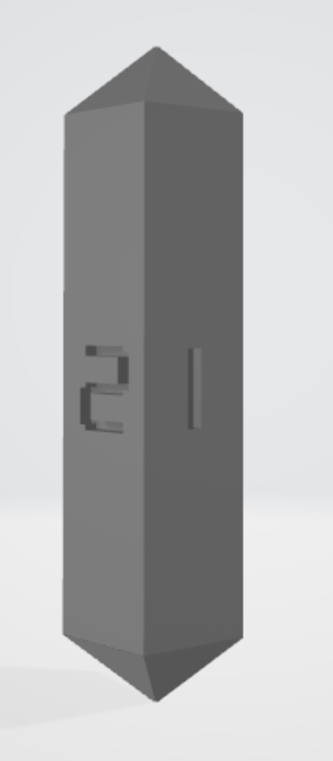
However, since there’s an odd number of faces, and a stable die will land with a face down, it happens to be that an edge will be face-up. So, I skewed the top and bottom such that numbers would align with the edges, as can be seen in the images further above.
Once I had the 3d models ready, the next step was to send those to a 3d printer. I used UltiMaker Cura to slice the files, and printed the dice. The D16 came out with few enough issues to call it good. The D5, on the other hand, required several attempts- numbers weren’t smooth or visible on a few dice, and attempting to support the die in a different orientation resulted in PLA spaghetti. They came out alright in the end, and were ready to be used as the base for a silicone mold.
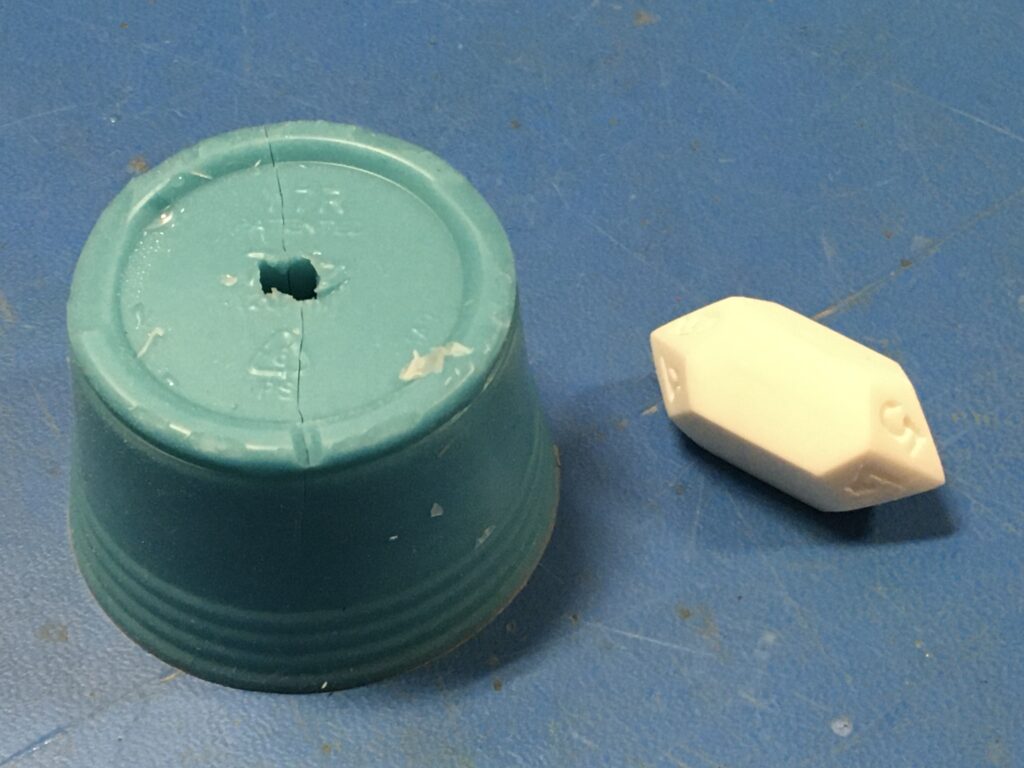
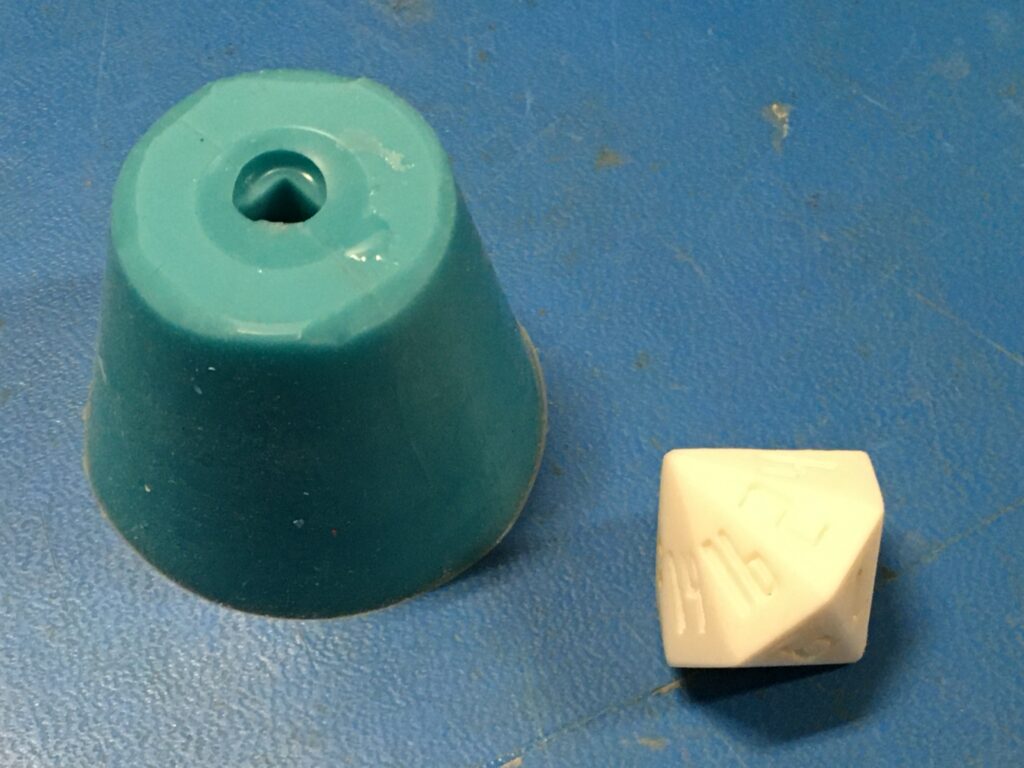
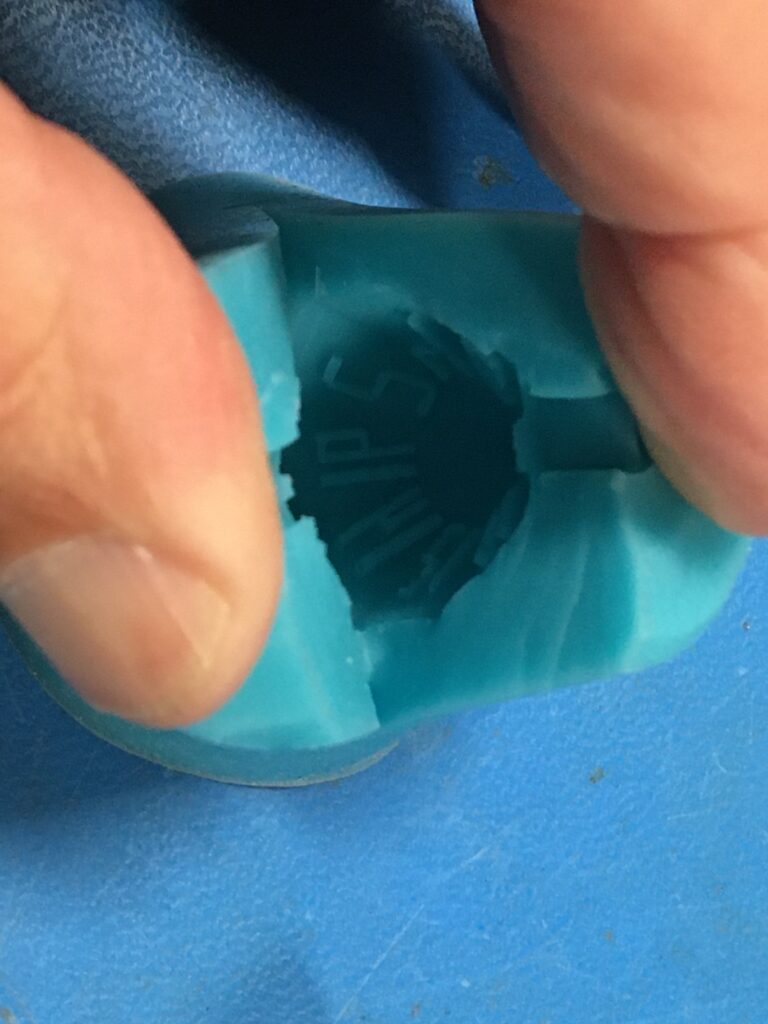
The last step in the process was to fill these molds with resin. I wanted to be a little fancy, so I also colored the resins slightly. The filled molds were degassed slightly in a vacuum chamber, and then sent to a pressure pot for the remainder of the cure time.
After the 72 hours of curing passed, the dice were demolded:
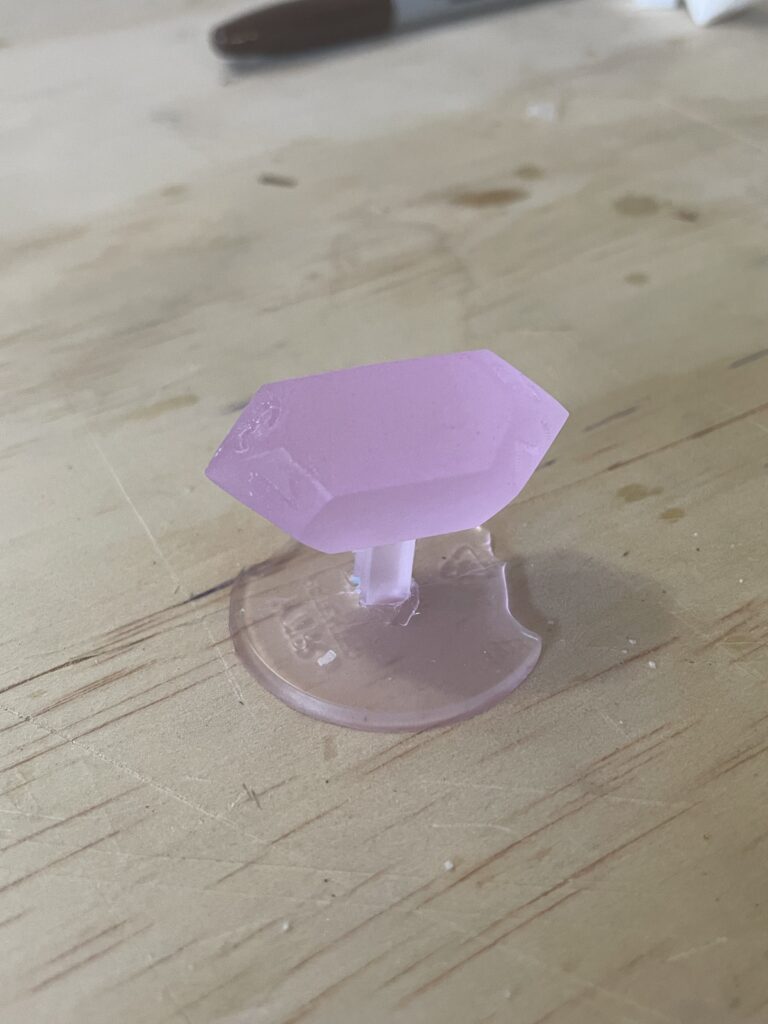
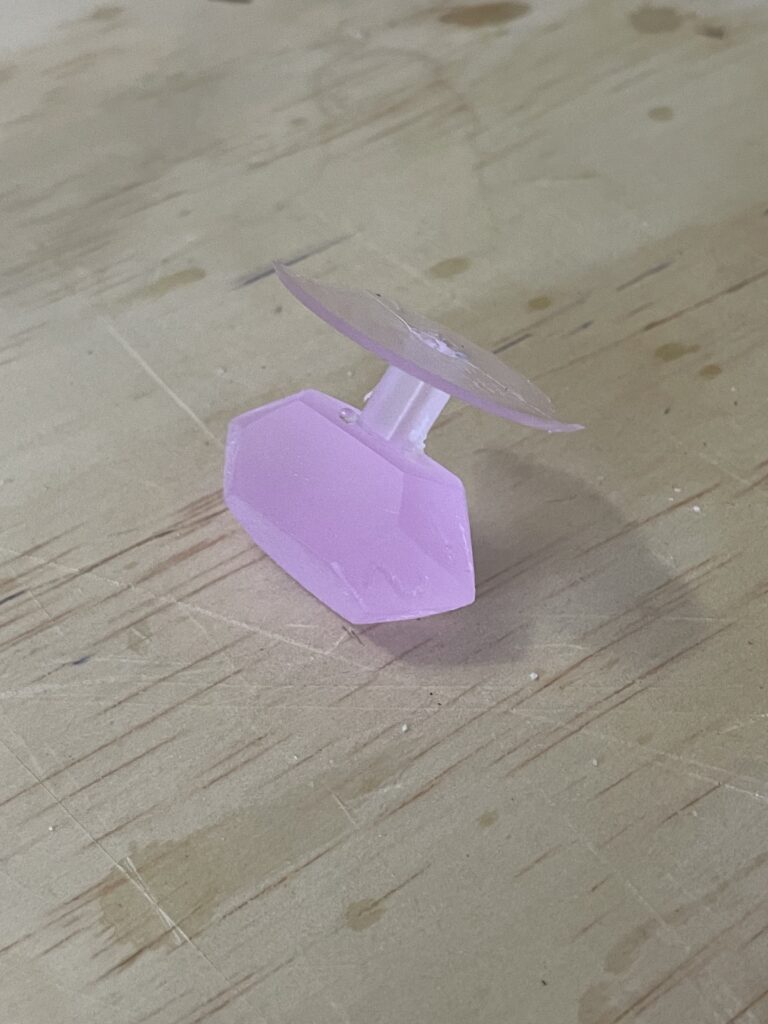
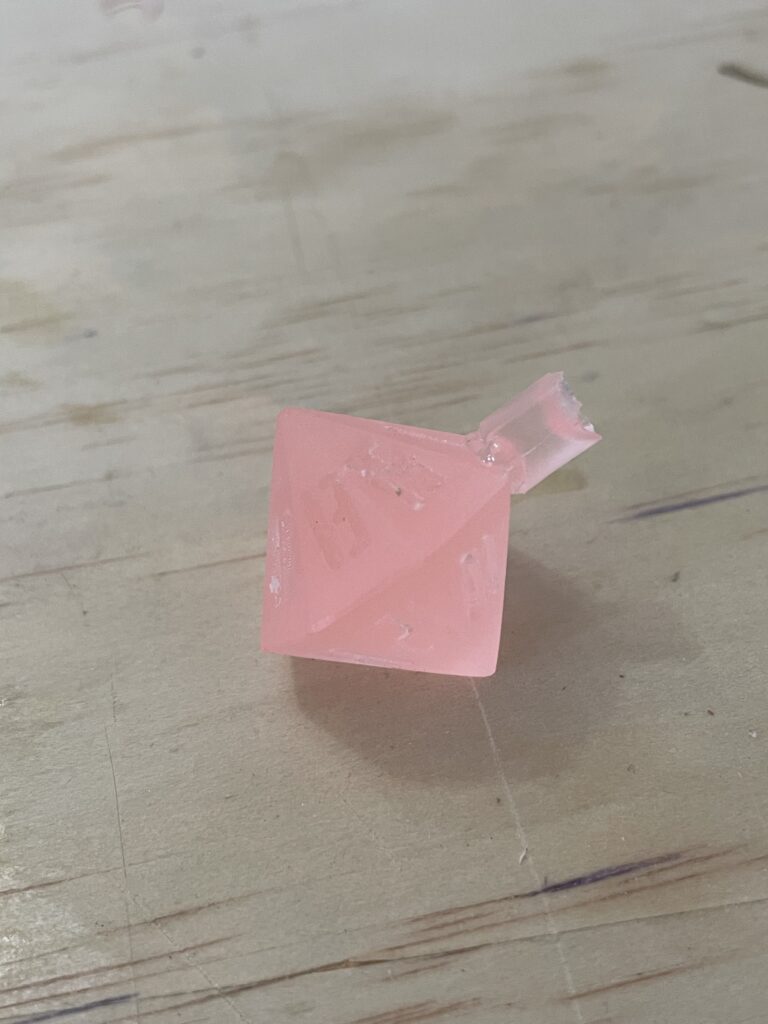
And further had the sprues cut off, and the numbers painted (at least, on the D5):
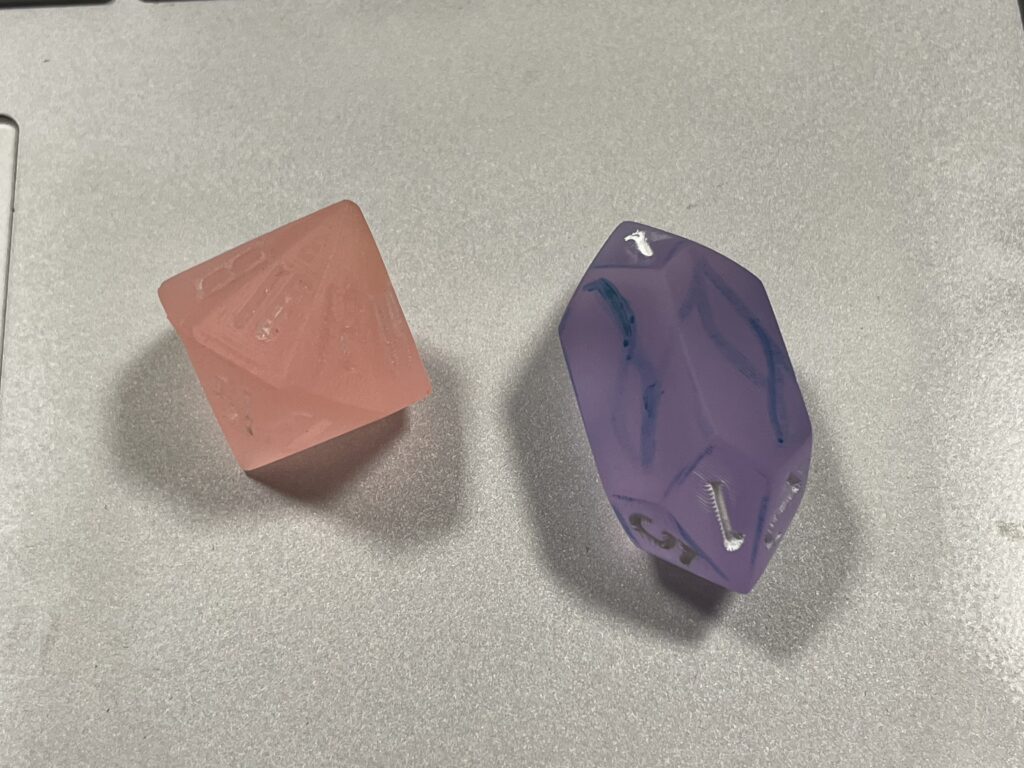
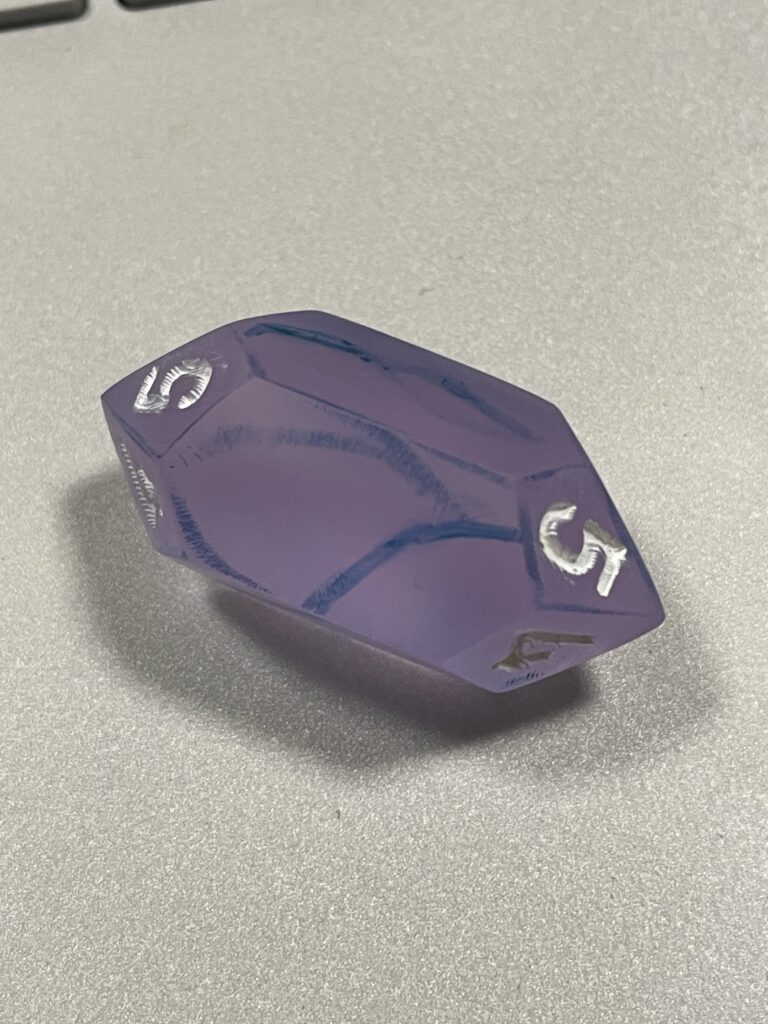
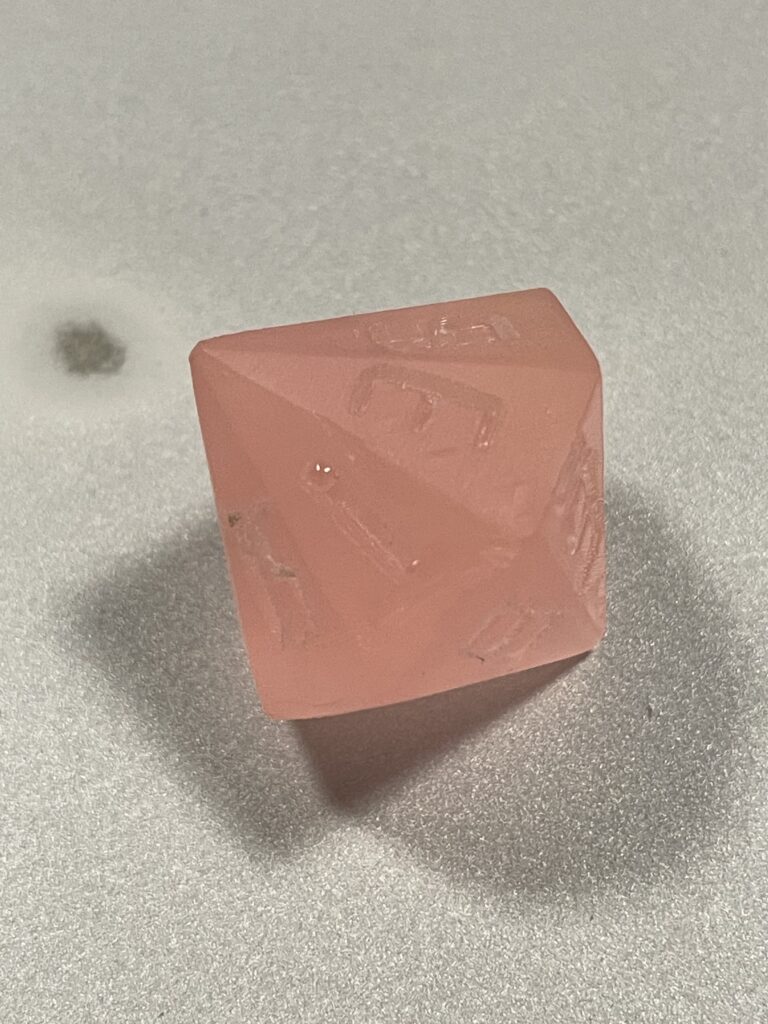
I attempted to decorate the sides of the D5 to disguise a cut, but am not thrilled about the result. At least, it’s easy enough to sand away the marks on the sides and try again. Painting in the numbers was also surprisingly difficult- the silicone mold accurately captured the features of the 3d-printed dice, including roughness around some of the numbers’ edges. As such, painting for the D16 has been put on hold until I can find a better method to do so.
All in all, I had fun! This was only my second time attempting to make dice, but I was able to go into it with a little more experience and preparation. The last few dice I made had many air bubble defects, but thanks to the pressure pot this time around, these dice are bubble-free all the way through. On the other hand, these dice lack the smoothness of faces that the previous dice did. I wonder if it has to do with the models used to cast the silicone mold- the previous dice used smooth commercial dice as the base, whereas these used the rougher 3d-printed models. Alternatively, it could have something to do with the materials used to color the resin- I used a different type of powder this time around, and saturated the resin a lot less.
All this means is that there’s still room for experimentation. I recently read that the Catalan solids (mentioned in the Twitter thread near the head of this post) also make for fair dice. So, I may continue with this project in the future… 🙂
Leave a Reply