In this past semester in Making Mathematics, I learned about numerous interesting mathematical topics I normally would not have had the chance to. Along the way, I also learned about a ton of tools that I was previously intimidated by like the band saw. I worked on five different projects all outlined below:
Project 0A – Minimal Surfaces:
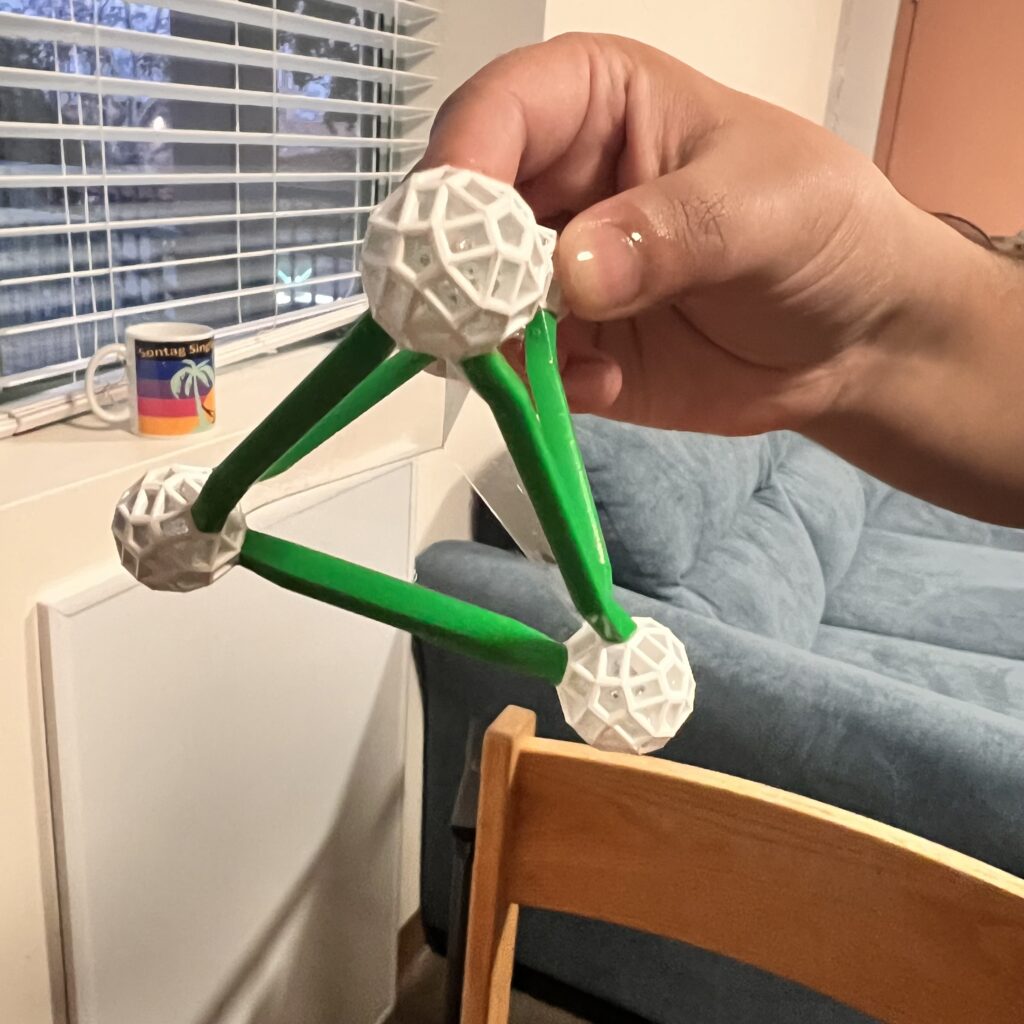
For the first project, I worked with two other students to create minimal surface bubbles. Minimal surfaces are surfaces that minimize the amount of surface area they take up by being smooth surfaces (without any hard edges or ridges). These can be mathematically modeled using parametric equations but the simplest and most common way of visualizing minimal surface areas is by dipping 3D geometric shapes into bubble solution. The bubbles formed inside of each 3D shape are minimal surfaces as they fill the geometric shape but smooth out the shape to take up a minimal amount of surface area.
We at first wanted to make these surfaces using copper rods that we would saw and then glue together in the machine shop. However, this proved to be quite difficult because when we tried to use the table saw to cut the rods, the saw had a difficult time making very even and clean cuts on the copper.
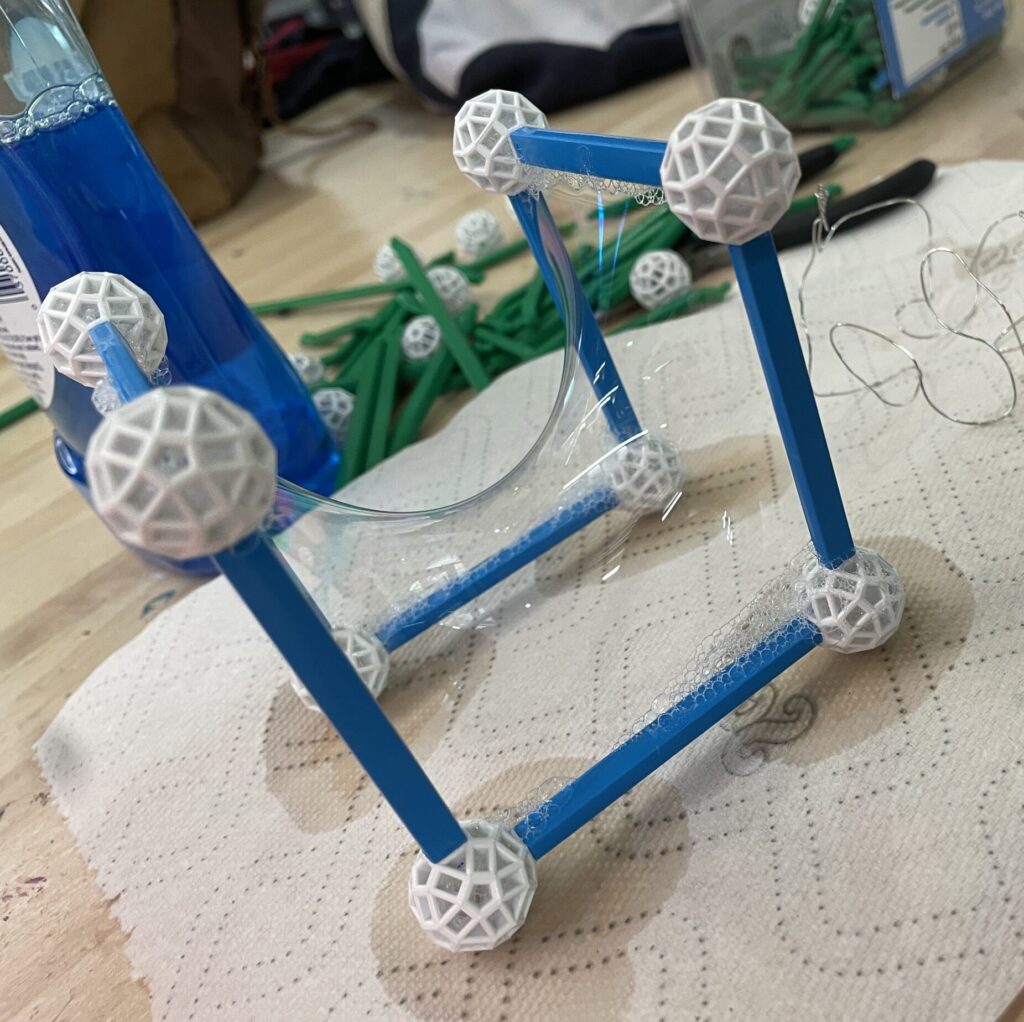
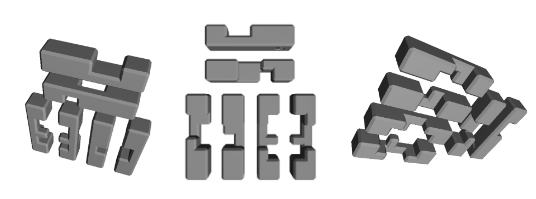
Then, Prof Kagey helped us out by loaning his plastic rods that were built for this exact type of thing. The three of us made a bunch of shapes together and we ended up with the following set of shapes.
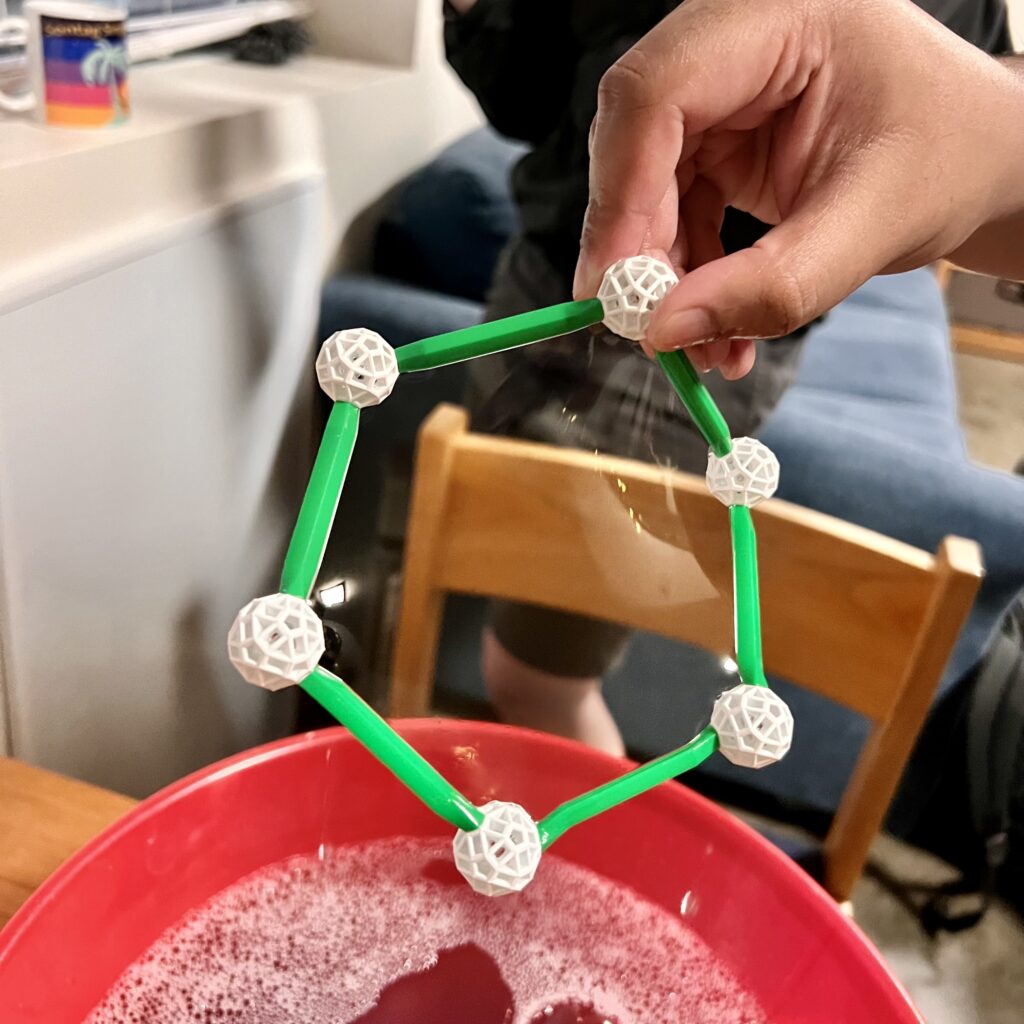

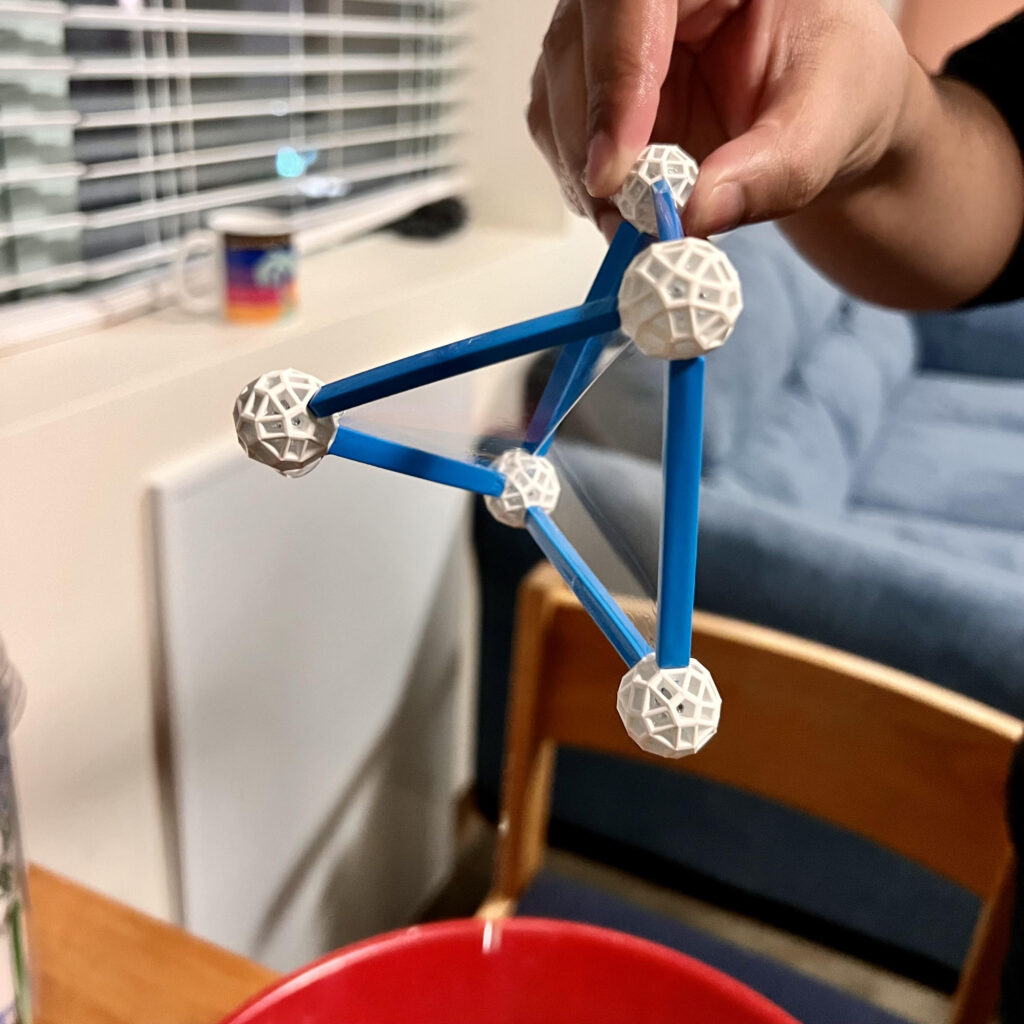

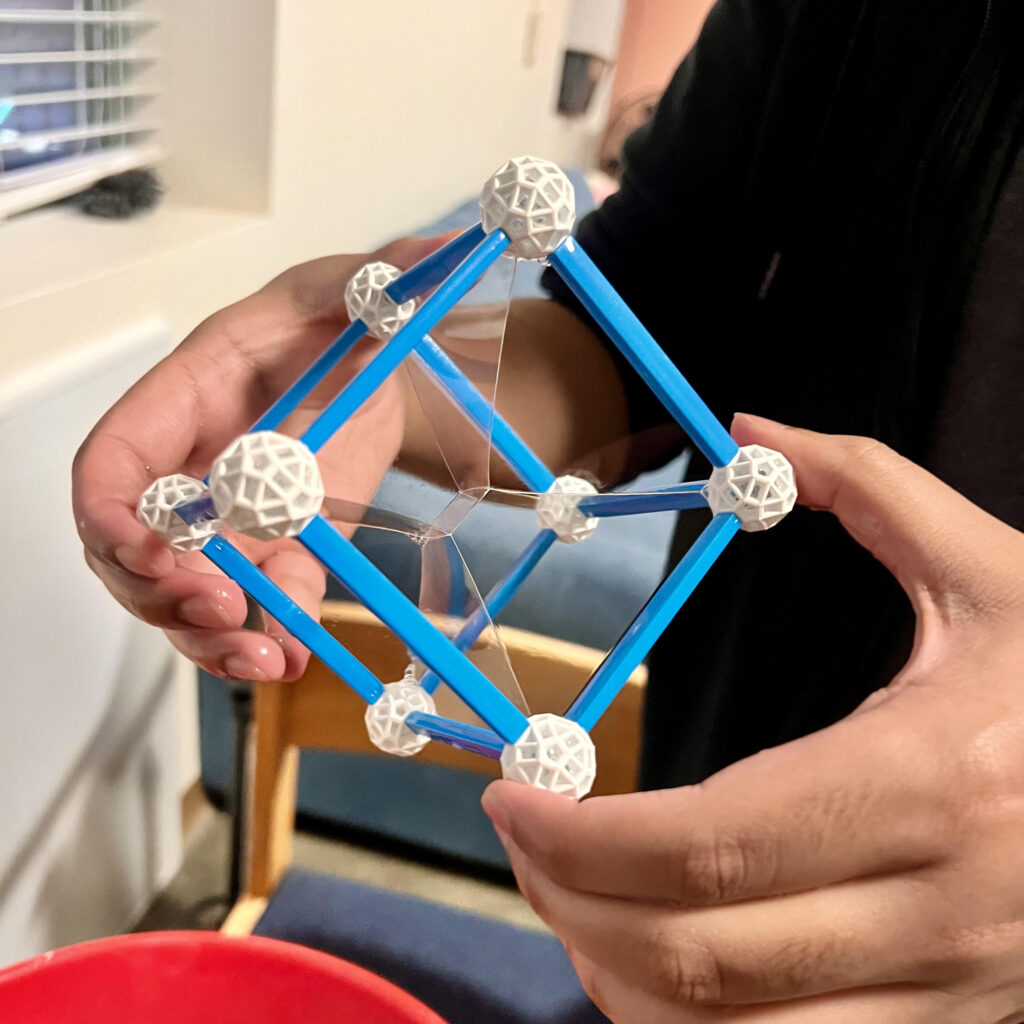
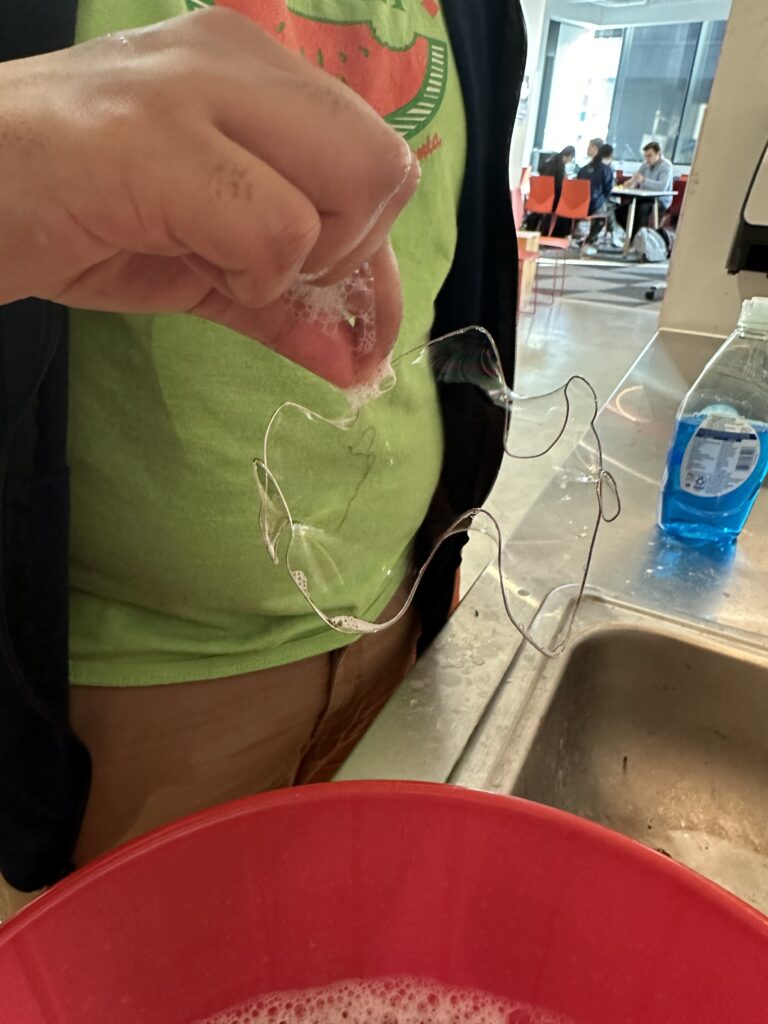
Once our shapes were made, we dipped them in the bubble solution and examined the inside of each structure to see if the bubble was complete. In some cases the bubble formed layers of bubble solution where there shouldn’t be layers. In cases like these, we popped the extra layers or re-dipped the shape.

Project 0B – Penrose Tilings:
For part 2 of project 0, we switched partners and taught each other how to create the thing we did in the first half. For this project, I was partnered with Nora who worked with Penrose tilings for her first project. Penrose tilings are symmetrical tiling that – if the pattern is repeated enough – starts to resemble what a rose looks like. Mathematically, tilings like this get very interesting when you look at all of the group theory concepts fueling them.
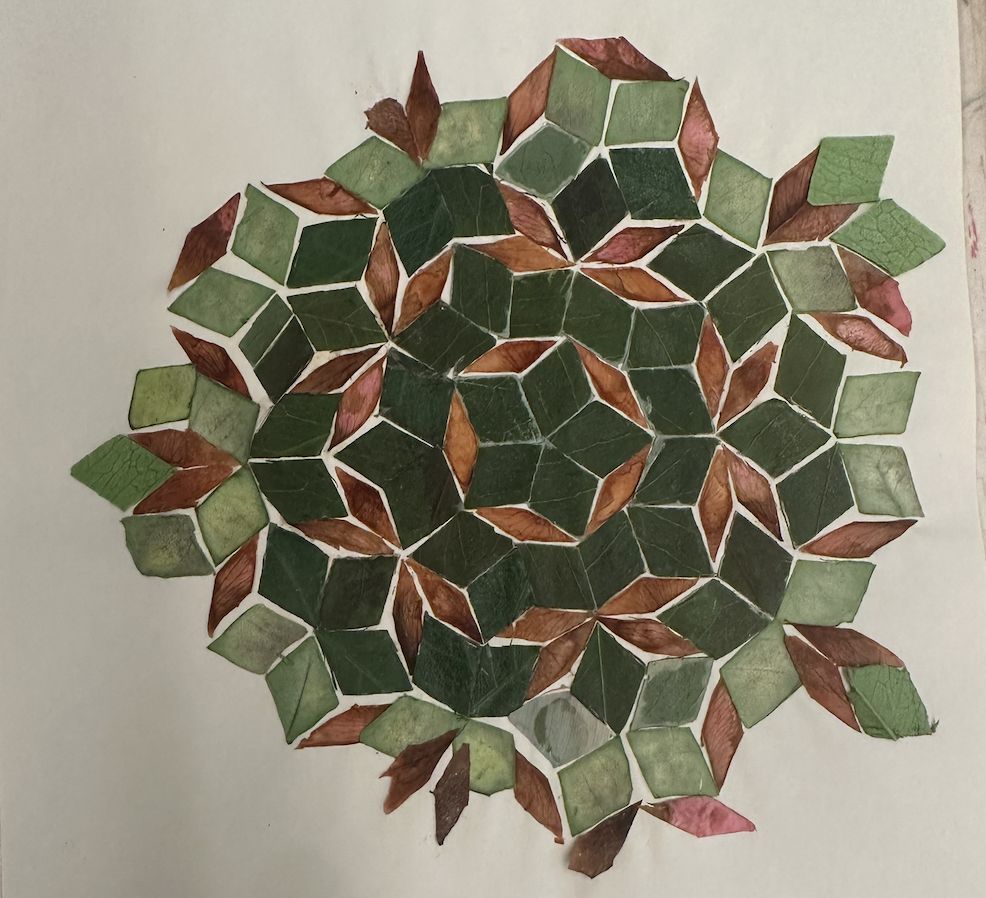
To create the tiling, we first grabbed a bunch of flower petals and leaves from existing roses on campus. It was a rainy day when we decided to do this which made it difficult to pat down all of the materials and make sure they were dry enough to work with.

Once dry, we use an exacto knife and the stencil Nora made in part 1 of the project to cut out the leaves and petals into the desired shapes. Once they were cut, we started adding onto the existing tiling. It was cool to see how much we added and the difference in petal and leave colors between the original tiling and what we built onto it.
Project 1: Burr Puzzle:
For the first full length project, I decided to create a wooden burr puzzle. I thought the burr puzzle would be super interesting to work on given the complexity in the interlocking mechanisms and how the notches work. There’s a lot of interesting group theory and combinatorics behind burr puzzles which make burr puzzles easy to get put together but quite difficult to take apart. There are lots of different types of burr puzzles but the most traditional are usually in wood. Given that this class encourages experimentation, I thought I’d try working in the wood shop to build this puzzle.
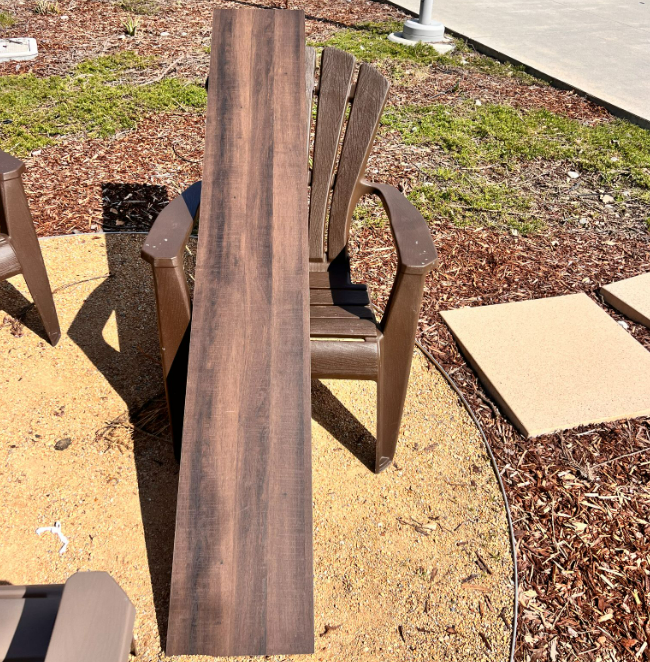
Originally, I had a long plank of wood that I was planning on cutting into 12 pieces. When I went to the wood shop, I was easily able to use the table saw to accomplish this. Then I wanted to cut each individual piece into a burr puzzle piece which meant making some angular cuts on the wood and adding notches to each piece. This part proved to be quite difficult because I was trying to scale down the burr puzzle to be approximately a third or a half of the standard size.

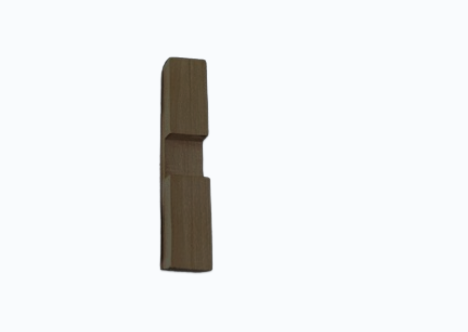
Given how the notches work, the margin of error on them was super small. Due to my lack of experience in the wood shop, I couldn’t get the cuts to be precise enough even after using a chisel to smooth down the rough edges.
I then created a 3D blueprint in Blender and 3D printed it on the 3D printer in the maker space and on the powder printer with Prof Kagey’s help. This was cool because I had never really used Blender before and it was a tool I wanted to learn. I felt like I was able to get a lot more precise with Blender and the puzzle works!
Project 2: Penplotting Harmonographs
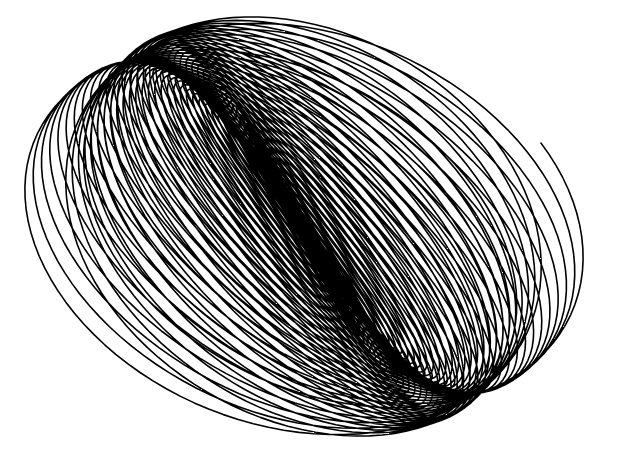
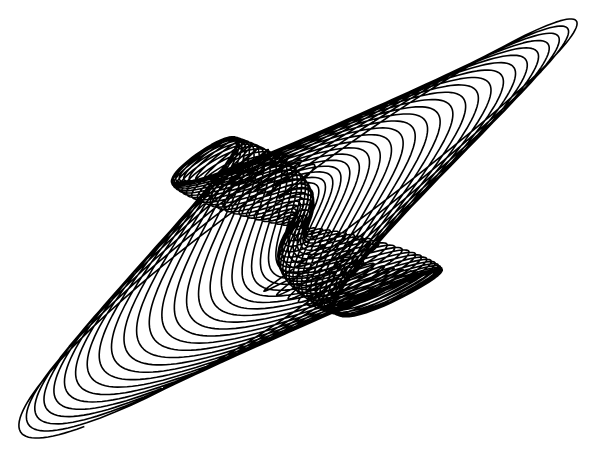
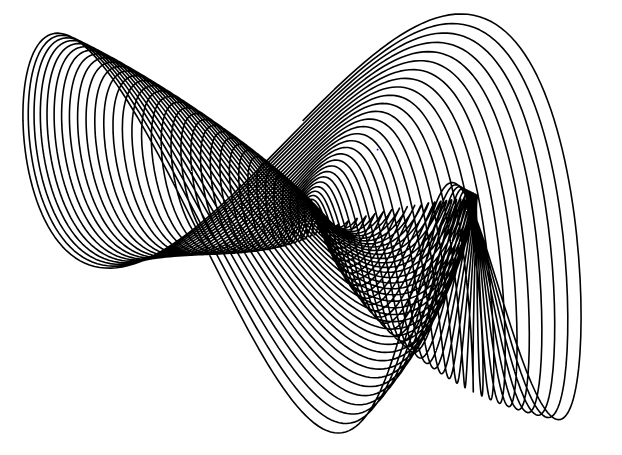
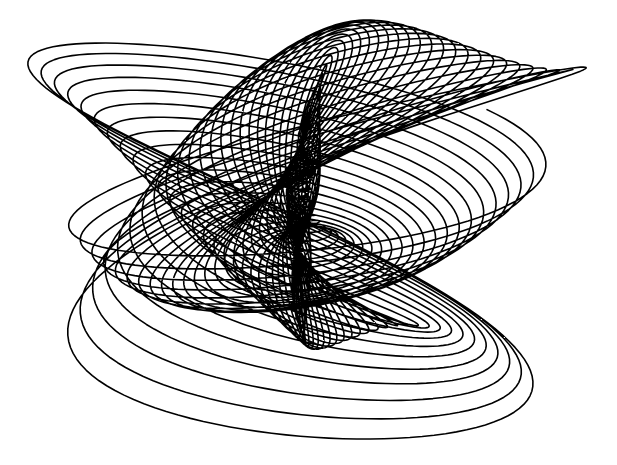
For project 2, I wanted to take a break from the machine tools and wanted to do something with the pen plotter. After seeing all of the art at the Wendell Museum math exhibit, the harmonograph visuals really stood out to me and I wanted to try and recreate them. A harmonograph creates its figures using the movements of damped pendulums. They use Lissajous curves which describe complex harmonic motion patterns by combining two perpendicular harmonic oscillations.
King, Jackson, and I first created a Python program that would randomly generate different harmonographs every run with a set of different parameters like number of pendulums, complexity, and line width.
We downloaded all of the visuals we liked and got to work. We converted all of our files to SVG, downloaded Axidraw, and went to the makerspace. At the maker space, we had Ambika help us set up the Axidraw and teach us how to use the pen plotter. Upon our first run, we realized the visuals might have been too complicated and ink-heavy because the paper was starting to get soggy. We simplified the visuals and went back to the maker space for attempt 2 and ran into a host of issues.
INSERT PHOTO
There was no way to figure out where the pen plotter would start which made it difficult to assess where to place the paper. Additionally, there was a weird straight line it would draw before every run. We eventually discovered that this was a problem with our code but once we resolved it, the pen plotter would just not plot the right paths. The final plots ended up not really resembling the plots we fed into them.
After a ton of experimentation, these were the best results we got:


Even though they weren’t perfect, it was really cool to see how the tool works.
Project 3: Musical Integer Sequences
For the third project, I wanted to try something with software given all of my projects thus far were pretty hands-on. I thought something with music would be super cool given how often I listen to music. I had seen Prof Kagey do some OEIS demos before and thought it might be cool to see how to make better-sounding music using integer sequences.
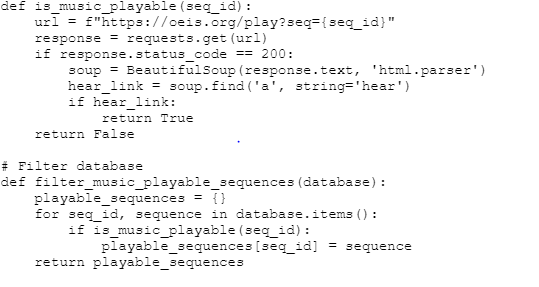
I first downloaded the OEIS database filtering through all of the integer sequences that are actually playable.
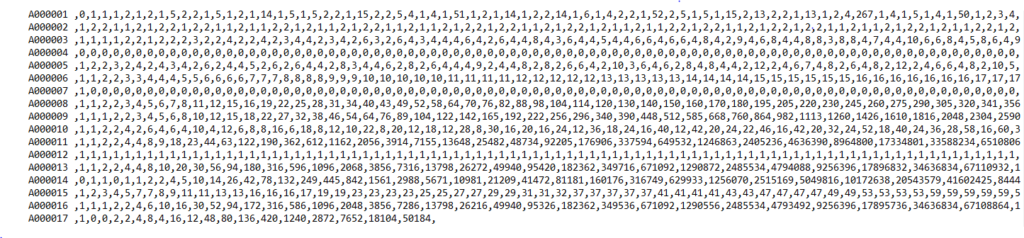
Then, after a lot of searching, I found out that there’s actually an OEIS API that you can use to extract all of the WAV files corresponding to each sequence. Once I had each WAV file, I wrote some Python to randomly put together five sequences next to each other to create longer snippets of sound.
To make sure this worked correctly, I covered each WAV file to a movie file and used a set of audio processing libraries to snip each audio into two-second clips that could be fused with other audios. After this, I ended up with samples that sounded like this:
In an effort to make this sound better, I started reading about a ton of music theory to see if I could figure out a formulaic way to map different sequences with each other. Given all of these sequences could be grounded in module arithmetic, I thought it would be interesting to map each individual integer to a certain modulo and then place sequences in the same or opposite modulo with each other. This didn’t end up working and the sequence sounded about the same as the one above but it was cool to delve into some music theory!
I think the sequences not sounding good says something about how simple mathematical formulas are not enough to create good music.
Summary
By the end of the semester, I had worked with the following mathematical concepts:
- 0A: Minimal Surfaces – differential equations, parametric curves, topological geometry
- 0B: Penrose Tilings – group theory, symmetries
- 1: Burr Puzzles – combinatorics, group theory, geometry
- 2: Harmonographs – Lissajous curves
- Musical Integer Sequences – music theory, modulo arithmetic,
And had learned this set of tools:
- Band Saw
- Table Saw
- Chisel
- Pen Plotter
- Blender
- 3D Printers
- OEIS API
- Python
I thought this class was super fun and it really gave me a more structured way to explore and work on things I was just interested in. It helped me be less of a perfectionist and just embrace experimentation. It pushed me to try out a bunch of new tools without being too intimidated by how scary they looked. I’m excited to work on more mathematical ideas in the future!
Leave a Reply