Welcome to my making math project blogpost! I advise you to read till the end because my projects get cooler as I progress (imo)!!
Project 0.A (First Attempt)
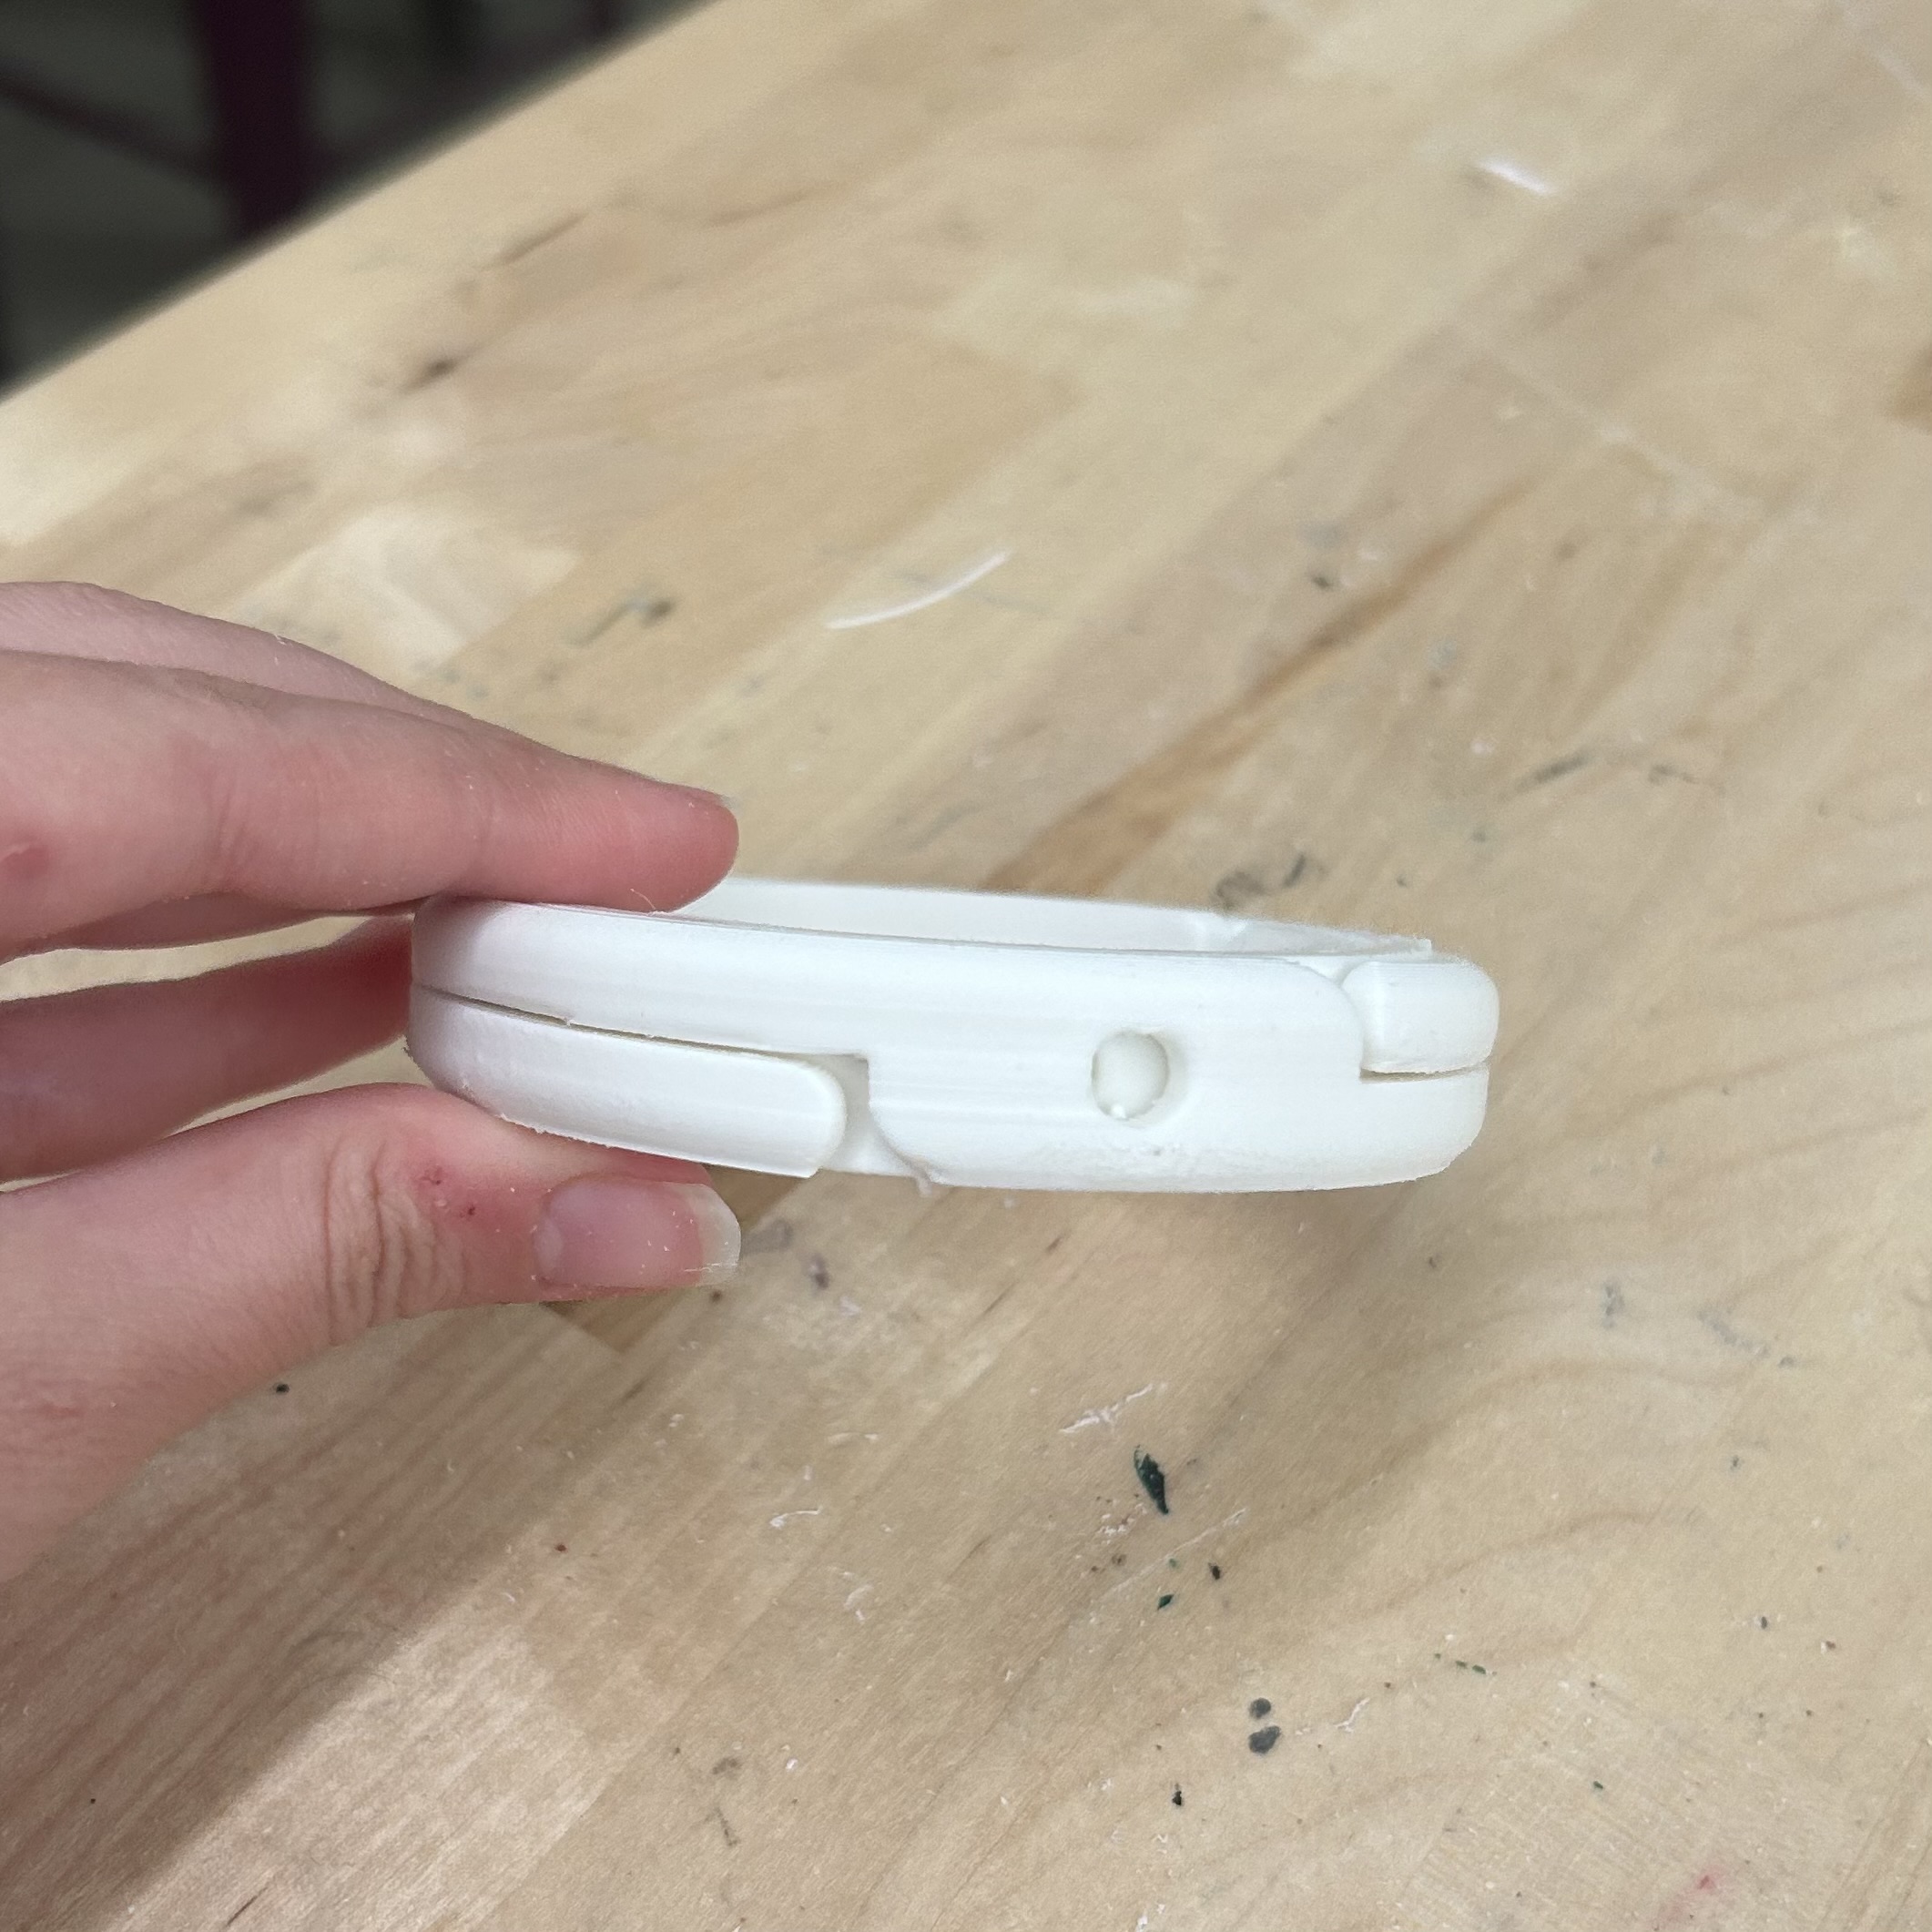
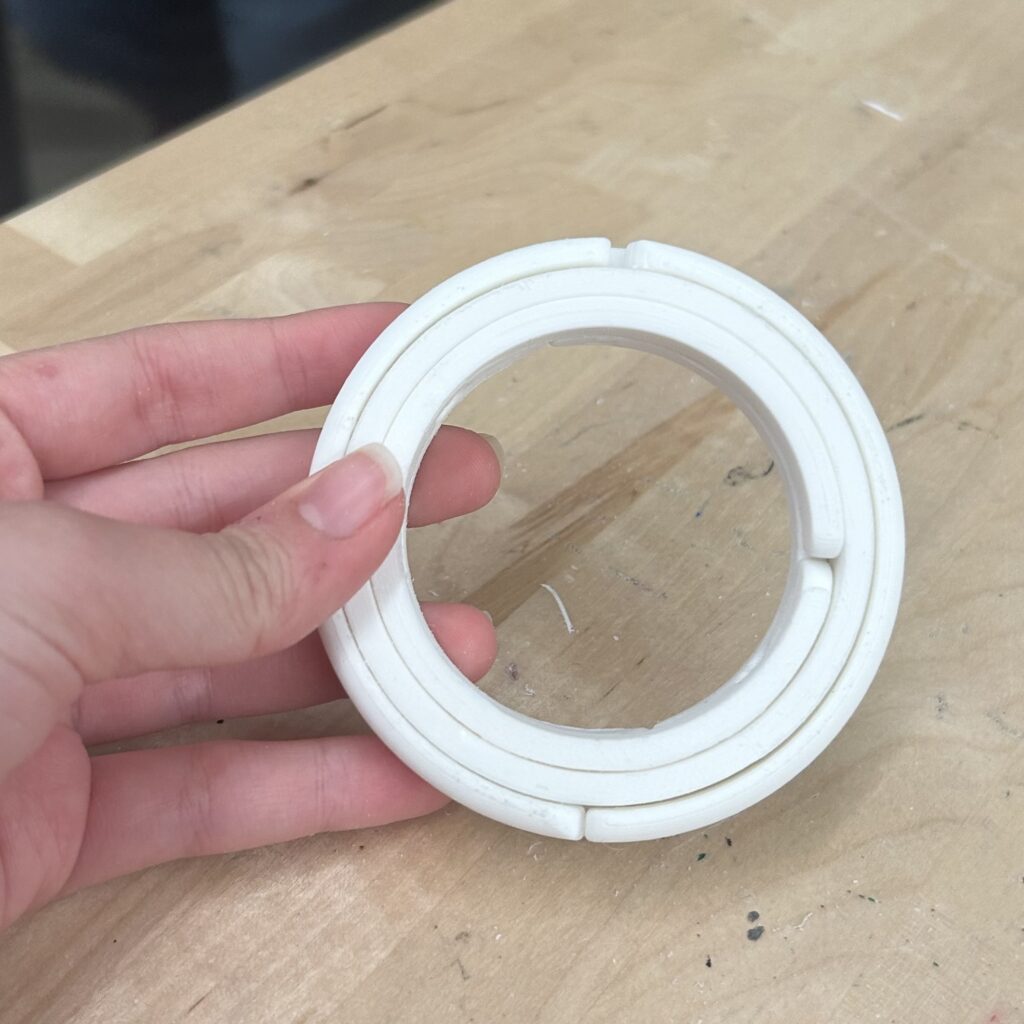
The first project I wanted to undertake for this class was to make a spherical astronomy ring. I first created a CAD for it to better understand how they work and how they can made.


However, once I completed the CAD I realized that this was a project that would take months to complete and didn’t fit the timeline of this class. However, I still 3D printed what I designed and made a larger-scaled version that was the size of a bangle to show me how the ring would move around once designed.
Project 0.A (Actual)
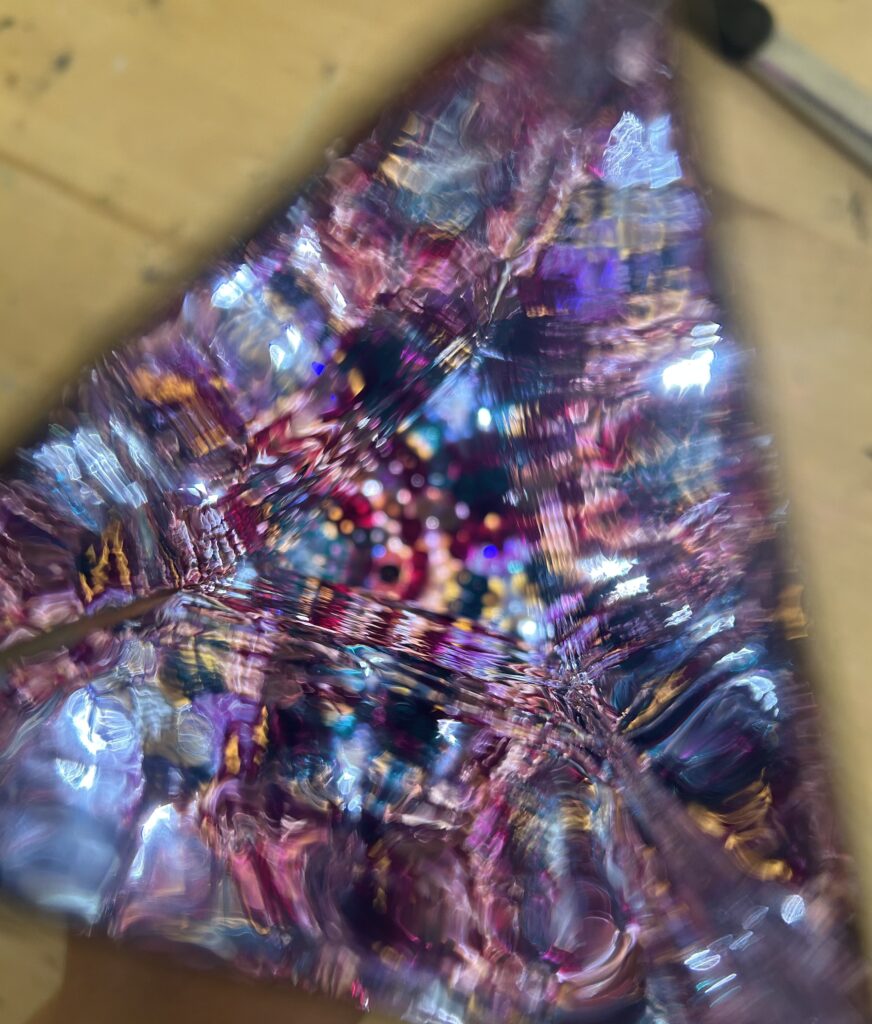
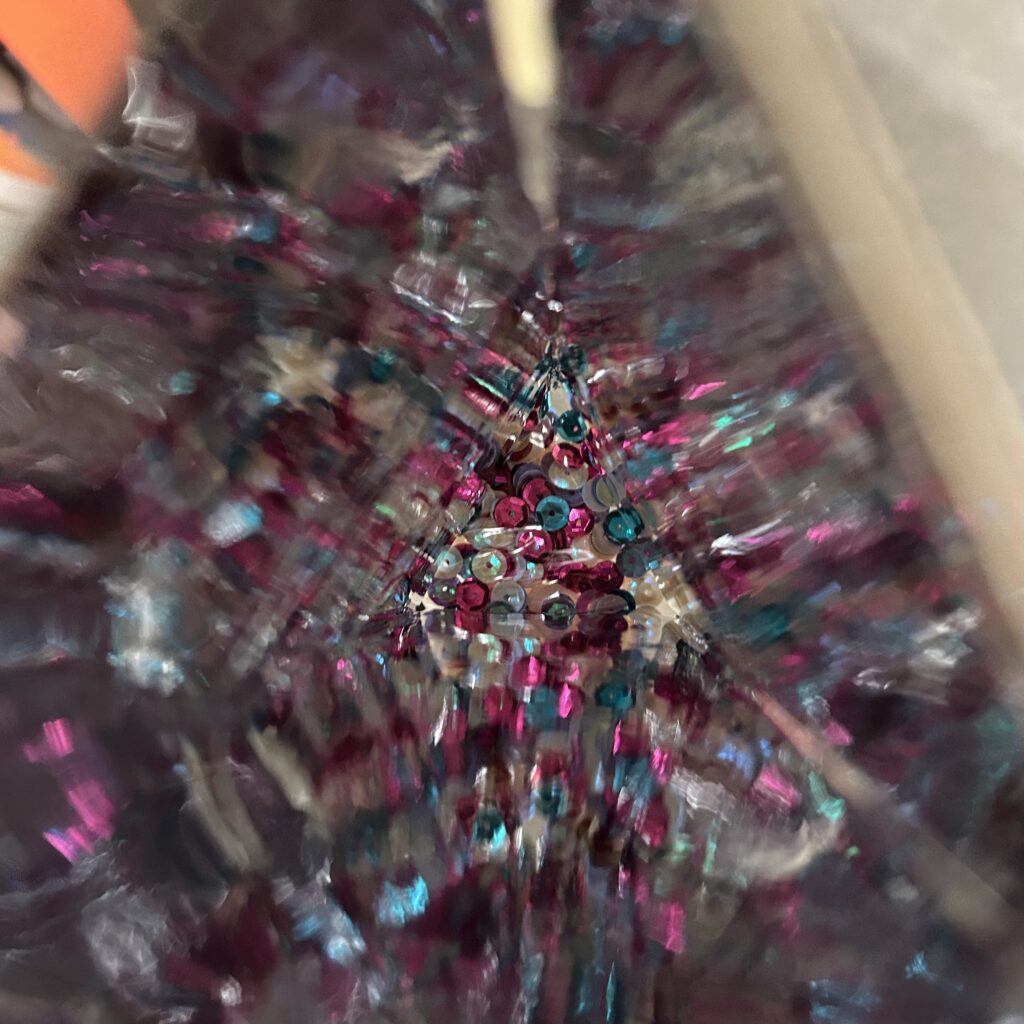
Once we realized we had to ditch the previous project and pursue something more realistic, we decided to explore a childhood game that we wanted to deconstruct. Jaanvi and I created Kaleidoscopes and learned about then analyzed how the kaleidoscope reflected the coxeter groups.
Project 0.B
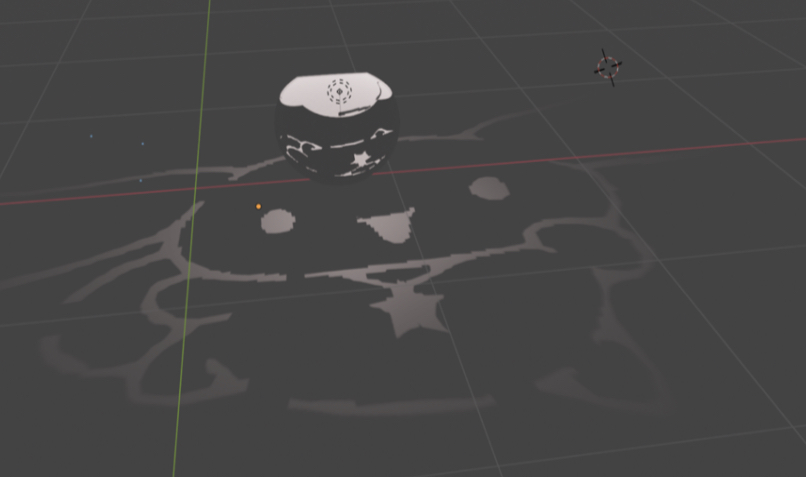
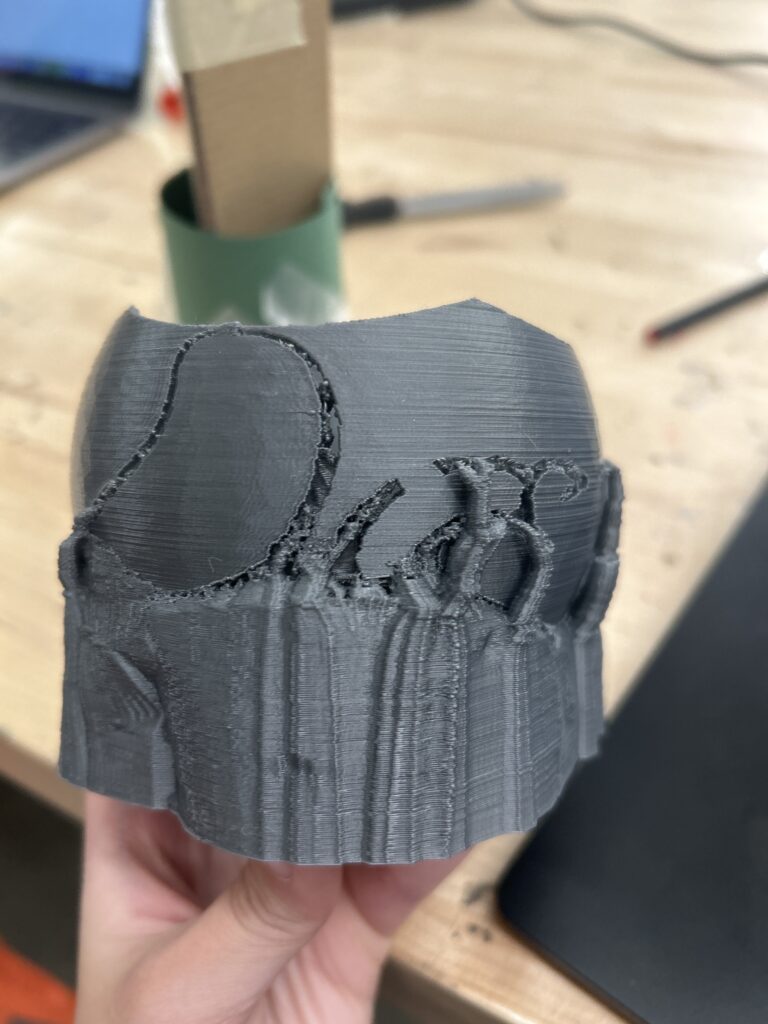
Adam taught me how to design a stereographic projection sphere. He had already designed code to turn an image into the projection, so he showed it to me and explained the math to me step by step. We then chose an image and overlaid the projection into a sphere.
Project 1
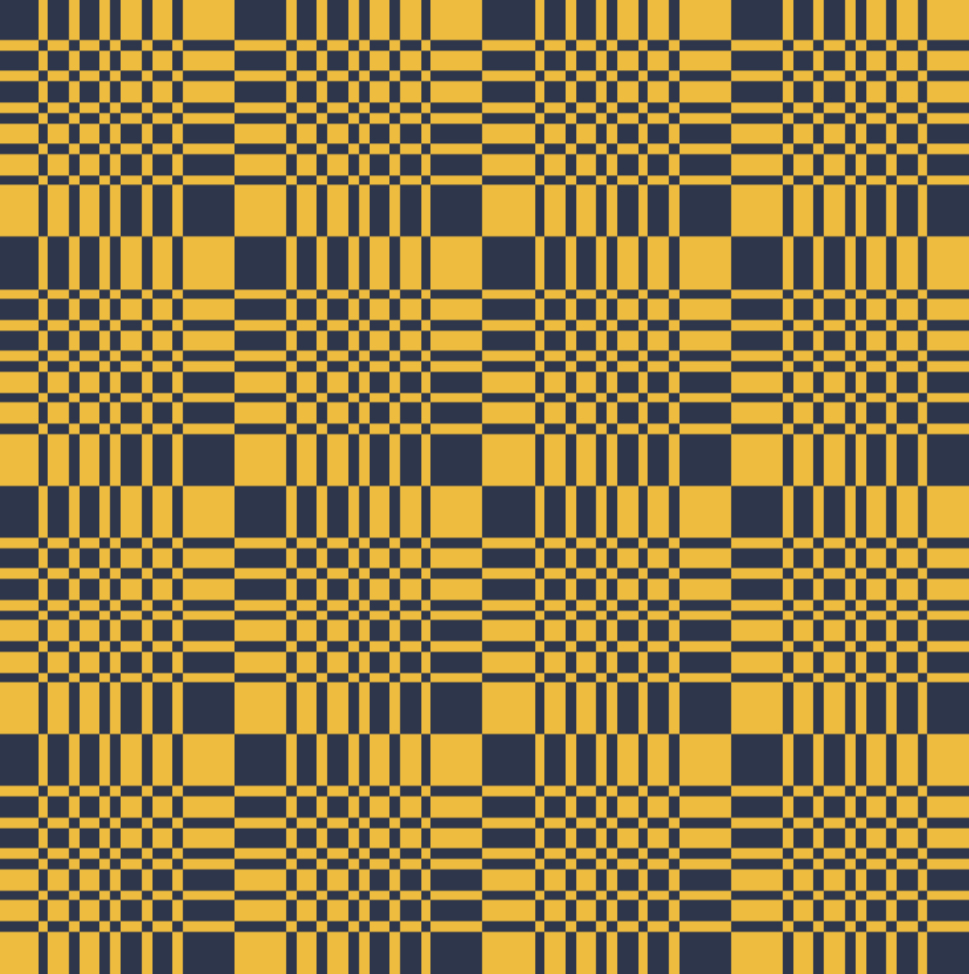
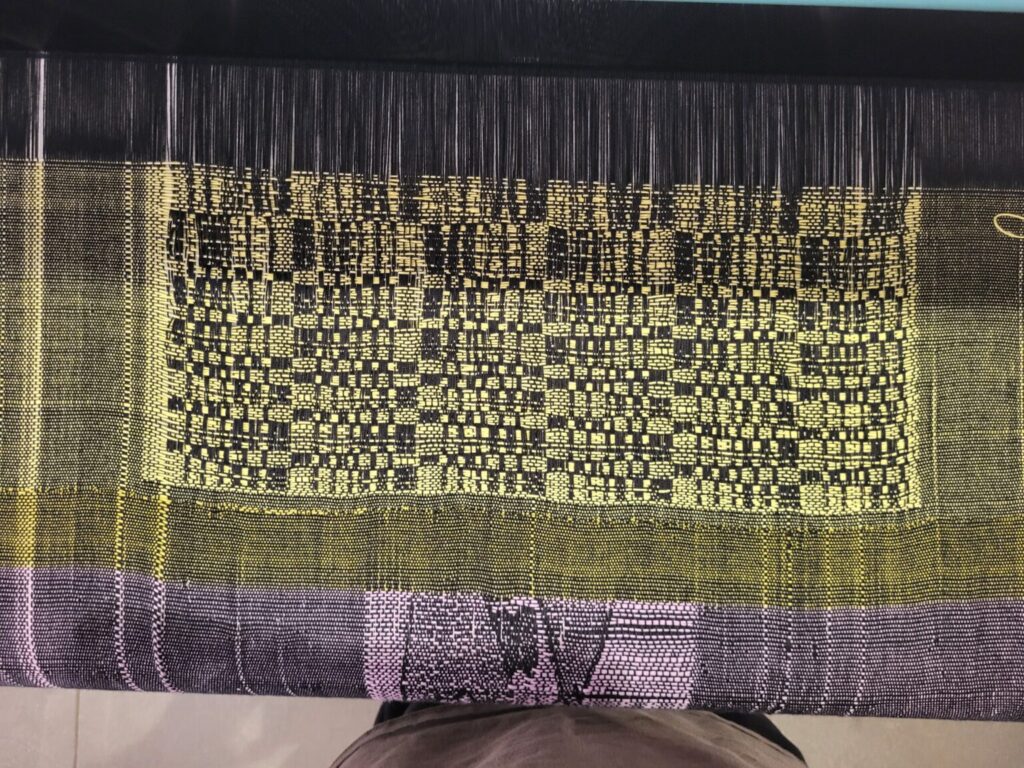
Margaret and I wanted to learn how to use the loom during this class, so we took a makerspace workshop that was offered the week of the project. Once we learned the how it worked, and more specifically its faults, we decided on the design to use. After researching, we found Ada K Dietz’s book and decided to follow her work in designing multivariate polynomials on textile and designed a polynomial not included in her book to apply it ourselves.
Project 2
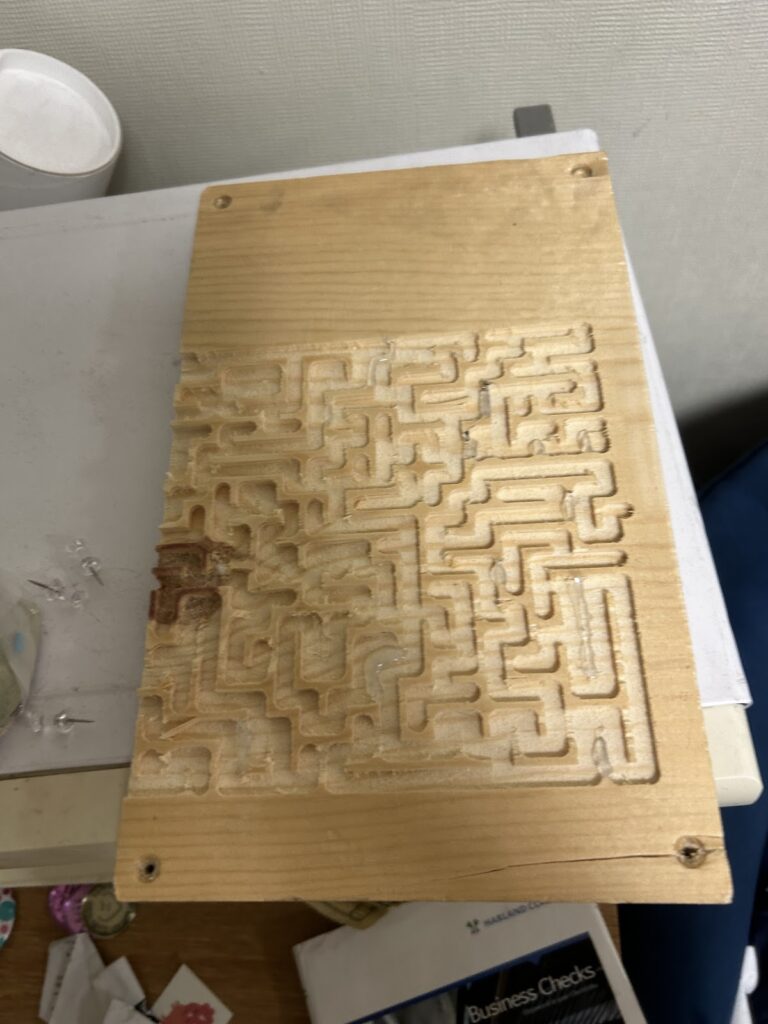
After Prof. Kagey’s lecture on spanning trees, I was inspired to make a wooden maze toy similar to ones I’d played with a lot as a child. I also wanted to use this as an opportunity to use the Shop Bot, a machine in the woodshop I’ve always wanted to use.
After generating a maze on mathematica, instead of only laser cutting the maze as a prototype, I thought it would be interesting to make a 3D maze as well. The natural choice was to make a cube, so I generated 6 mazes on mathematica and lined up the end and start of mazes with their subsequent ones. An easy way of coordinating this was using a layout of cube paper cutouts.
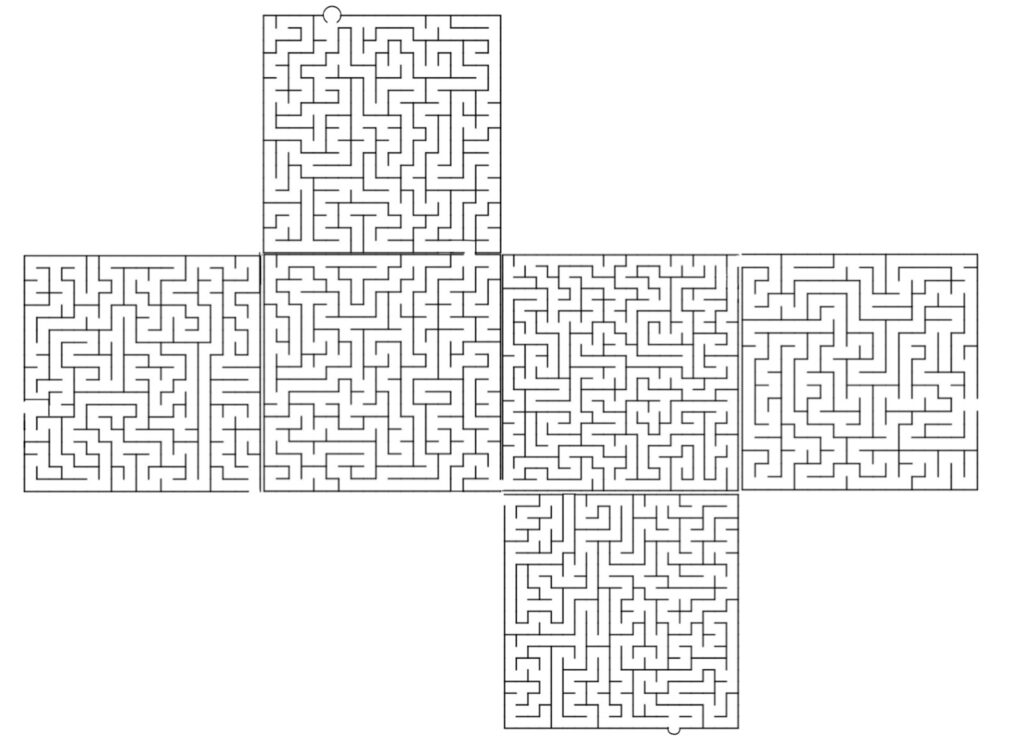
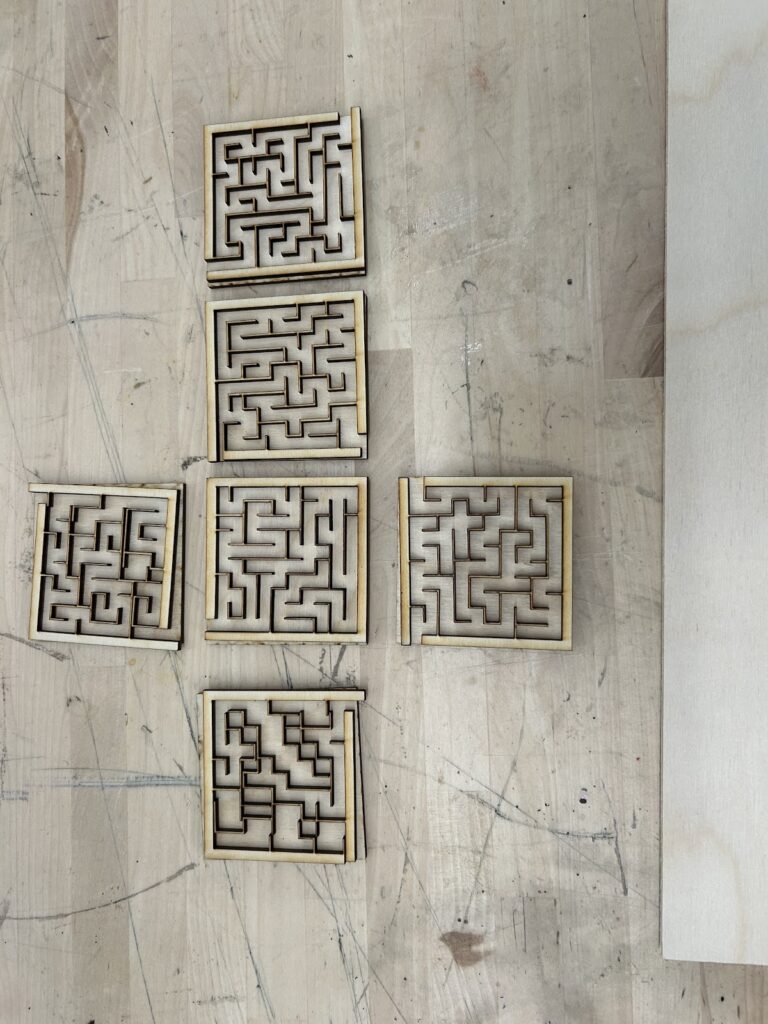
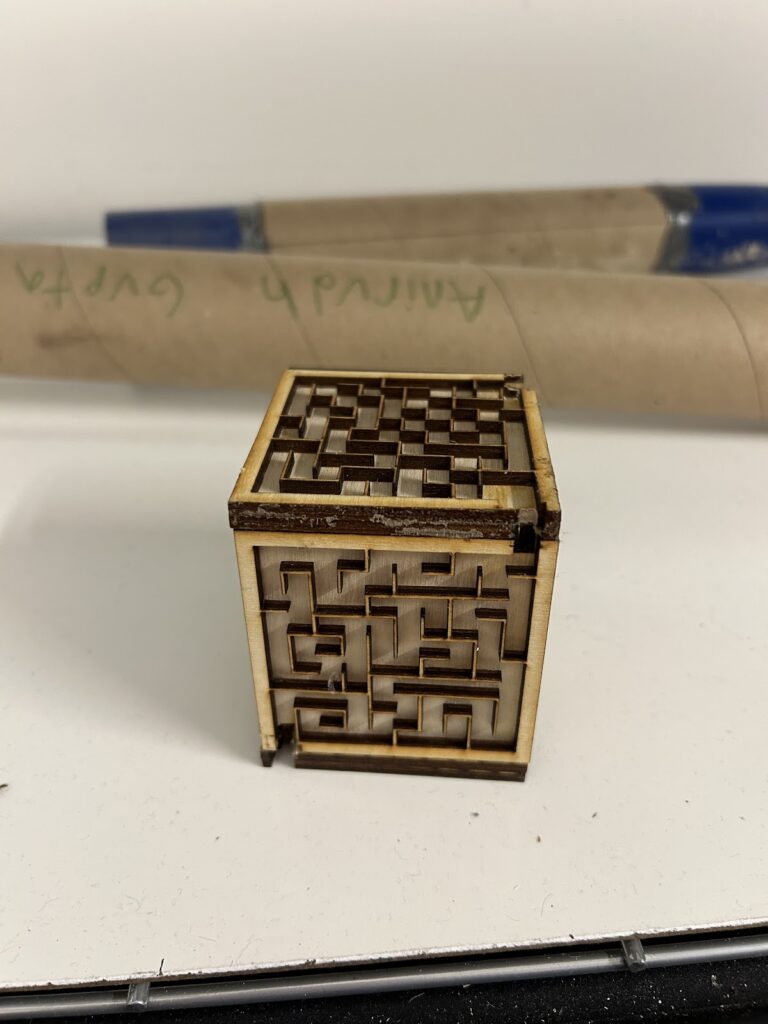
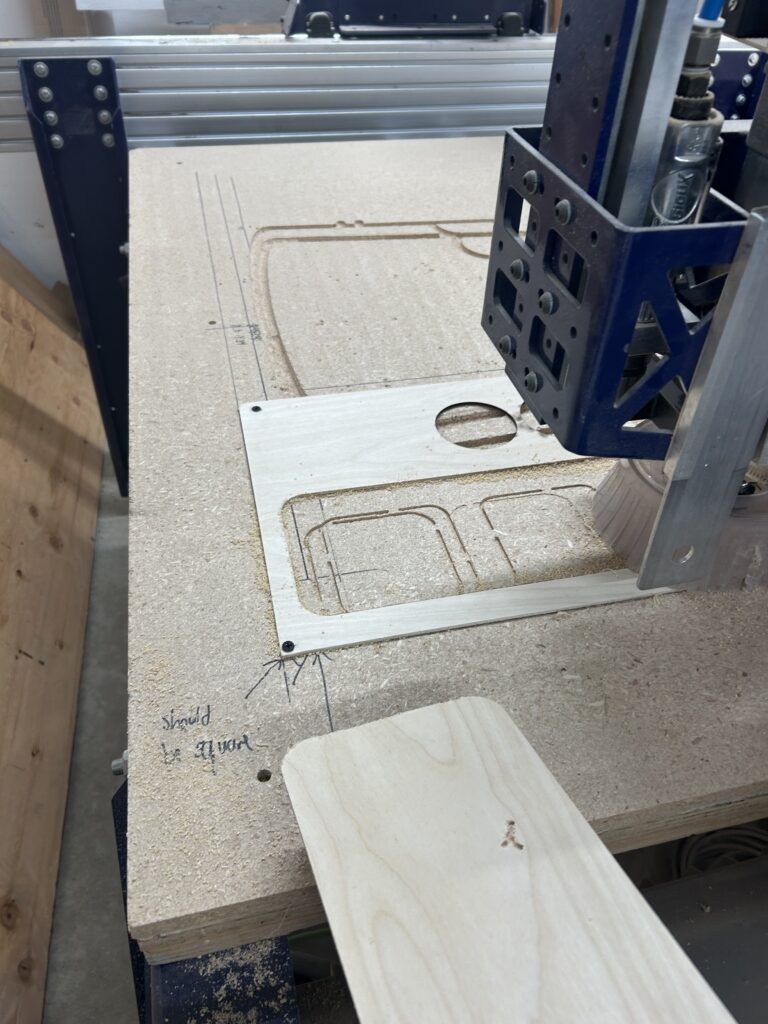
Once I had made the cube maze, a shop bot workshop was offered at the woodshop, so I was able to learn how to use it. I then designed a maze and used the shop bot, however the machine was fault as usual and dismissed the coordinates assigned in the software and was slightly off as shown in the image. This was still fun because now I know how to use the shopbot software and can accomodate any faults next time.
Project 3;
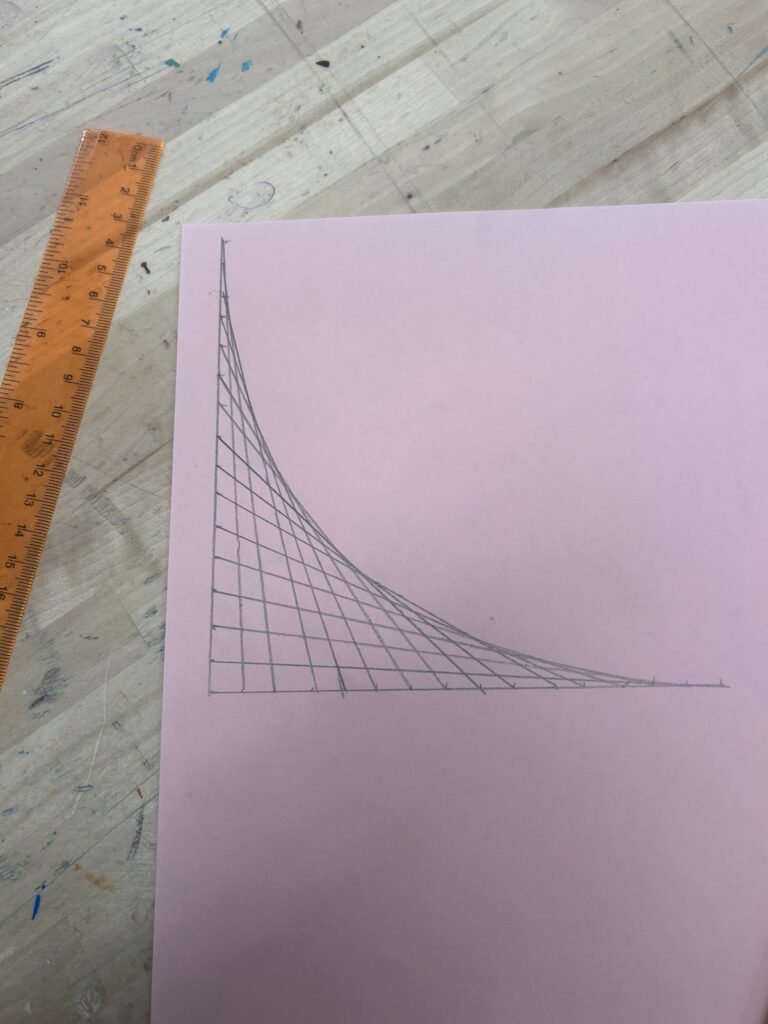
I had seen a piece on etsy that was cool string art, but it was the traditional nail and plank 2D string art, so I wanted to see if I could make that 3D as well. I decided to make a pyramid and applied parametric curve stitching methods, drawn below, to all 9 sides of 3 faces of the pyramid.
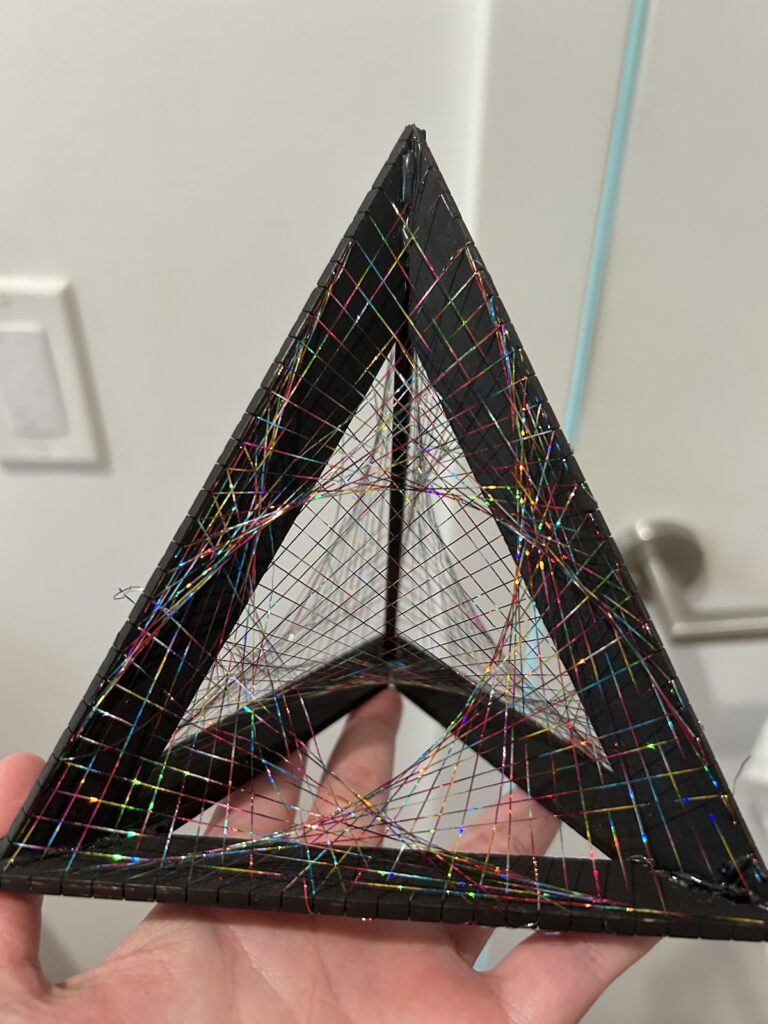
This was much more fun than I thought it would be so I am currently trying out similar designs on a rectangular prism.
Bonus Project!
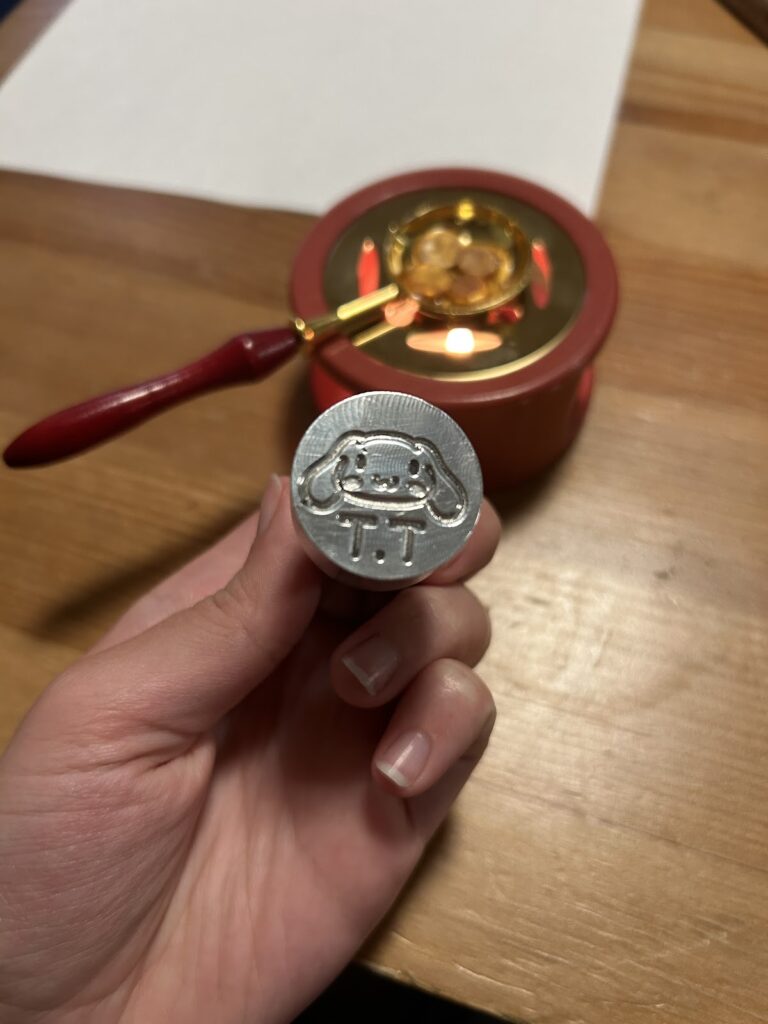
After the class ended, I made a wax seal stamp with my initials and mascot, cinnamoroll! I also bought a wax letter kit off amazon to melt the wax.

Leave a Reply