Introduction
Project 0.B gave us a great opportunity to learn about new technologies and mathematical concepts. We first recreated Kishore’s project, where we created Stereographic Projection Spheres. This project leveraged a mapping of a sphere onto a flat plane, and made use of 3D printers. Then, we recreated Jaanvi’s project by creating kaleidoscopes which represented Coxeter Groups, making use of the properties of mirrors. Throughout this process, not only were we able to refine our original projects, but we also were able to learn new skills from our peers. We found that doing our projects for a second time resulted in a more efficient process with better results.
Stereographic Spheres!
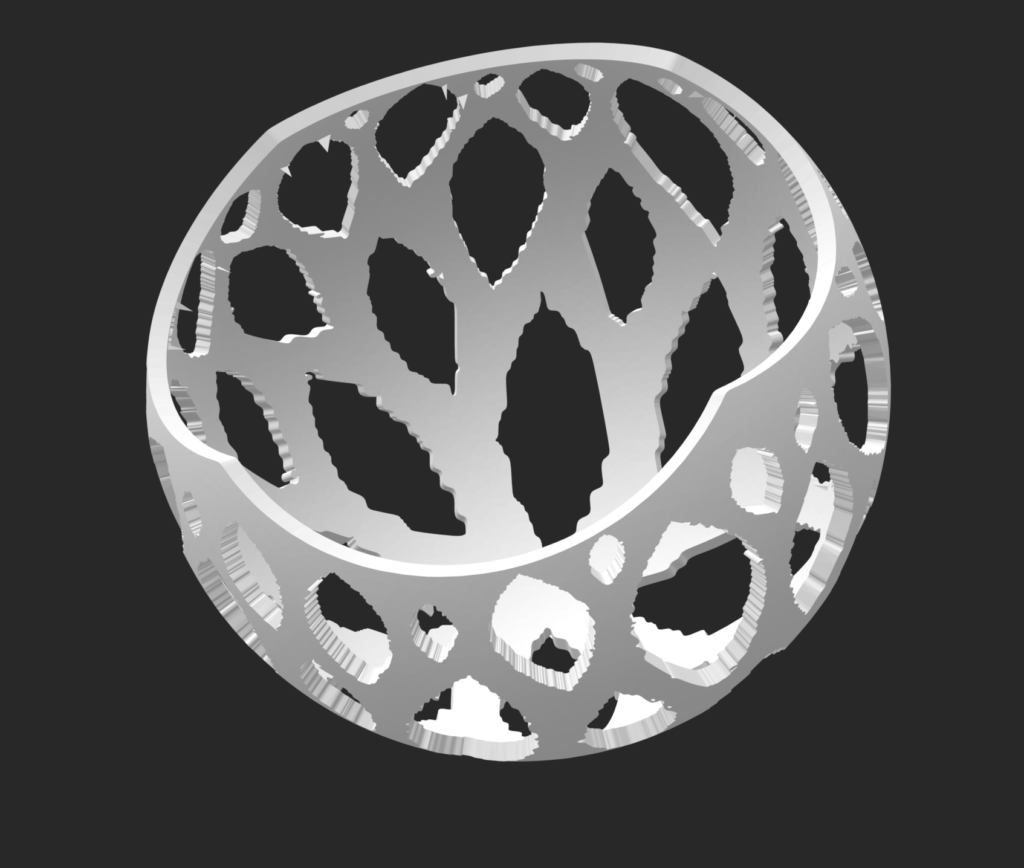
We used the same blender code as Kishore’s 0.A, and it was hard to recreate the process of code debugging. However, we reviewed the basic math behind stereographic projections, as well as the trigonometry that went into the code.
Reflection on learning how to 3D print – Jaanvi
Navigating the use of the 3D printer was a valuable experience, especially because everything did not happen as we planned for it to. An issue we faced was when the printer’s heating bed did not reach a warm enough temperature, preventing the sphere’s foundation from adhering to the bed. At first, it seemed like an issue with the printer, but we later realized that it was an issue with our file. Solving this problem deepened my understanding of 3D printing and gave me the opportunity to learn the intricacies of the 3D printers so I can use them in future projects.
Reflection on teaching 3D printing – Kishore
I had some experience explaining how the Blender file worked (on a high level), so explaining that to Jaanvi was relatively easy. However, when trying to show how we 3D printed the spheres, I realized that I had less knowledge of the subject than I had thought. While I was able to successfully export the STL file from Blender and load it onto the SD card, I forgot which settings Adam and I used for infill and support, which might have caused our four failed builds. However, it was a valuable learning experience since I now know more about why the settings and support are so important. I hope to learn more about them in the future and hopefully have less failed builds.
Kaleidoscopes!
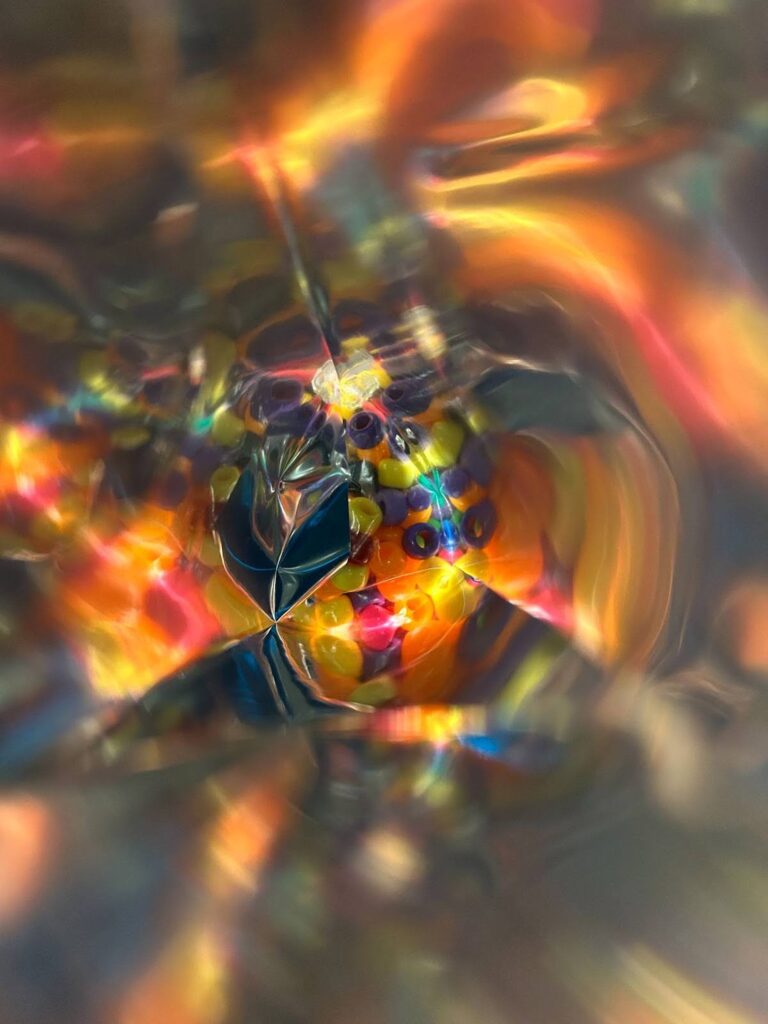
We reviewed a bit about coxeter groups and how the kaleidoscope reflected (pun intended) the symmetries in a coxeter group. The triangular shape and the shiny paper work together to create a seemingly infinite patter.
Reflection on learning how to make a kaleidoscope – Kishore
I was impressed with how simple making the kaleidoscope was. When I saw the image on the blog, I was extremely excited and worried due to how complex it looked. However, when Jaanvi showed me how to make it, all the worries faded away. It was a relatively simple process, and Jaanvi had improved on her previous process. Our result was also very cool. I think we could have used thicker paper to keep the kaleidoscope steady, which Jaanvi did in her previous project.
Reflection on teaching how to make a Kaleidoscope – Jaanvi
Teaching Kishore how to make a kaleidoscope gave me the chance to refine my project. Initially, the quality of the reflective images seemed limited by the reflective material used. However, while recreating the object we decided to use thicker strips in this iteration, which significantly improved the clarity of the images produced by the kaleidoscope. This adjustment made me realize the importance of experimenting with dimensions before committing to a specific design. I would imagine that the thinner strips did not create a good quality image because there was not enough light being let through the end of the kaleidoscope. Therefore, repeating the process allowed me to improve the quality of my results.
Leave a Reply