For our project 1, we made a deck of math-themed cards and a box to house them.
Designing the Cards
We found an SVG file with regular cards at https://totalnonsense.com/open-source-vector-playing-cards/. We then manually edited the cards using Inkscape, an SVG editing software. Specifically, we edited the backs of the cards, the 52 main cards, and 2 jokers.
The main idea was to use a different set of 13 things for each suit.
Spades

For spades, we used isohedrally-tiled hexagons. There are exactly 13 ways to tile a plane using hexagons where every hexagon is the same shape (up to rotation and reflection). Each card shows a representation of one of these tilings.
Clubs

For clubs, we used cubic distance-regular graphs. In this case, “cubic” means that every vertex has degree three and distance-regular means “For any two vertices v and w, the number of vertices at distance j from v and at distance k from w depends only upon j, k, and the distance between v and w.” Each card shows a symmetric representation of one of the graphs, where the size slowly increases as the card number increases.
Hearts

For hearts, we used maps of Archimedean solids, convex polyhedra whose faces are regular polygons and whose vertices are symmetric. They are formed by truncating the corners of a platonic solid. Each card shows a “map” of an Archimedean solid, a 2-d representation of the solid “unfolded,” where the size of the solid increases as the card number increases.
More info: https://mathworld.wolfram.com/ArchimedeanSolid.html
Diamonds

For diamonds, we used the 13 books of Euclid’s Elements, a book on math axioms and theorems written by the ancient greek mathematician Euclid. Each book discusses a specific topic in geometry or number theory. While the books didn’t have a specific shape associated with them, we found this website which has simple graphics for each book: https://www.kroneckerwallis.com/product-category/euclids-elements/euclids-elements-posters/. We used a png to svg editor online to remake these graphics, and we put them on our cards, where the nth card has the illustration for the nth book.
More info about the chapters: https://www.claymath.org/library/historical/euclid/
Jokers
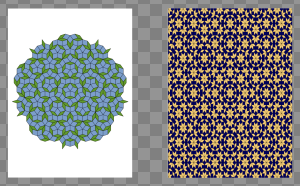
For the Joker cards, we wanted something in math related to two’s since there are two joker cards. We decided to use the Penrose and Ammann-Beenker tilings as our two joker cards. This is because both tilings are aperiodic tilings that use 2 tiles to create their tesselations. The Penrose uses a 36-144-degree rhombus and 72-108-degree rhombus to create its tilings, and the Ammann-Beenker uses a 45-135-degree rhombus and 45-45-90 degree triangle to create its tilings.
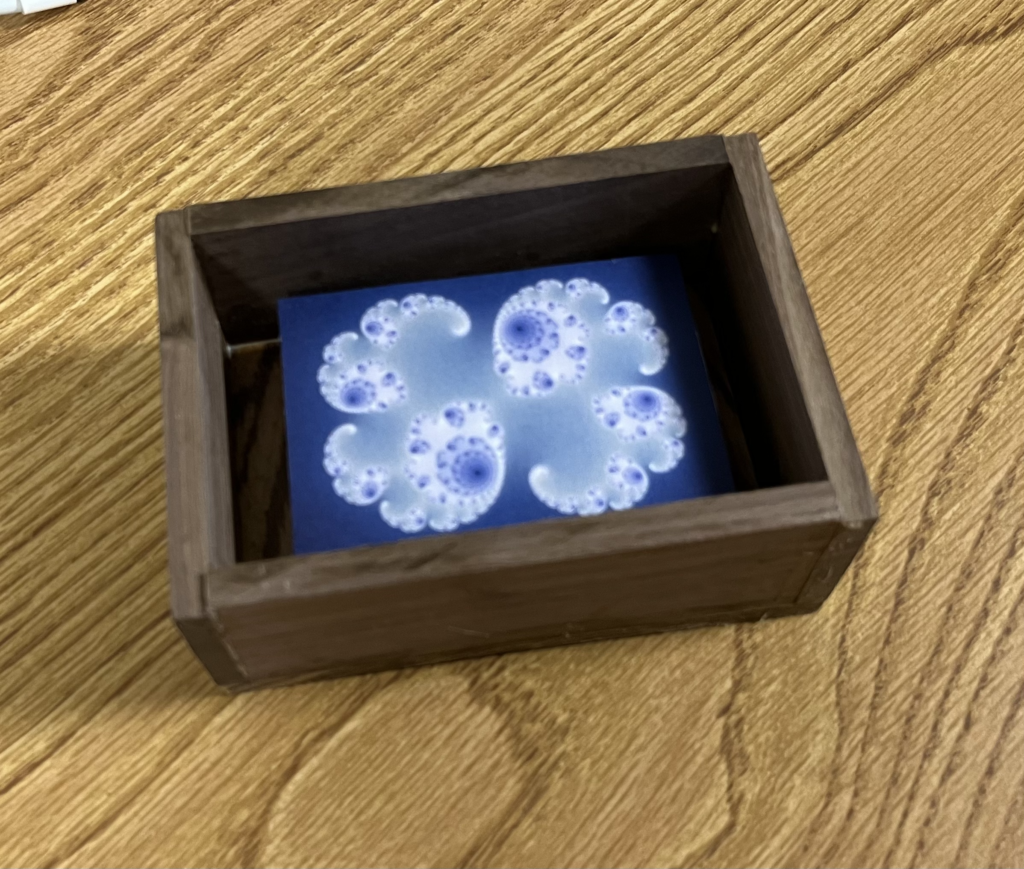
Back of cards

For the backs of our cards, we knew that we wanted to do something related to fractals. The fractal that we chose was a modification of the Julia Set by adjusting the parameter c to 0.285 + 0.01 * 1j. The parameter c is a complex constant that operates on complex plane, where we can create our fractal from the series zn+1 = zn2 + c. We were able to create this fractal using TensorFlow and Python. We used the GitHub Repo found on this website: https://thompsonsed.co.uk/programming-fractal-art-using-tensorflow to create and modify fractals. TensorFlow was used to perform the actual algorithm and fast computations of the fractals. The link is super cool (thanks Prof. Kagey!) and explains more in-depth how they used TensorFlow to create fractal sets.
Printing the Cards
Once we had the SVG file with all the cards, we had to figure out how to actually turn this into a physical deck. We attempted to follow this video:
The first step was to print the card fronts and card backs out. However, since our SVG file was very big, we didn’t know how to do this. After a lot of experimentation, we hand-made new PDFs with 8 cards on each page. We also made a PDF with 8 card backs, aligned with the fronts of the cards. We then used the color printer to print these pages out.
Then, we had to glue the pages together along with cardstock to give thickness to the cards. To do this, we made “sandwiches” of the fronts, a cardstock page, and the backs, using spray glue to glue them together. This part was kind of difficult, as it is hard to align all the pages accurately. We then tried to use a paper cutter to cut the cards out, but the sheets were too thick, so we ended up cutting them out with scissors. This process took way longer than expected, but our product was somewhat successful.
Here are our final cards!

Creating the Box
We worked on creating the box for the cards in the woodshop. We both had limited to no experience working in the woodshop so we asked the proctors to help us out with most of the process! We found some scrap ¼” thick wood planks to use in the back of the woodshop, and determined the size of our box based on these. We wanted the box to be 4.5 x 3 x 1.5 inches (interior measurements), since this would hold our deck of cards, which were 2.5 x 3.5 inches, nicely! The total exterior measurement of our box was 5 x 3.5 x 1.75 inches.
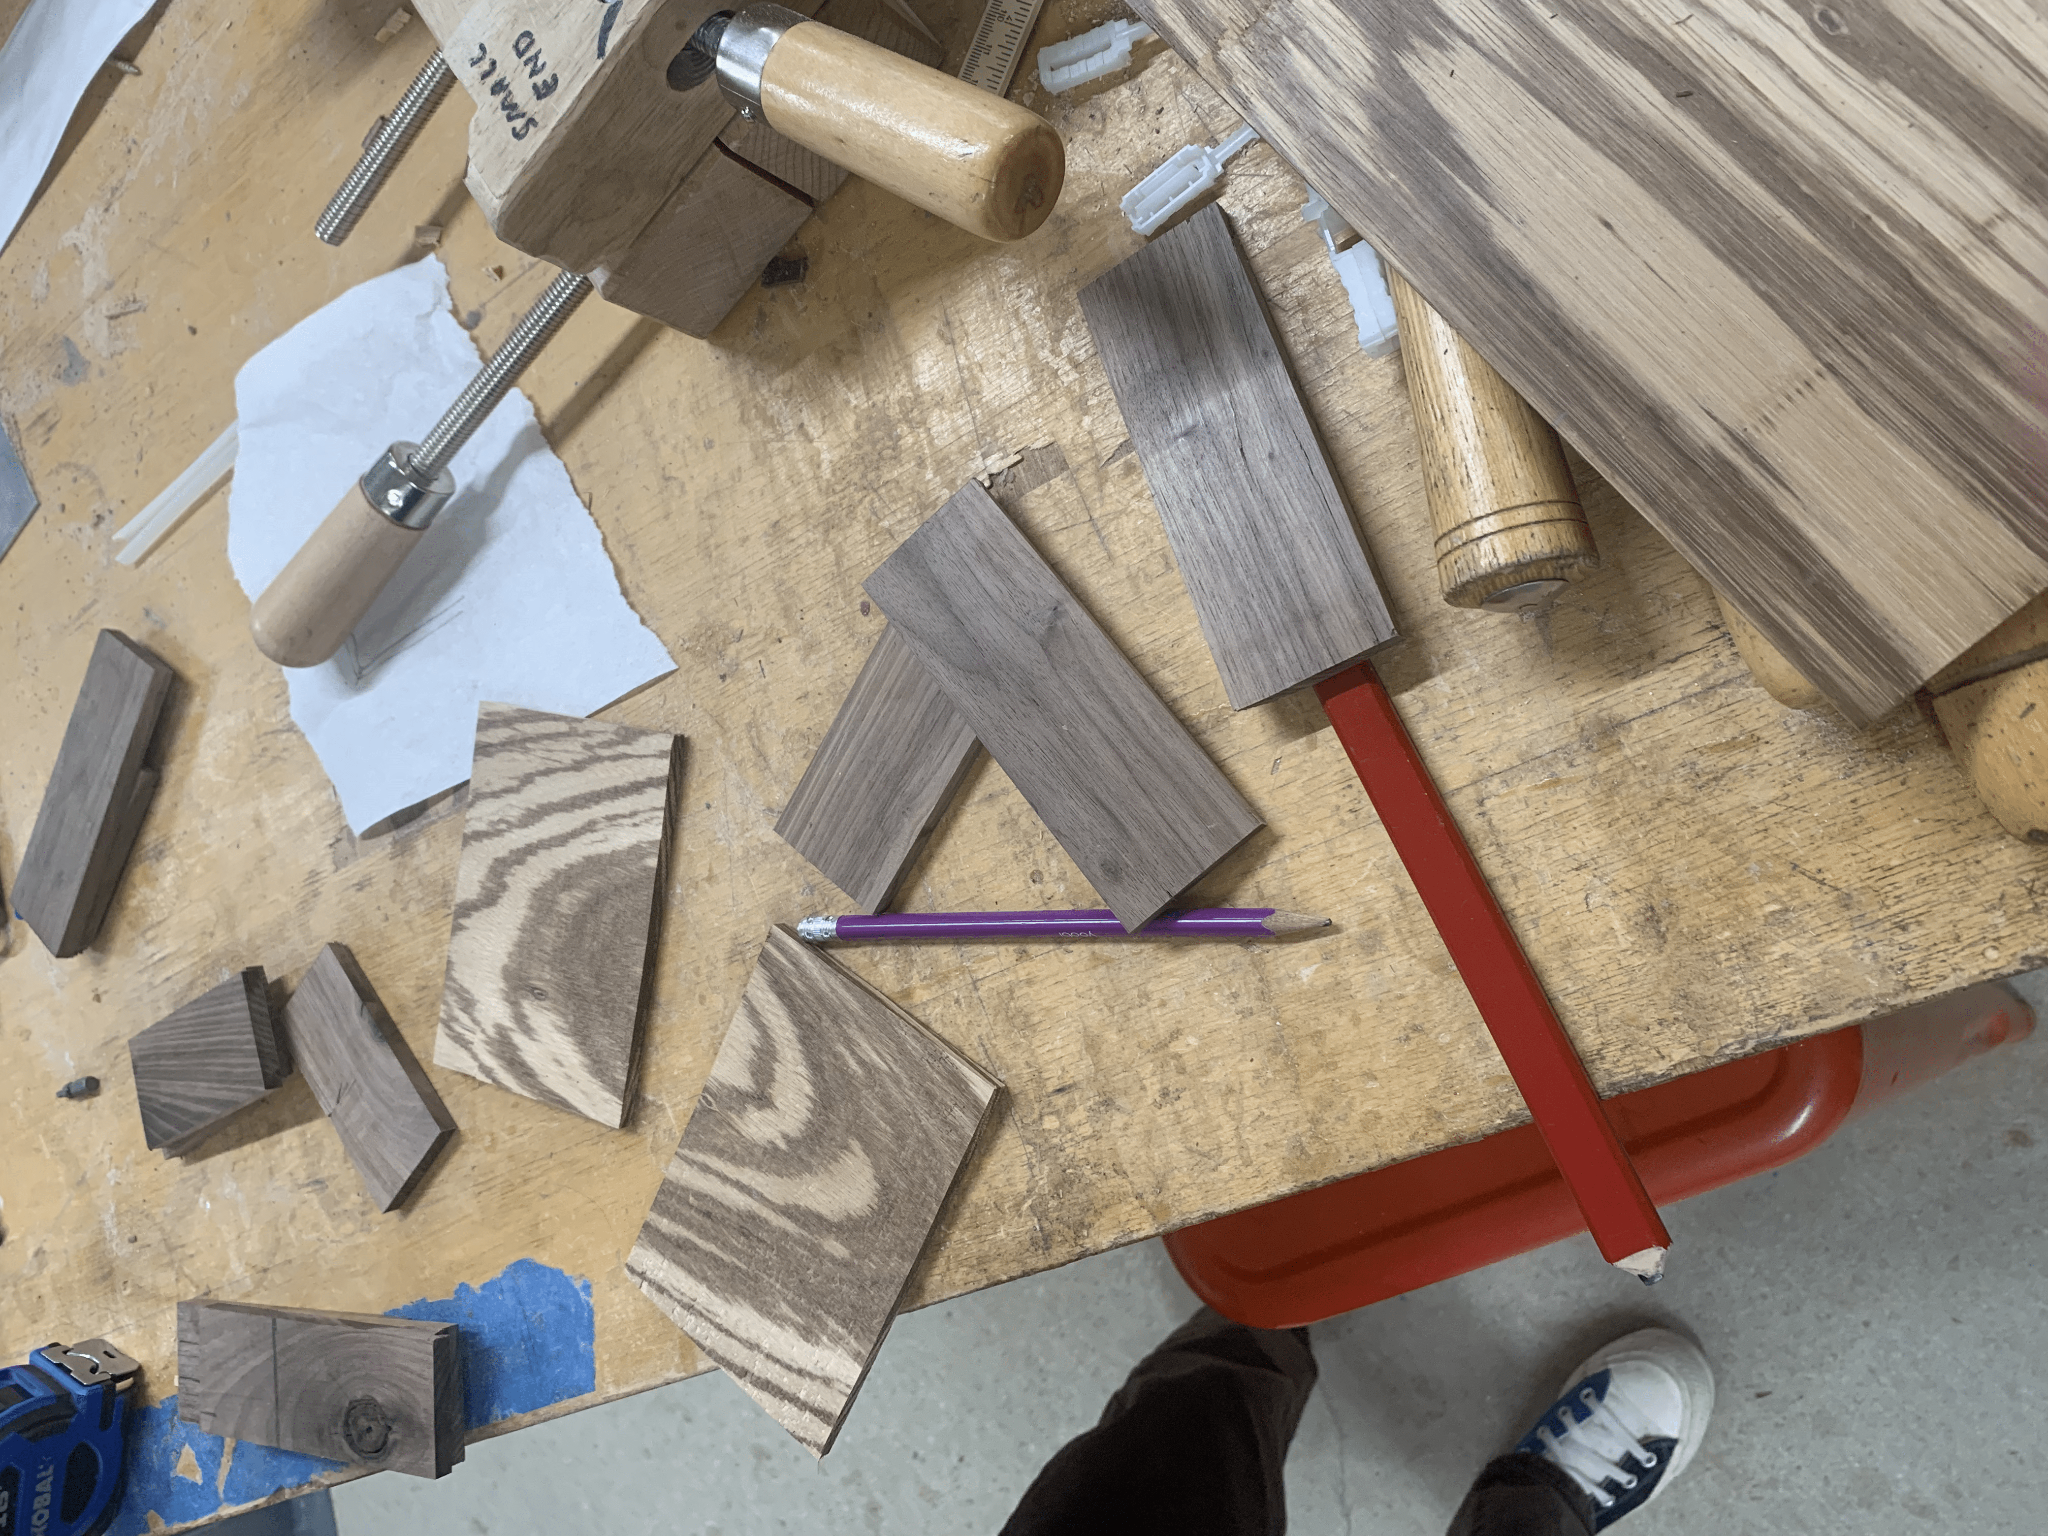
We first needed to figure out what pieces we needed to cut out to make the box. For one box, we needed one base, two long sides, and two short sides. We cut the long planks of wood into the right widths and smaller pieces using the Table Saw (the blade is very scary… and we chipped a couple of pieces because we struggled to reach over the table to run the entire plank through)
We originally planned to secure the box together using screws, but the proctors let us know that the wood may be too thin to do this. They then suggested that we use the Miter Saw to create 45 degree angled cuts on our side pieces so that they could fit together nicely at each corner, and to use wood glue to secure them. Like this:
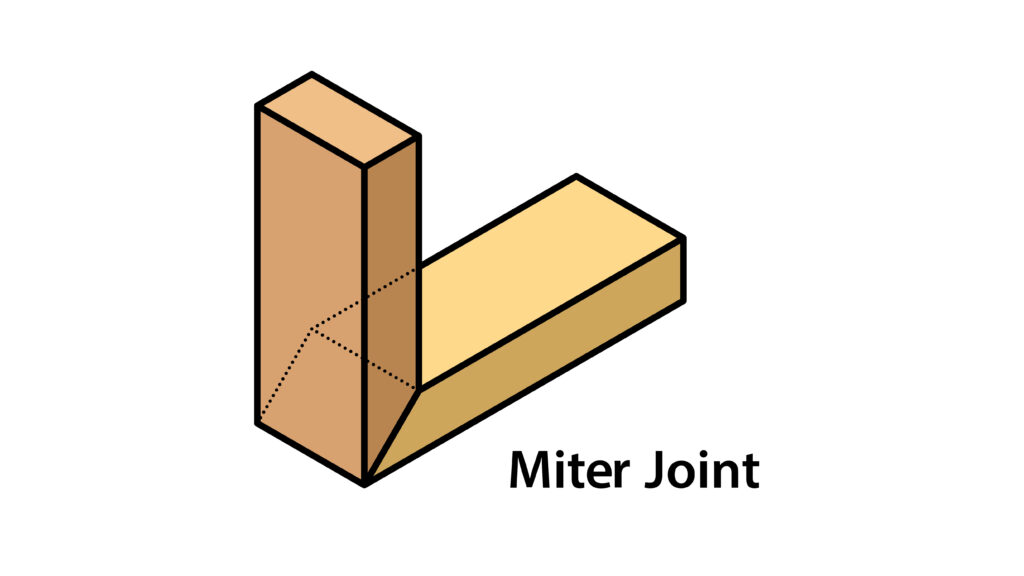
The Miter Saw was VERY loud and intimidating. But we braved through and attempted to cut our side pieces using the Miter Saw. Our pieces ended up being too small to cut using the Miter Saw, since the clamp was unable to hold our pieces securely enough that they wouldn’t fly off or move while we cut their angles. It was honestly super scary finding this out though since we were able to cut one of the side pieces using a 45 degree angle, but the piece was moving and unstable the entire time we were trying to cut it.
We eventually decided to just have the pieces glued together perpendicularly to simplify things. Like this:
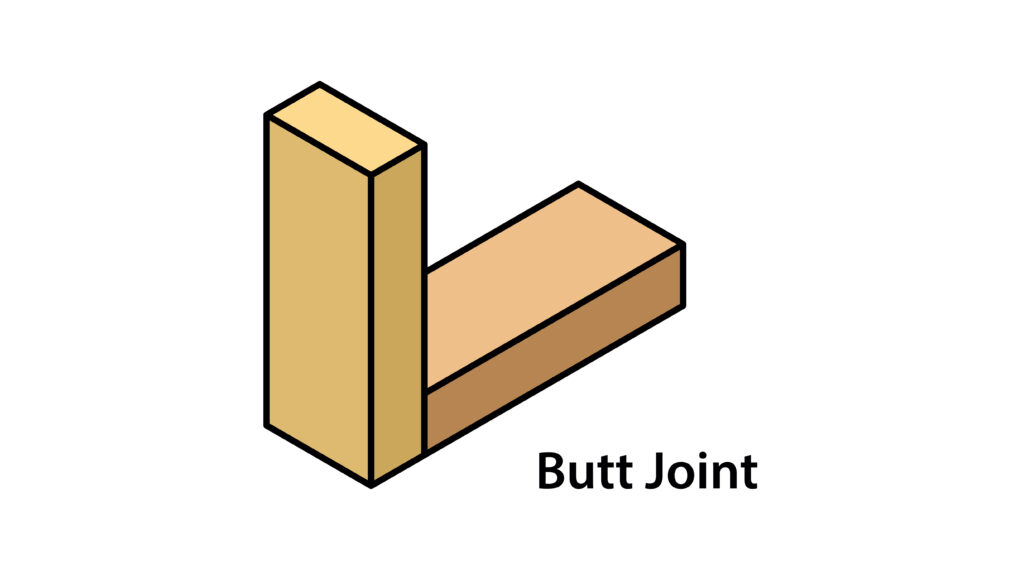
We had to trim some of our pieces down to create this joint, and we used the Band Saw to do the small trims. The Band Saw was super easy and simple to use! Eventually, we had all of our pieces sized right.
We used wood glue and clamps to secure the pieces together. This was our final product!
Leave a Reply