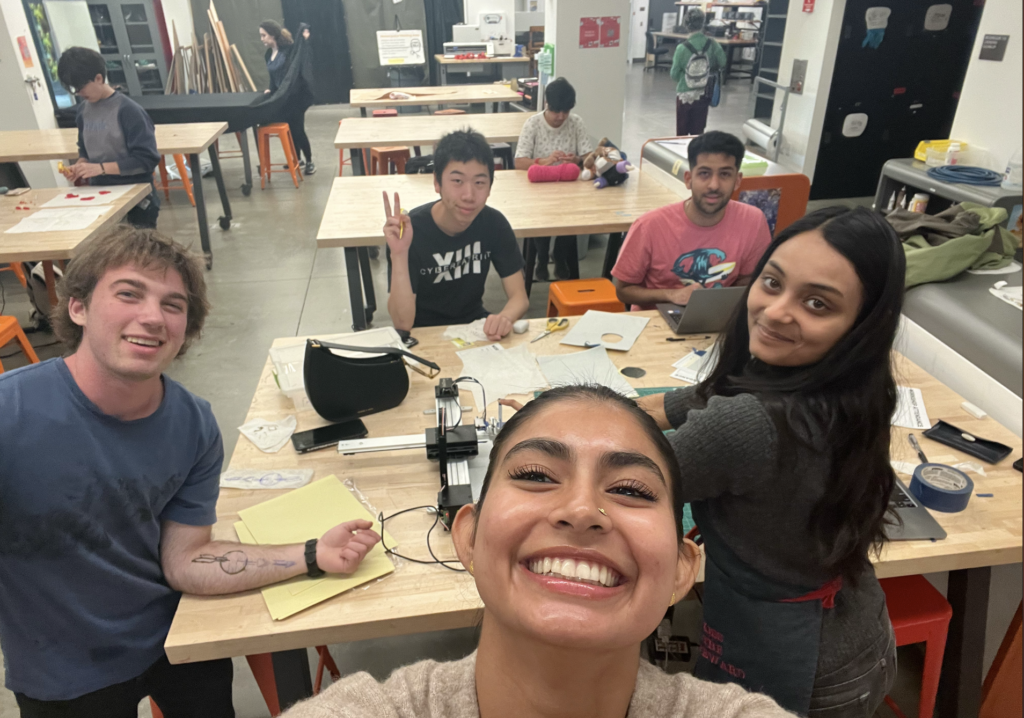
In this project, I used the AxiDraw to create tattoo stencils of mathematical graphs, and then used henna to make it last. After experimenting on myself, I led a workshop with 6 other people in the Harvey Mudd Makerspace to help them create their own tattoos! This exploration taught how to incorporate math as art, and how InkScape uses mathematical concepts for converting JPGs to SVGs. It was a good reminder of the unexpected constraints in engineering and art projects based on the hardware you have (the AxiDraw) and the medium (the henna paste). And finally, it was amazing to share my work with other people, see what type of tattoos they were interested in, and help them gain a new appreciation for henna art!
Henna art involves applying temporary tattoos to the skin using a pigmented paste made from dried and crushed leaves of the Henna plant, resulting in a stained effect. The paste is applied by being squeezed out of a cone, and the designs must work with the curvatures of the human body.
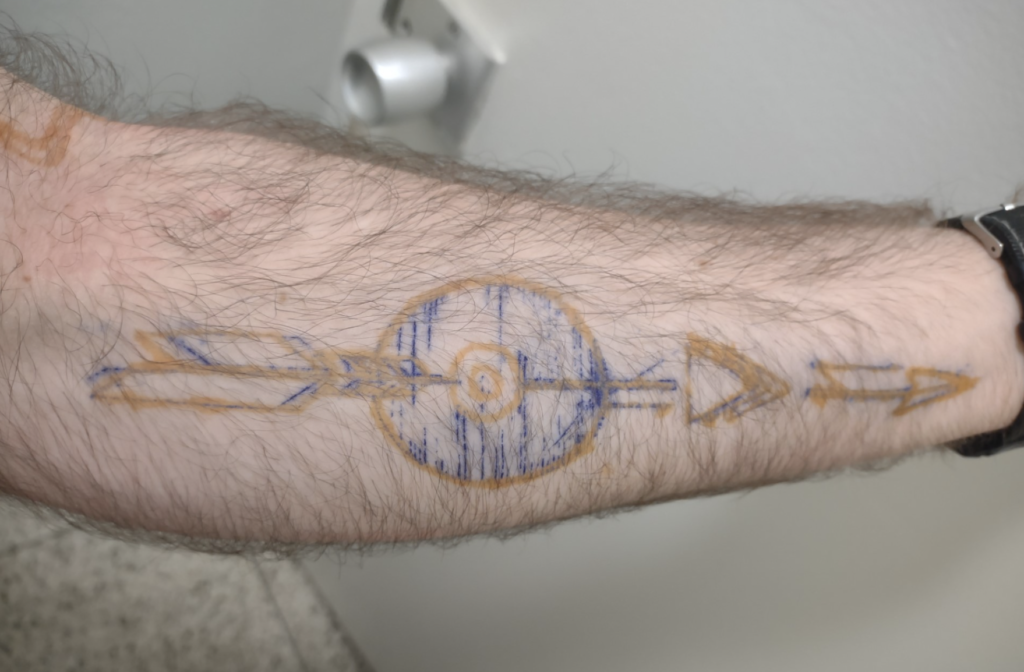
If we were to vizualize the henna being lifted off the body and put onto a flat surface, then we would see that it is often geometrically imprecise, stretched and flowy, and uses organic designs – florals, paisleys, etc. Henna’s application method makes it hard to do sharp edges/corners, and the endpoints of a line end up being like dots instead of the same width as the whole line; with mastery of the technique, these such details end up looking like embellishments instead of imperfections. I wanted to experiment with finding mathematical graphs that would work with these contraints, and also experiment with how it would look breaking out of this mold (e.g a graph with many sharp corners) and seeing how they look on the human body after being applied by hand.
Scroll to the bottom for pictures of the graphs I used, other people’s designs, and everyone’s final results!
Materials used:
– henna tubes:
– professional-grade tattoo-stencil transfer paper:
– AxiDraw
– InkScape
There were three steps to this process:
- Creating designs with InkScape, or downloading pre-made SVGs
- Creating tattoo stencils with the AxiDraw
- Tracing over the stencil by hand with the Henna art
Step 1: Make your designs, or download some for free below!
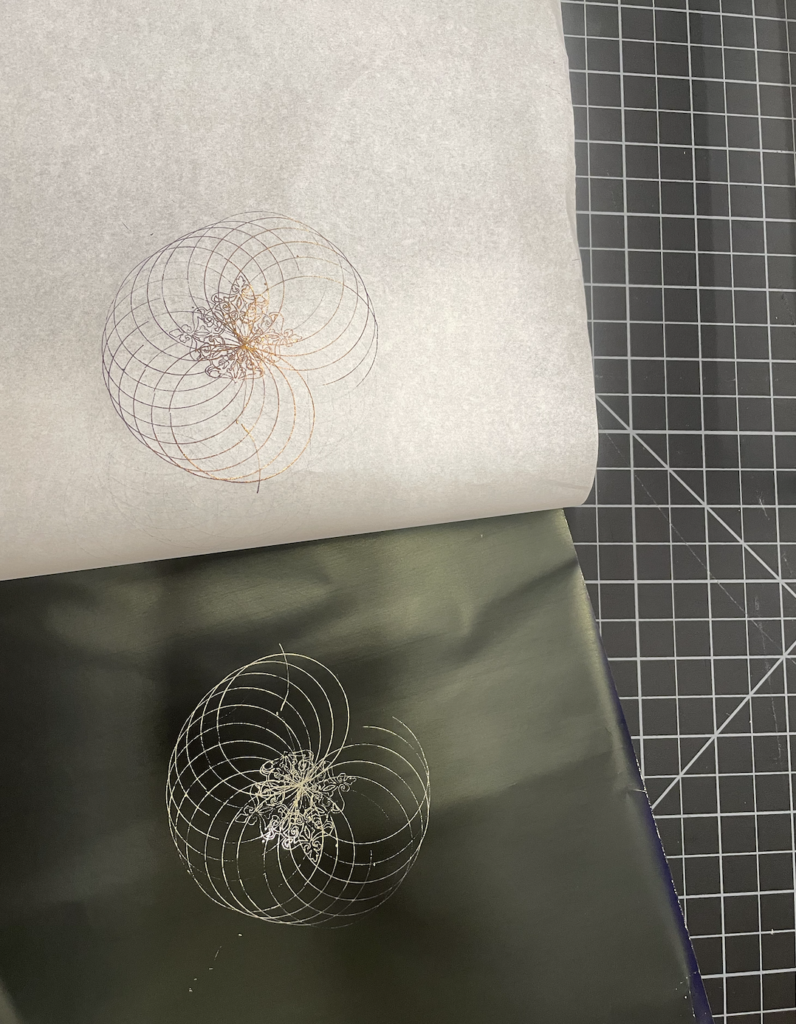
The AxiDraw takes in SVGs (scalable vector graphics), so that means we can make our tattoos any size and it will be able to draw it without loss of quality. However, this is going on a body, and we are using henna at the final step! Finer details and lines close together may look smushed in the henna, so choose the image and the sizing carefully. Designs with thick lines or filled in shapes will also stain darker, since the henna will be in a glob that takes longer to dry. Areas of your body with thicker skin will have the design last much longer (hands and feet).
With those conditions in mind, there are multiple easy ways to create SVGs. To create math-based designs, one way is Mathematica, or Python, but I didn’t have time to explore that before the workshop. If we want to use a JPEG, then we can use InkScape to convert those to images. Finally, we can just download some off free websites.
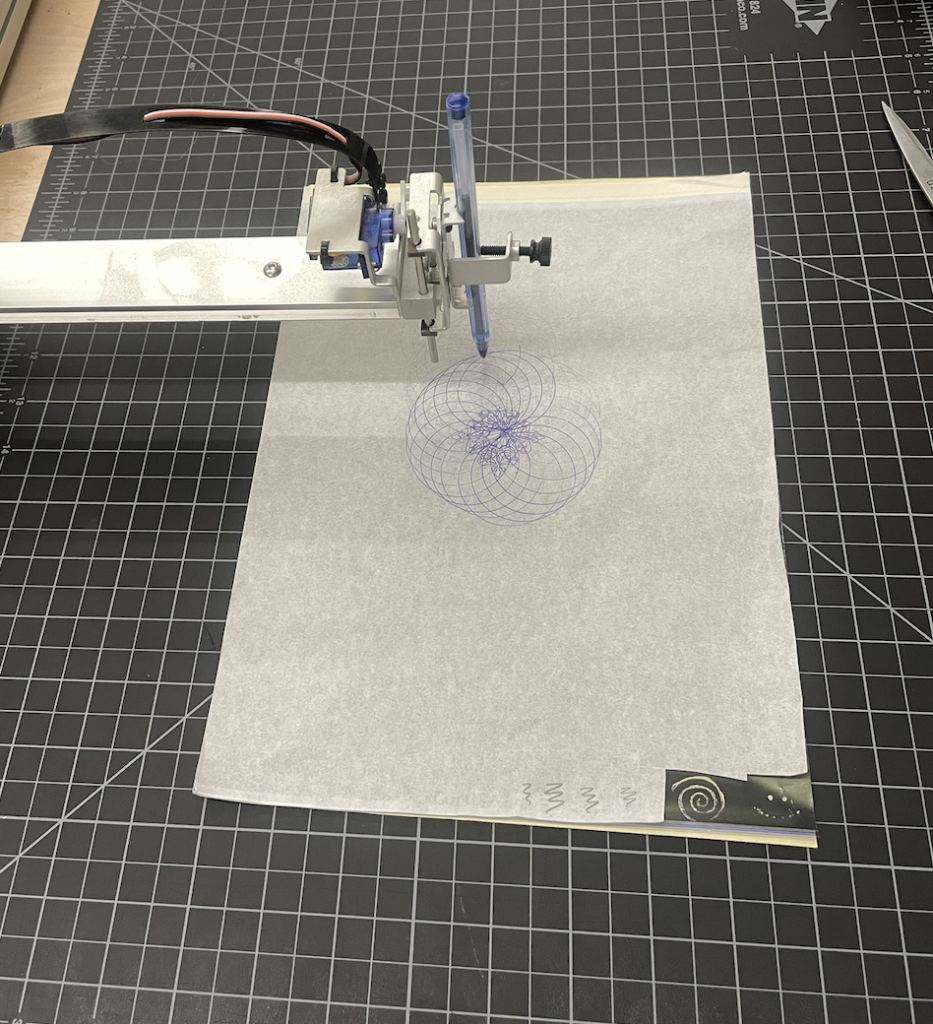
Step 2: Creating tattoo stencils with the AxiDraw
Download InkScape. Plug in the AxiDraw to connect it to your computer.
Open up InkScape. Place your design onto the rectangular page that it gives you.
I used a workmat underneath the tattoo transfer paper. Put a hard-tipped pen in – remember we’re applying pressure so that the ink transfers.
There are a lot of settings! I recommend this video to help navigate it. However, no matter how I tinkered with the settings, or how low I positioned the pen, I wouldn’t be able to get enough pressure on the paper enough to transfer. What I had to do was manually put pressure when I saw the lifter part of the machine going down and then raise my finger slightly when it seemed like it was going up. When you put your finger on the pen, you will automatically get a feel for how it will move. However, do not expect the machine to draw it as a human would. It jumps a lot, and draws shapes in unintuitive ways.
Another issue I had was that I was not able to figure out where on the paper the machine would start, so I would have to reposition the paper multiple times.
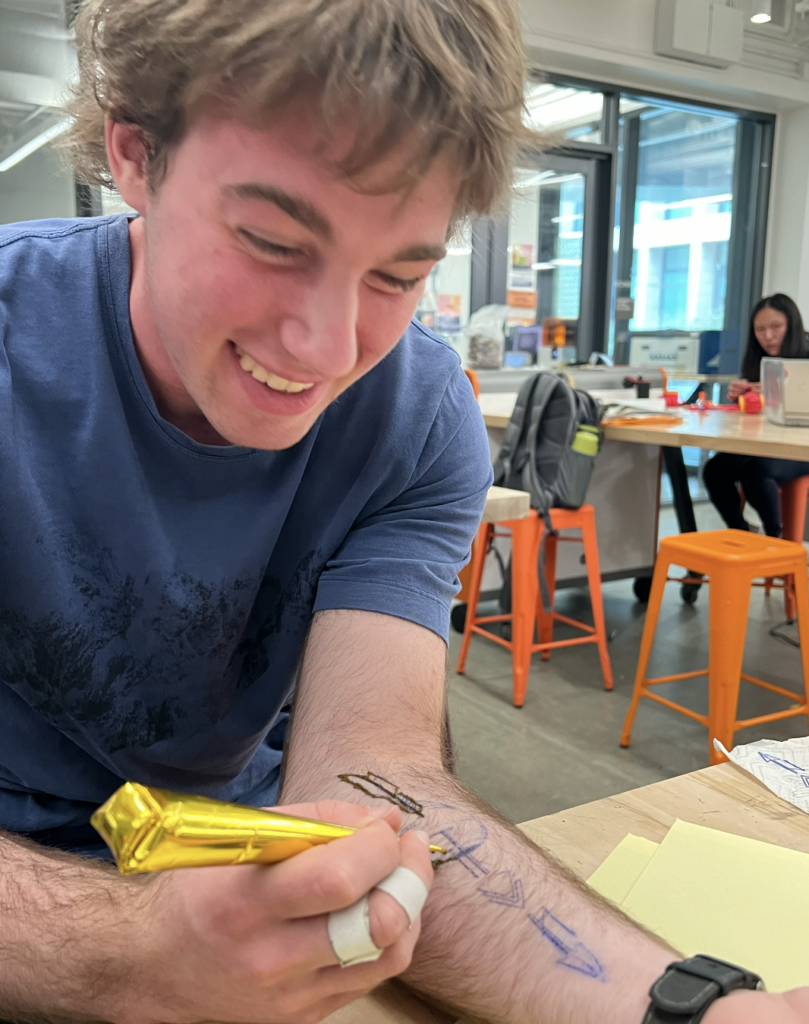
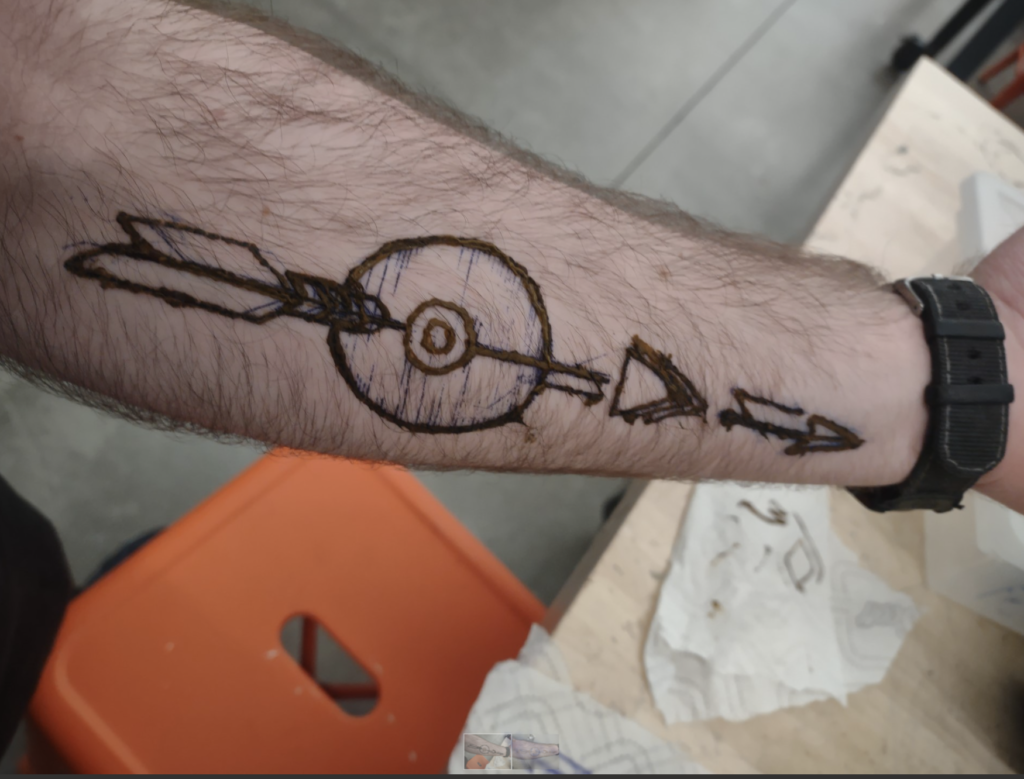
Step 3: Applying the tatto stencil and the henna by hand.
This part is relatively straightforward. I applied the tattoo stencil with water and a paper-towel in the same way we applied those temporary tattoos as kids. Avoid too much water in the paper-towel, don’t apply too much pressure, and wait a while before peeling it off. Don’t worry if it’s not perfect – once you apply the henna over it, that will be the main stain, and the blue ink will wash off within a few handwashes with soap.
Math Take-Aways
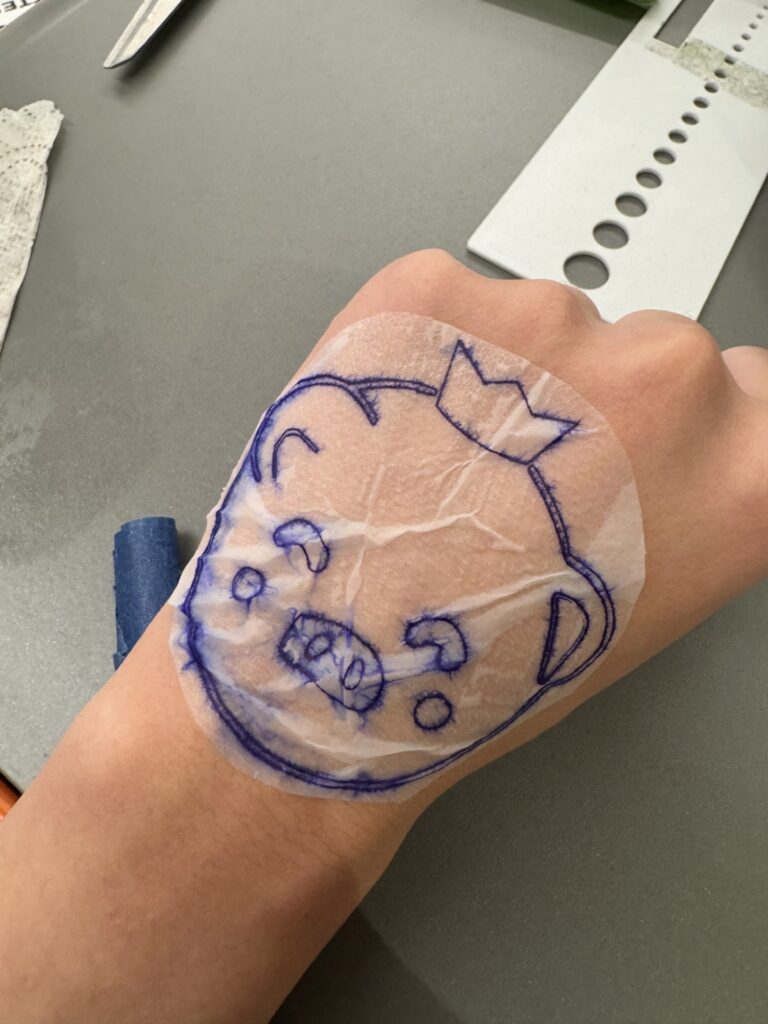
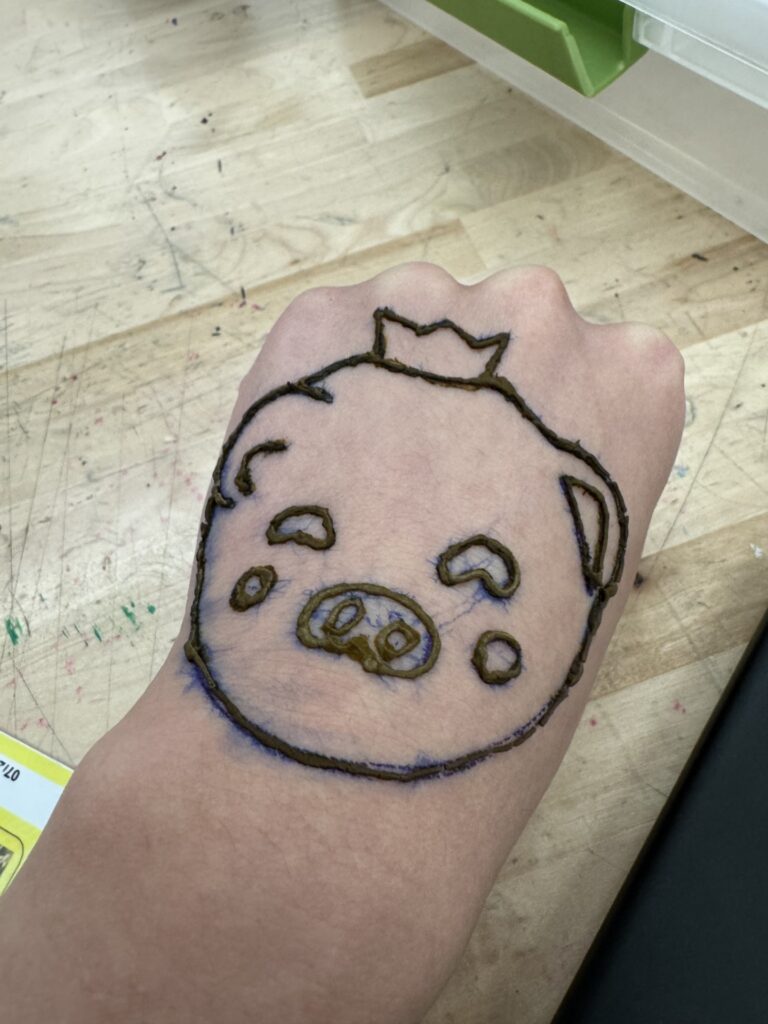
I wanted to explore using Mathematica or Python to create my SVGs. I thought this would also intrigue the workshop attendees because sometimes I forget I’m actually a nerd and other people interests are different. As soon as I ran my workshop, I realized what was vastly more popular was converting JPGs into SVGs. In InkScape, and other softwares centered around SVGs like the laser cutter software, we can click trace to convert from pixels to vectors. However, we struggled specifically with this image:

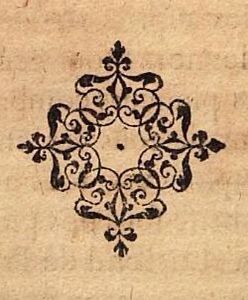
For context, here’s an image that InkScape had no problems tracing:
That’s when one of my workshop attendees showed me to how to use InkScapes curve generators and other drawing tool. We traced the lines of the pig on my computer by clicking multiple points and then the curves would automatically form between them – this reminded me of Bezier curves! Recall that Bezier curves are parameterized functions that take in a set of discrete “control points” that define a smooth, continuous curve by means of a formula. Given distinct points P0 and P1, a linear Bézier curve is simply a line between those two points. The curve is given by B(t) = P0 + t(P1 – P0 ), 0<= t <= 1. These curves are intuitive to modify. I wasn’t expecting to see a demonstration of math in computer graphics in this workshop, and was happily surprised to be able to recognize what might have been used by the software.
Some more pictures below!
Leave a Reply