Our group wanted to take on a project that explores differential geometry and curvatures in space, which was originally inspired by Ambika’s desire to do some henna on the surface of a hand. None of us really had very much experience in this realm of mathematics, so we had to spend some time exploring the space to find interesting applications. One of the things that we ran across which appealed to us was Gauss’s Theorema Egregium.
Theorema Egregium claims that Gaussian curvature at any point on a surface in R3 is invariant between the local isometries of the surface. What this means is that the level of curvature on a shape is preserved as that shape is transformed (as long as the shape is not bent or warped to break isometry. This theorem is commonly pointed to as the long-form explanation as to why bending your pizza from the crust keeps it from drooping, and why corrugated tin roofing is very strong laterally.
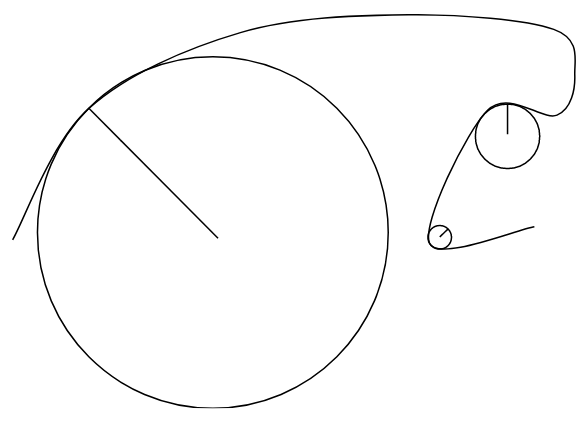
While we thought that this idea was an interesting possibility to explore for our making project, we didn’t come up with any ideas that were able to concretely use the theorem itself, so we instead settled on using our project to explore the sub-problem of Gaussian curvature. So what is Gaussian curvature? In 2 dimensions, it’s quite simple to calculate this value. At any given point, it is possible to draw a circle of radius r which fits exactly into the curvature of the shape (1st and 2nd derivatives are equal to the derivatives of the curve). The value 1/r is the Gaussian curvature at that point, so an area with a very tight turn would have a small radius, and thus a high curvature, while a shallow curve would fit a small circle, leading to a large curvature. On a completely straight line, the Gaussian curvature is zero. Also, important to note is that a circle which lies underneath the circle is given a negative curvature value, while a circle above is positive.
Taking the Gaussian curvature on a 3D surface is similar, but with a bit more setup. First, one must find the normal vector to the curve. There are infinite planes which can contain this normal vector. Each of these planes intersects with the 3D shape to form a 2-dimensional curve, which we can find the Gaussian curvature of. We pay attention in particular to 2 of these planes, which are the ones that contain the highest and the lowest valued curvatures. The 2D curvatures on these 2 planes are called the principal curvatures, and Gaussian curvature on the 3D shape is the product of these values.
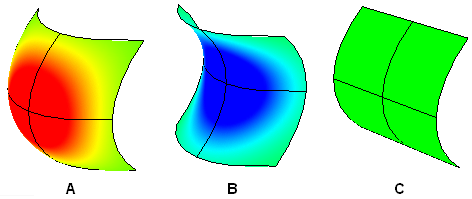
A shape with a positive Gaussian curvature is called a dome (A), while a shape with a negative curvature is a saddle (B). If either of the principal curvatures is completely straight, the product will be zero.
Going back to the pizza example, this is the reason why bending the crust keeps the pizza from folding: if the Gaussian curvature at any point is constant, the flat pizza has a curvature of 0, and bending the pizza in one direction only keeps the overall curvature at 0. If the pizza were to bend lengthwise as well though, the product of 2D curvatures would be nonzero, contradicting the theorem. So instead, the pizza stays flat.
Moving forward, we planned to find the Gaussian curvatures of some part of the body and thought that the hand would be a great fit, since its curves looked complex in appearance. Our proof of concept involved creating a mesh of a hand to measure the radii of the “circles” that would in theory fit inside the curves we chose.
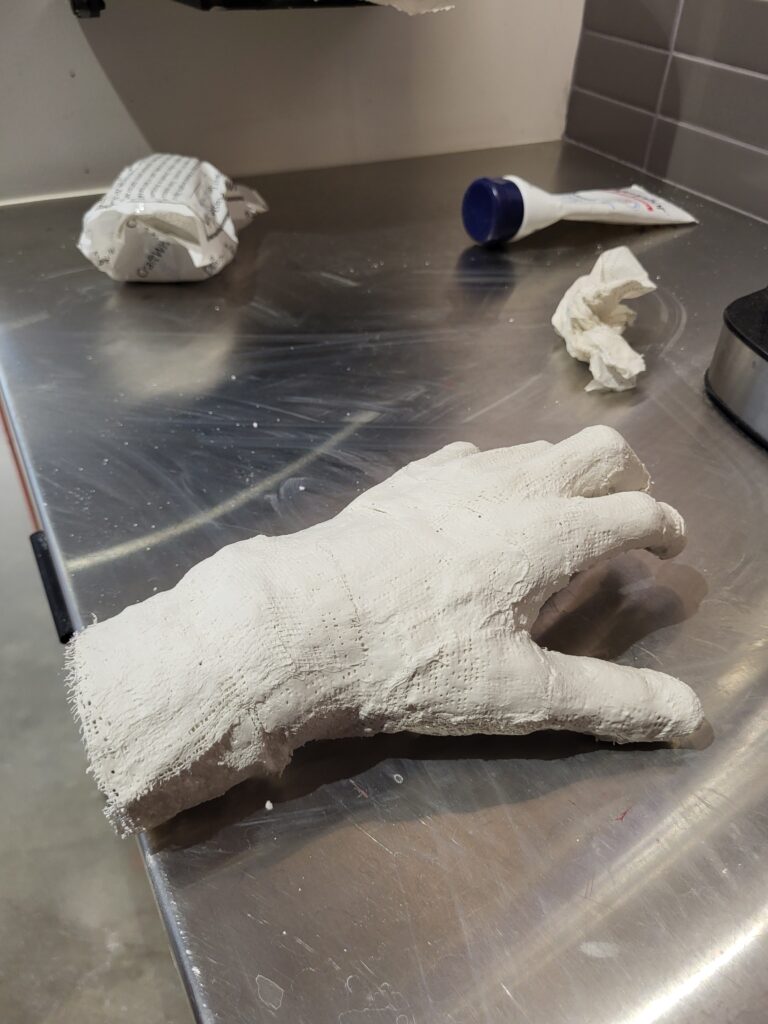
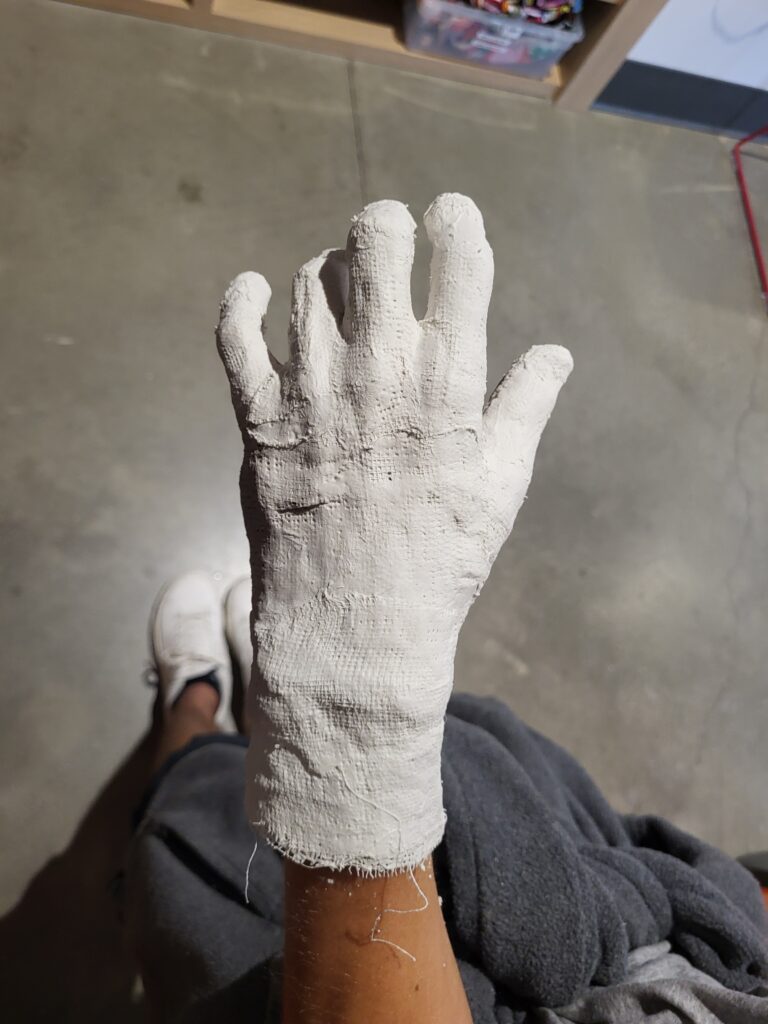
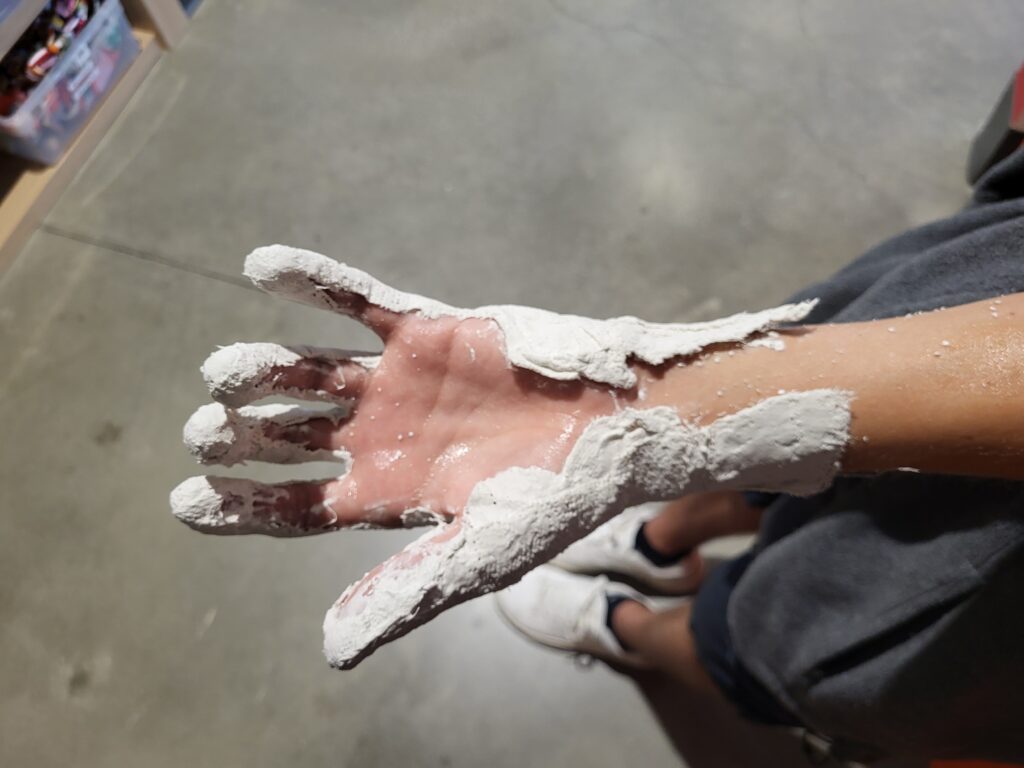
The way we created a 3D model of a hand was actually really fun; we wrapped Adam’s left hand (in a neutral position) with a mesh plaster that was fairly easy to use—just wet the layers and conform them to the surface. Aquaphor acted as a nice middle layer between the skin and plaster. Also, we only covered the top of his hand and around the fingertips for ease of removal. After the cast was removed and dried, we noticed a couple weak, flaccid areas of the fingers that were easily fixable with some hot glue. Overall, the plaster conformed well to the curves and ridges of Adam’s hand, providing us a lot of curves to work with.
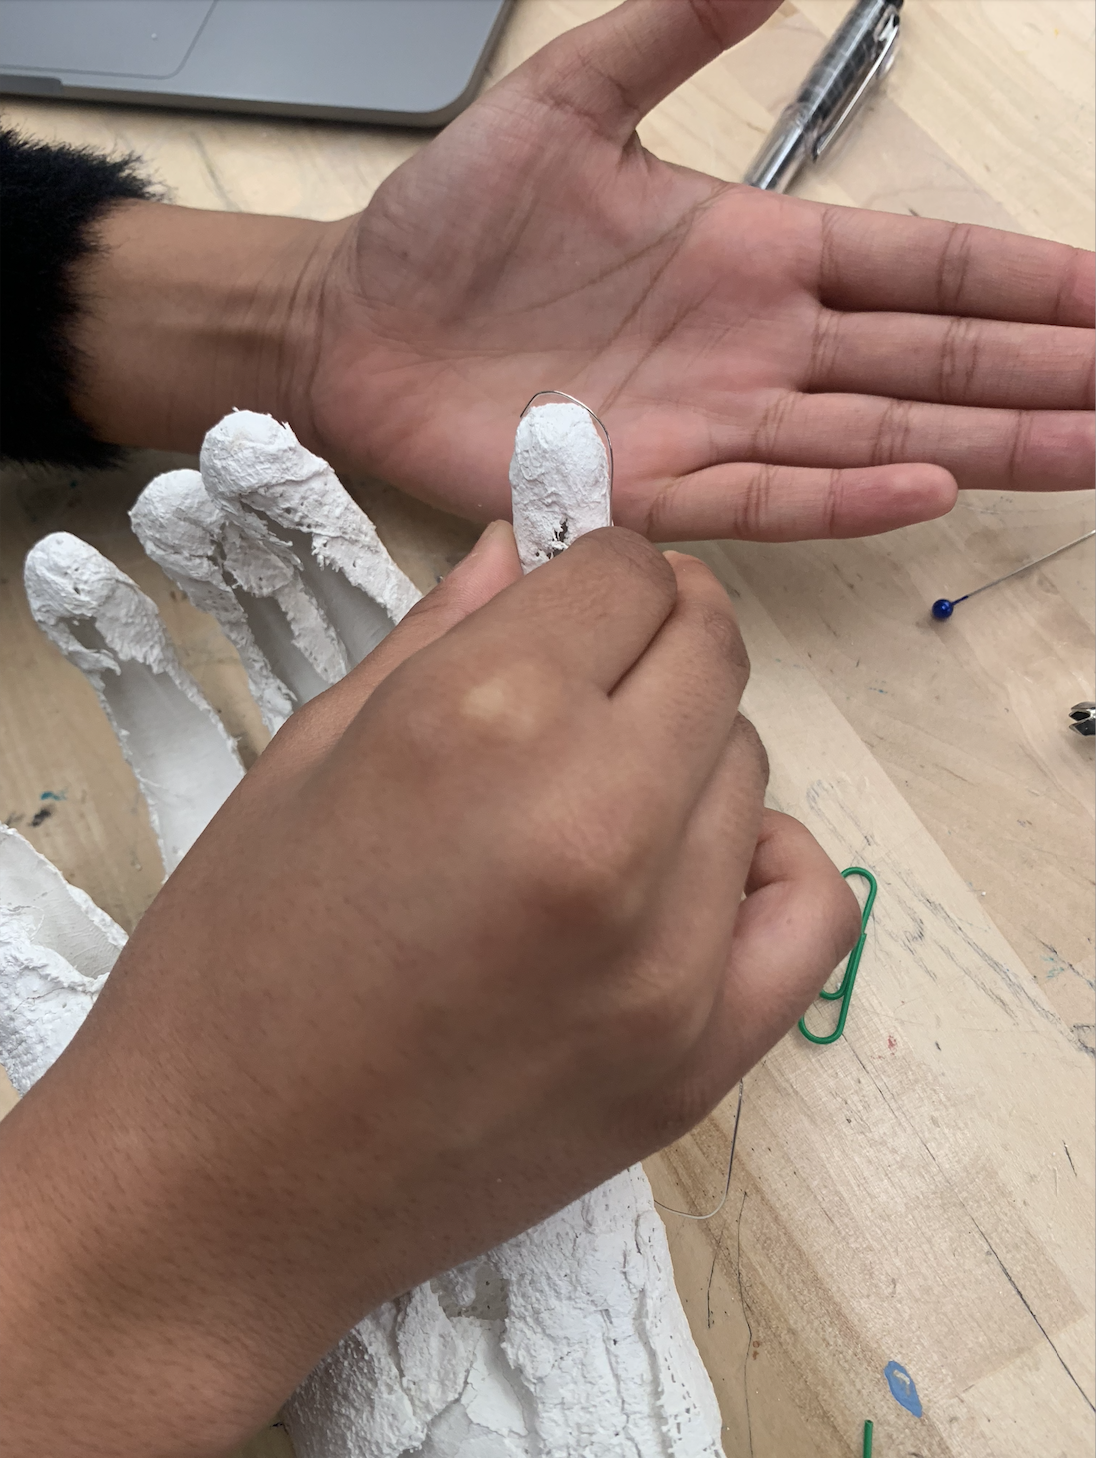
We then moved onto collecting radius measurements of the curves we chose on the hand. Twenty nine areas of the hand were marked for measurements (not pictured) that included all knuckles, fingertips, flat areas, and saddle-appearing surfaces. We found it easier to find the diameter values instead of directly measuring the radii because it was kind of difficult maneuver the large calipers around the curves for an accurate measurement. So, we decided to use a small wire that we bent around the curves and roughly measured the diameters of the circles (pictured left). Those values were put into a Google sheet where we used a simple function to halve the diameters into radius values we needed for the Gaussian curvature—which is again, the product between the two principal curvatures, (1/r) min * (1/r) max.
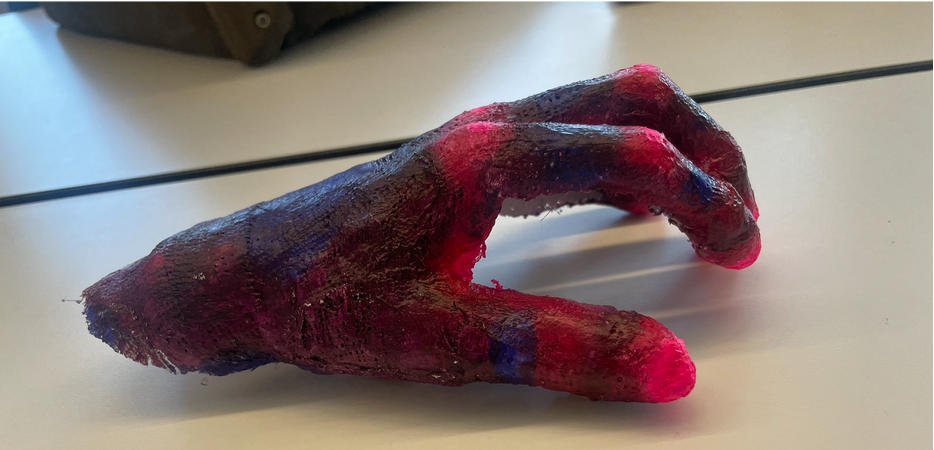
We thought it would be really cool to represent the our findings by color coding the values into a gradient from the “curviest” curves to the “flattest” curves and painting them onto the hand. The highest curvatures would be bright pink and the lowest ones would be a dark blue—everything in between were roughly grouped into colors that represented the gradual decrease of the curvature as we moved from different target areas of the hand. The paint actually worked as a nice visualization of the curve values because it showed consistency between which areas were the most curvy and the ones that were flatter. The sheet data and final product are pictured below!
Leave a Reply