Making Math with Prof. Kagey was a project-based class in which we created physical and digital designs to illustrate math concepts. My 4 projects (with their full blogs linked):
P0: AxiDraw, InkScape, Mathematica, and Henna
P1: Kernel Convolutions for Photography Filters in Python
P2: Plaster Casting Hands and Gaussian Curves
P3: OpenSCAD Modeling with the Golden Ratio
Thank you to Prof. Kagey for the amazing curriculum and to my peers for their innovative ideas and assistance in all of these projects!
P0: AxiDraw, InkScape, Mathematica, and Henna
I was a TA for Making Math for the first half of the class. This was not an official class project, but I ran a Harvey Mudd Makerspace workshop using the concepts I learned in class because I am just a nerd!
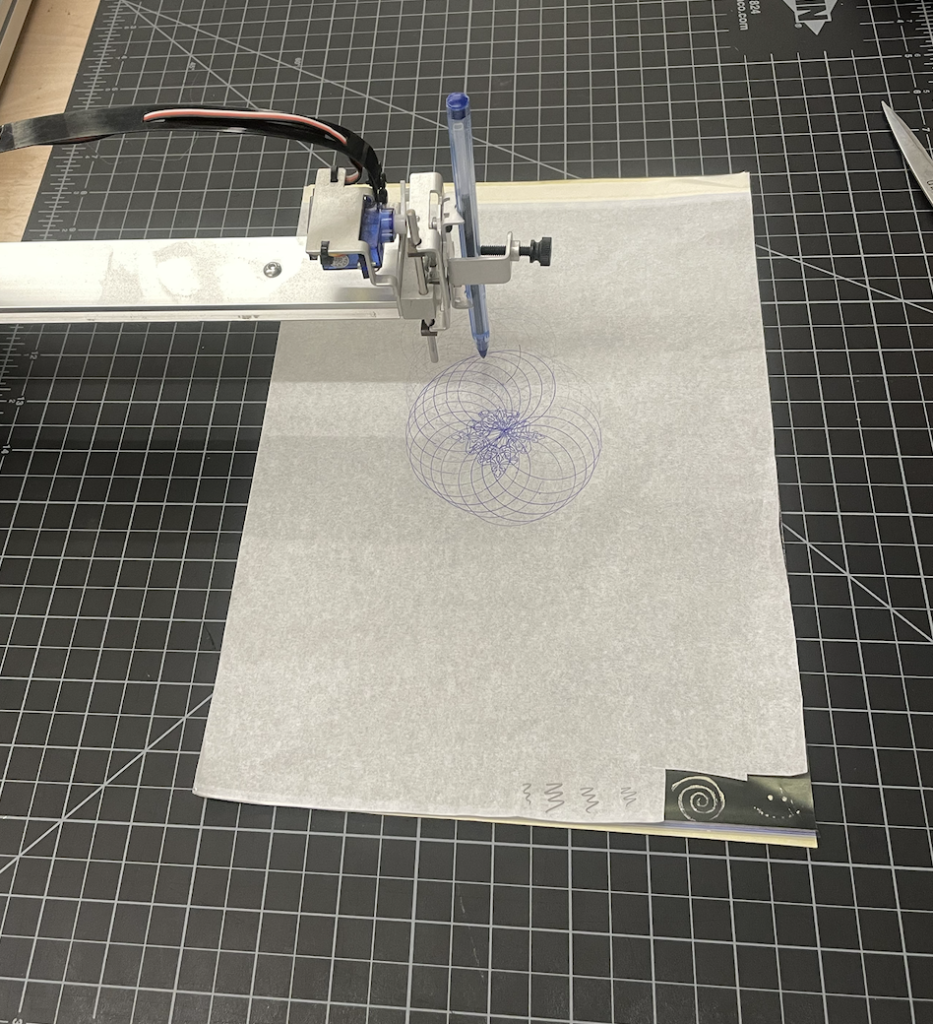
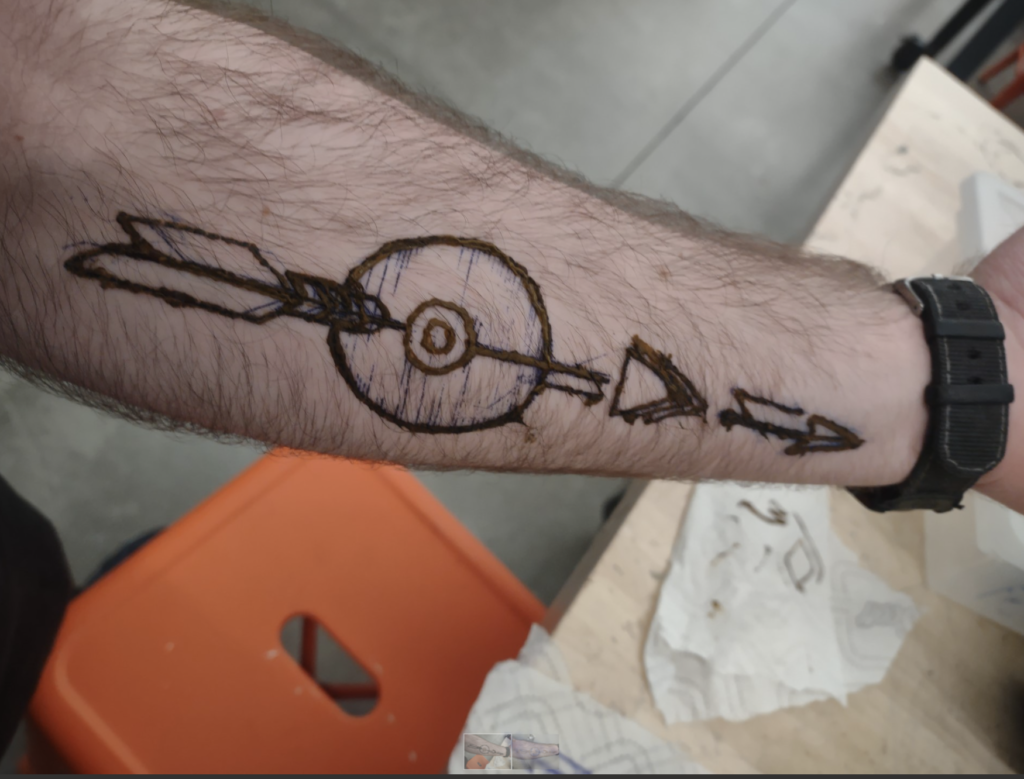
I used Mathematica to create SVGs that I then imported to InkScape to overlay with traced images from online to create new tattoo stencils! Using the AxiDraw, I etched these SVGs into professional-grade tattoo stencil paper and gave out henna tubes to create 6 different tattoos. Here are some pictures from the workshop:
Look at the AxiDraw go! The tattoo stencil is being created on the other side of this grey paper:
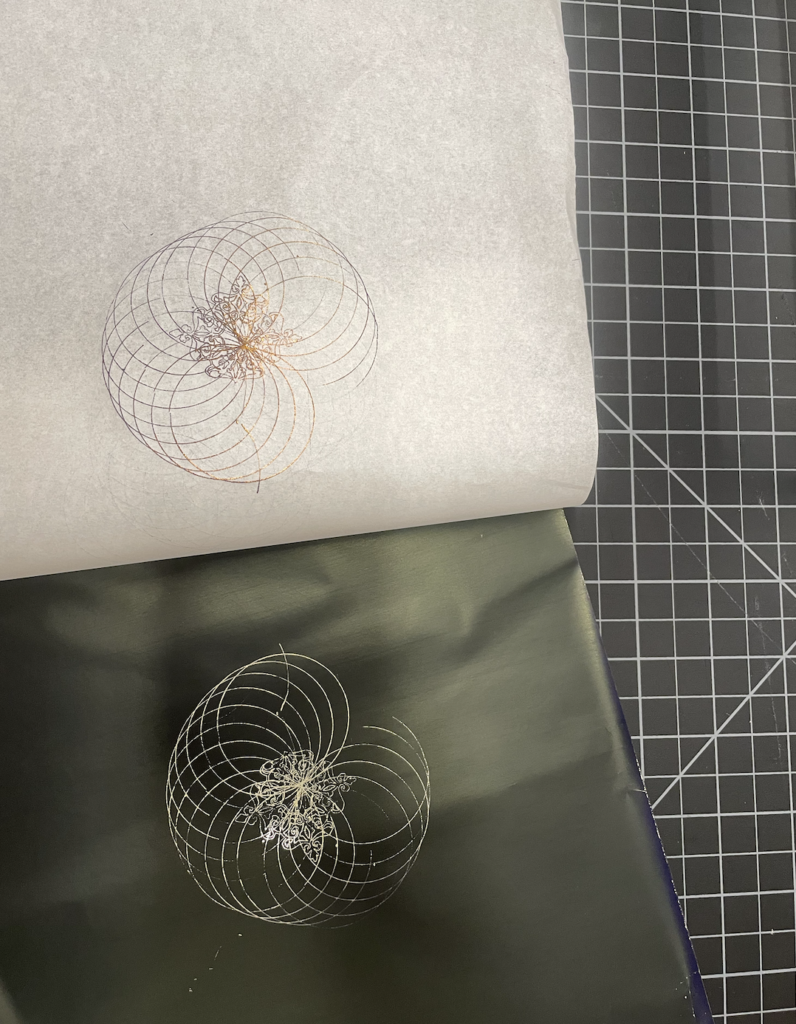
The ink pad has transferred the design:
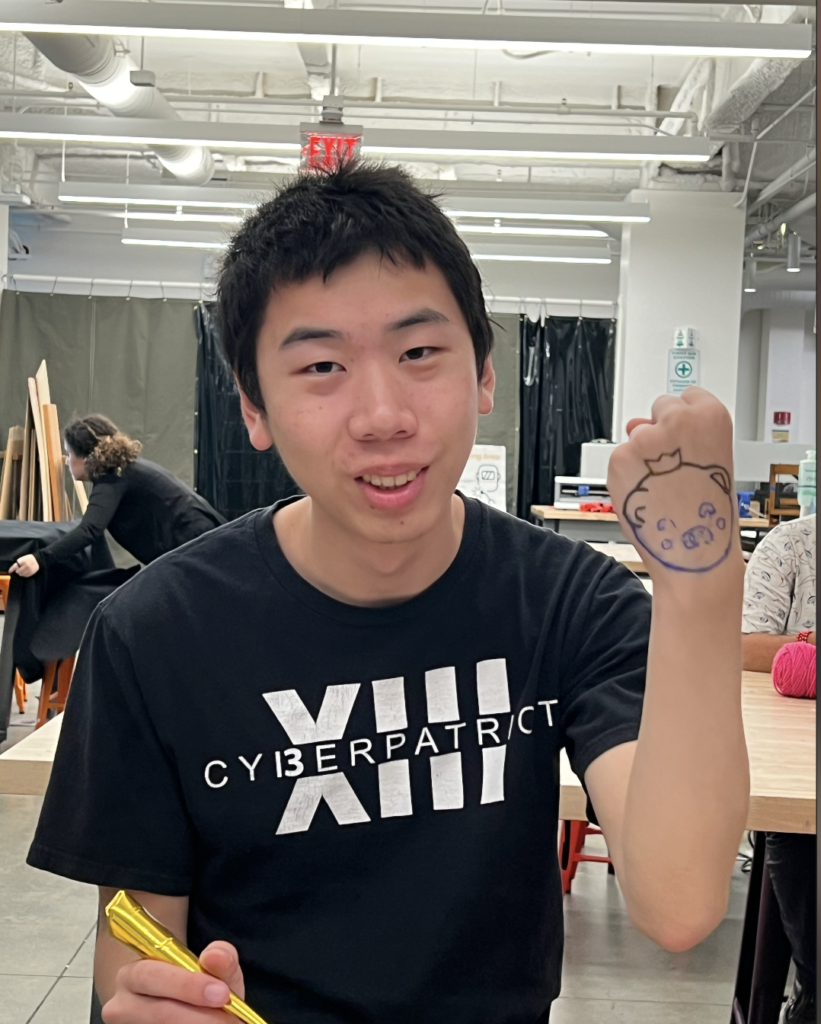
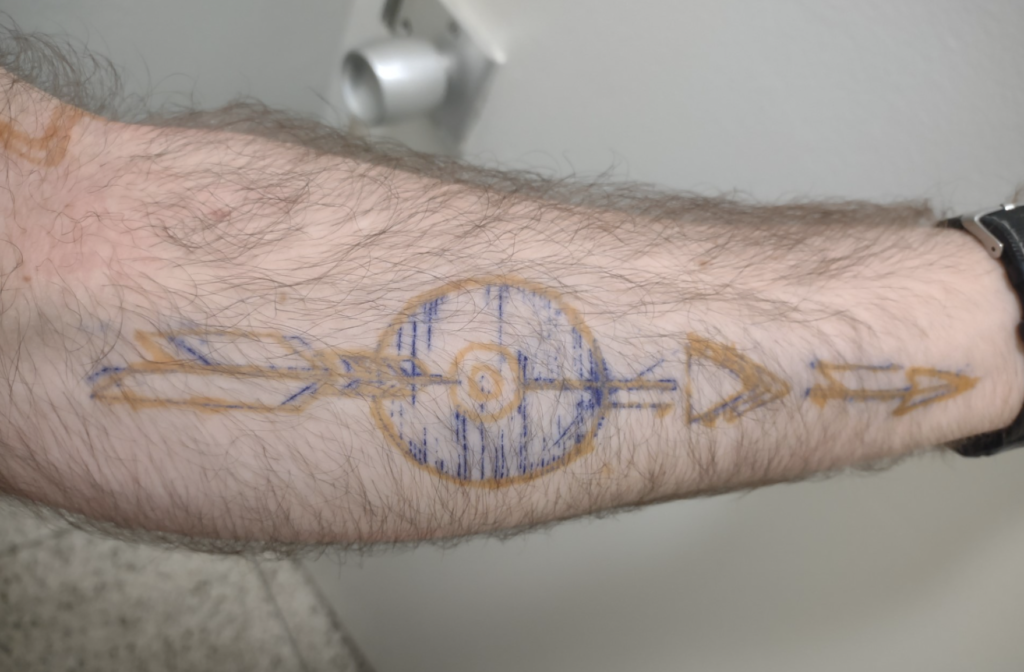
I use water to transfer the ink to the skin:

Success!
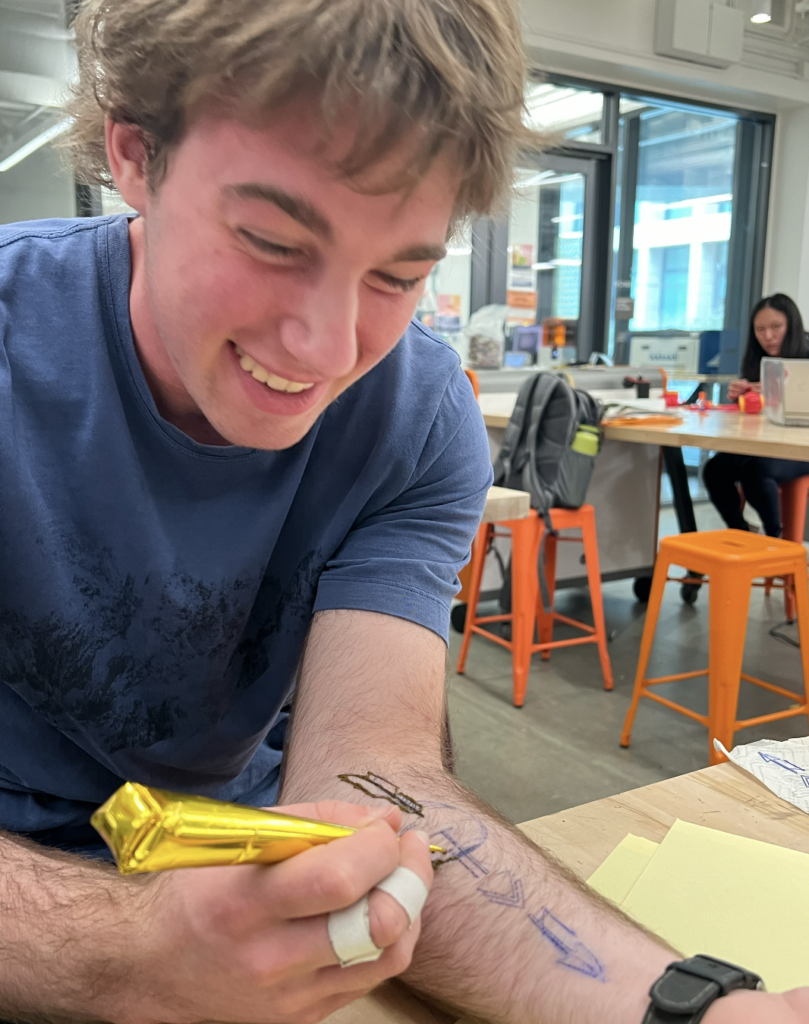
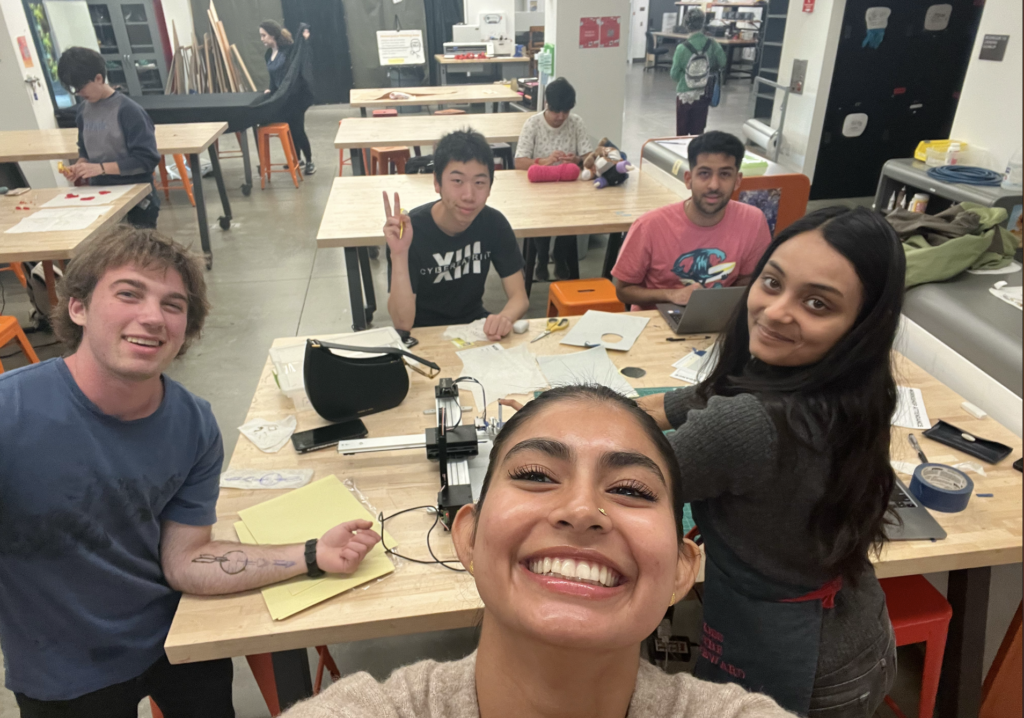
I learned a lot about InkScape as well, such as the trace tool and it’s Bezier Curve mechanism. Shout out to Maya for showing us how henna tubes are traditionally held! Great workshop.
P1: Kernel Convolutions for Photography Filters in Python
I was also taking MS161: Computational Photography this semester. We briefly talked about kernel convolutions to create photography filters in that class, using Python code that used 6-10 libraries at a time! I quickly lost track of what was happening under-the-hood.
Thus, for this project, I chose to create a bare-bones Python program in a Google CoLab that you can follow along that visualizes kernel convolutions on a small amount of pixels at a time to get an intuition for the math behind them. I learned that kernel convolutions use unconventional matrix multiplication that makes use of the 3-D matrix that images are stored in but keeps the math simple by processing smaller sections of the array at a time. This math needs fewer parameters by making the correct assumption that the range of pixels in a given portion of an image’s array will be limited (if you zoom into an image, the pixels will all be a similar color) – the reducing of parameters optimizes machine learning models. Even cooler, this math allows us to visualize the filter effect it will have on a large image by visualizing the kernel matrix , demonstrating a beautiful connection between linear algebra and visual intuition.
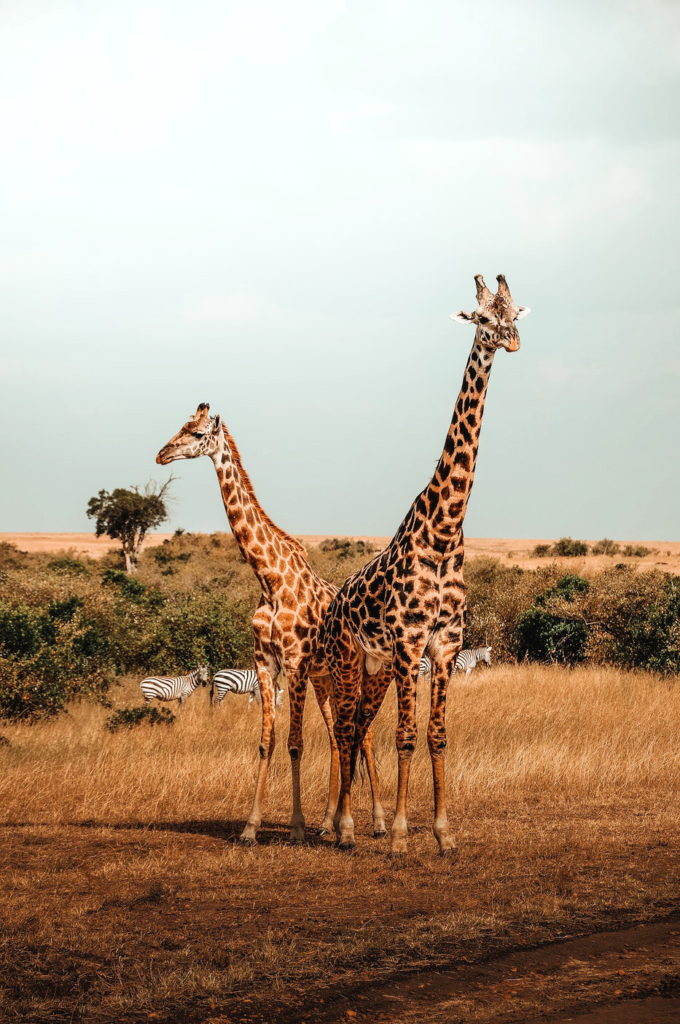
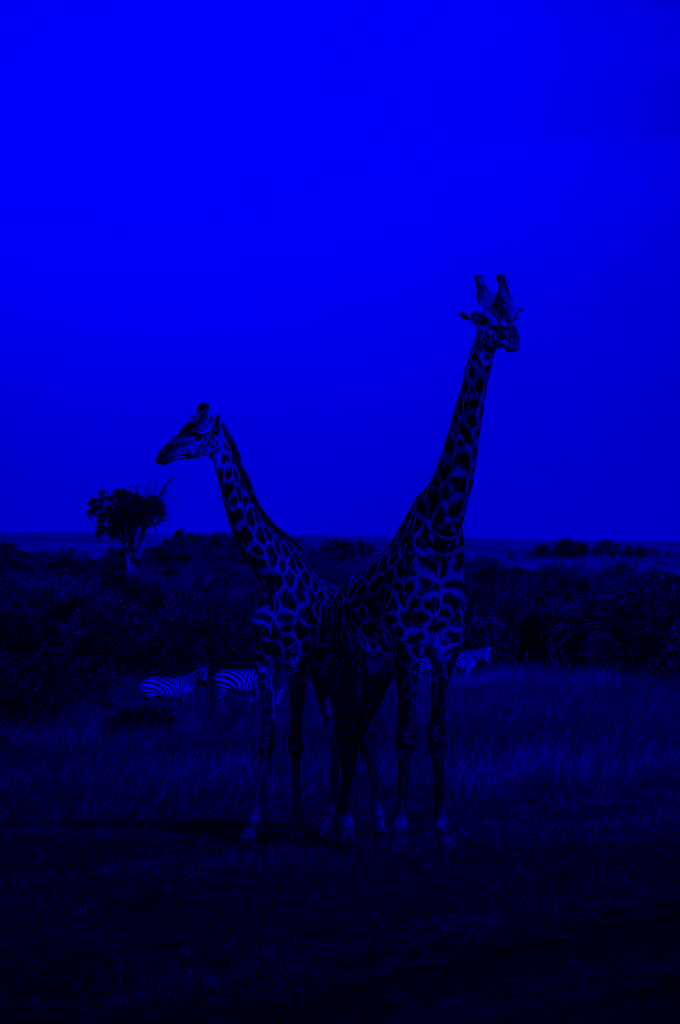
In addition to creating the interactive Google CoLab that shows how kernel convolutions work, I made a photography filter that I’ll call “Emo Nostalgia”. The filter is made by slicing out the blue channel, convoluting it, and splicing it back in. Original image:
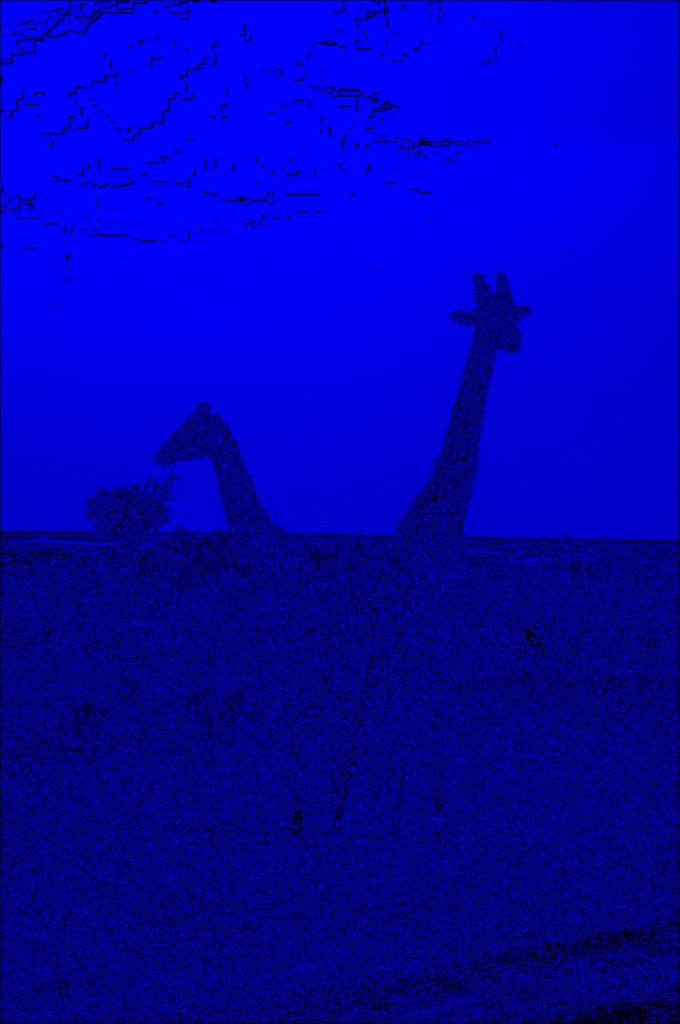
Slicing the blue channel to isolate:
Applying the emboss kernel on it:
Splicing the embossed blue into where the blue channel originally was:
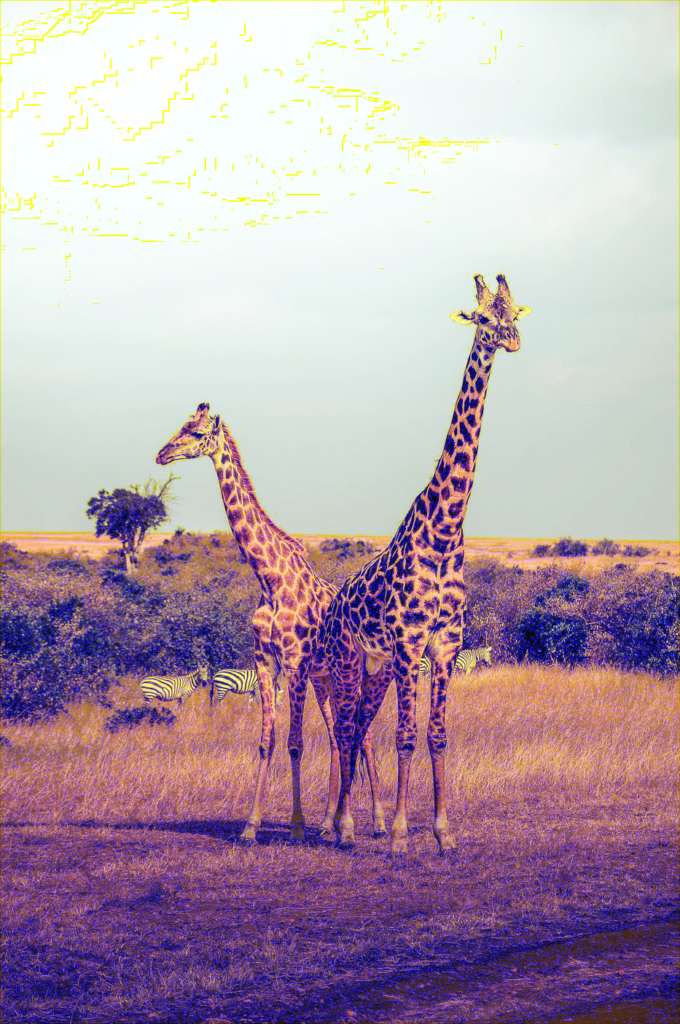
Looks just like what a giraffe might visualize in his mind’s eye if he was sad and reminiscing about life before global warming or something.
Again, all this code and my blog for this can be found here: https://colab.research.google.com/drive/1NwtY2QWh6T3lrSM5gBbL-cNC9q56FCeI?usp=sharing#scrollTo=Qnc7_IbM0y-k
P2: Plaster Casting Hands and Gaussian Curves
I worked on this project with Margaret Malinao and Adam Sage to measure the Gaussian curves of the hand. After my henna work above, I wished to create a computer program that takes in the Gaussian curve of a surface and can create a tattoo template that creates the illusion of a flat image on the curved canvas. The best example I found of this kind of art was on Reddit, of a large scale art piece with a similar goal.
However, we had no idea how to even start a project like that. What we did have was a role of plaster.
We decided to make a plaster cast of Adam’s hand and paint a gradient of it’s Gaussian curvature. Being able to accurately model a hand and visually describe the curves is connected to 3-D digital modeling, and important in prosthetics and sculpture. Getting precise values for the Gaussian Curvature manually is also a challenging task. Here’s how we did both:
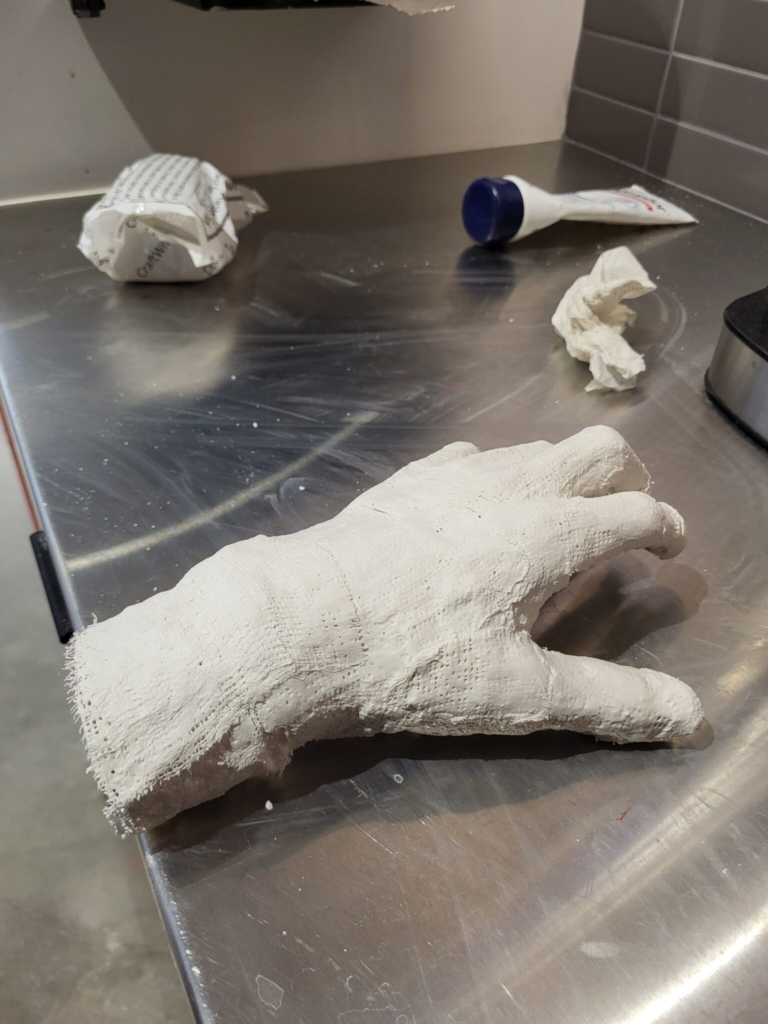
First, we took a plaster cast of Adam’s hand with this exact plaster mesh:
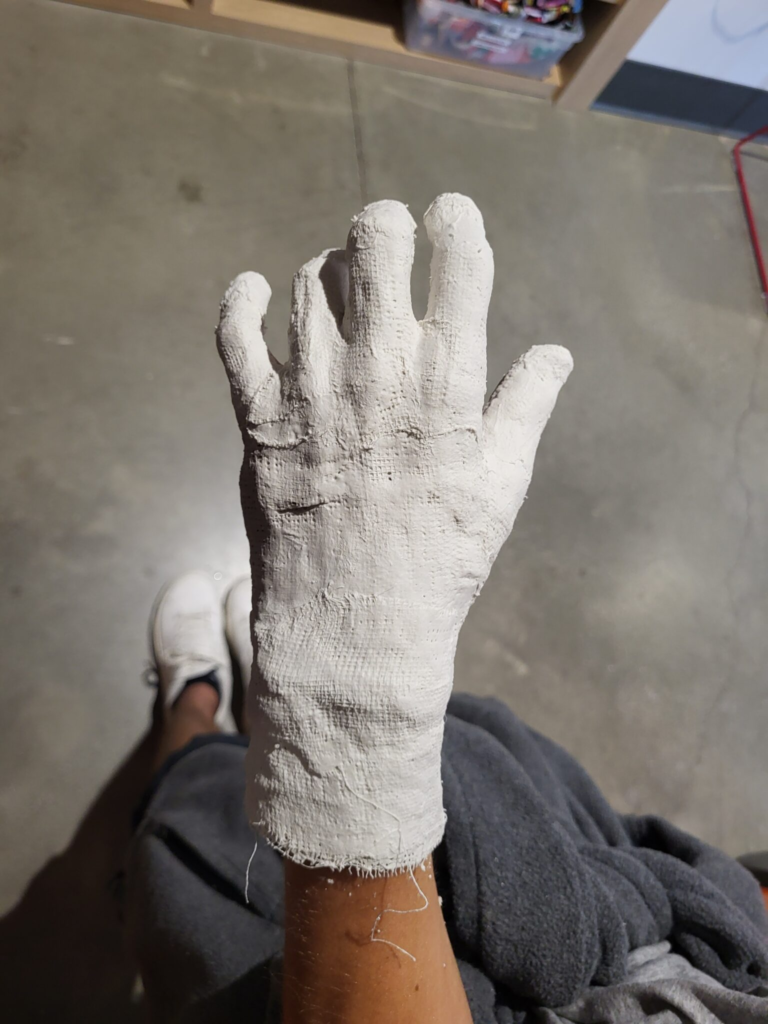
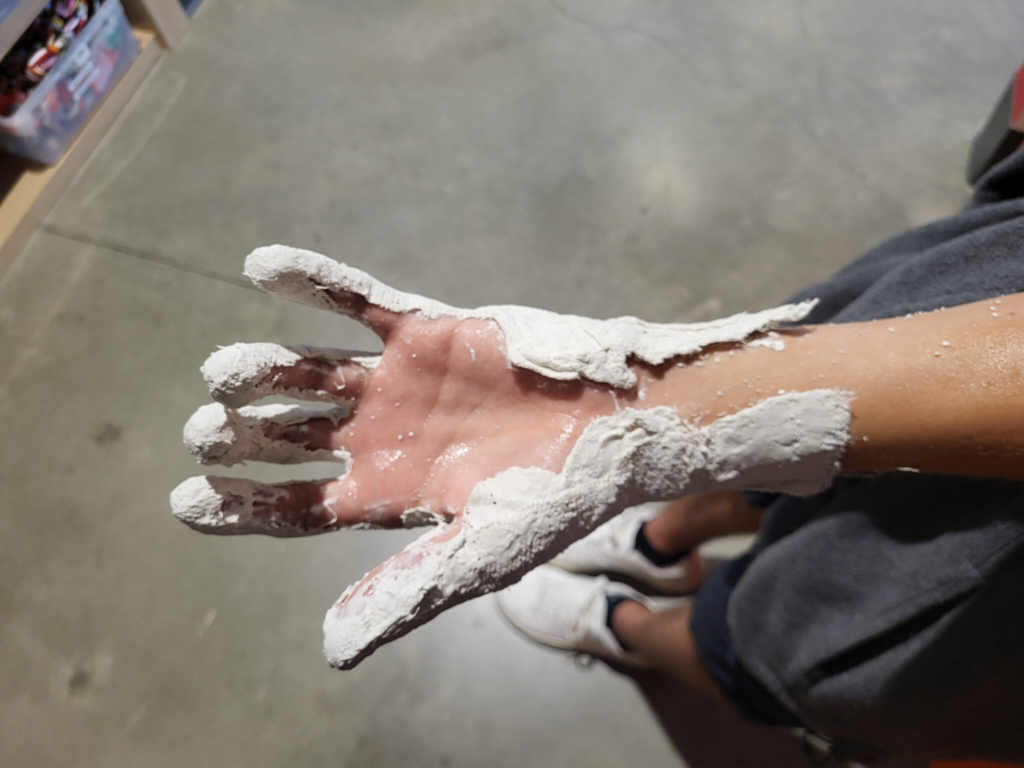
And it slips right off due to applying Aquaphor before casting:
Recall that a Gaussian curvature is a feature of a surface at a point on it’s surface with the expression K = 1/r^2, with r being radius of… lets use an example. Earth and a basketball are both spheres, but they have different Ks. The
Earth (as an abstracted sphere) has a much larger radius than the ball. Therefore, the point on Earth’s surface that I am standing on seems flat to me, because K = 1/r^2 is inverse to Earth’s radius, and so the K is much smaller – less curve. The basketball has a smaller radius, and so every point on the ball has a higher Gaussian curvature than Earth.
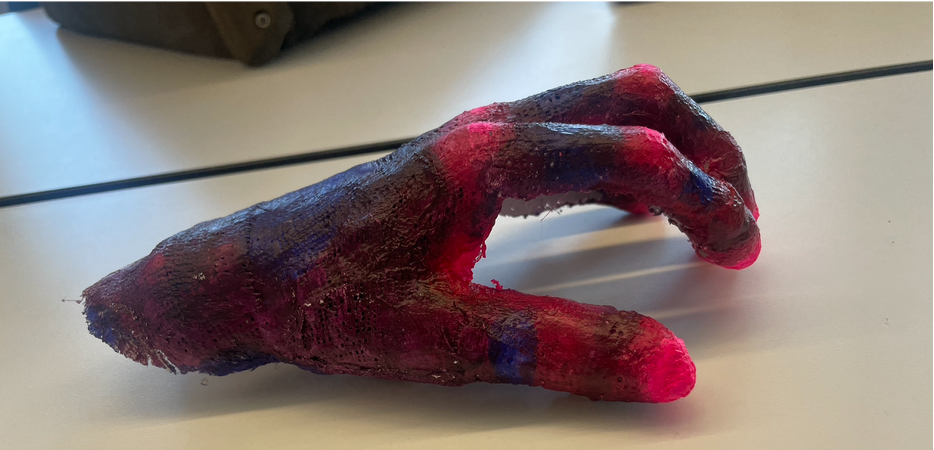
Now, a surface like the hand’s skin does not have a radius. Still, every point on the hand has a Gaussian curvature. The casting of the hand really illustrates that the point on the hand is skin of the hand. See this photo of how we measure this curvature:
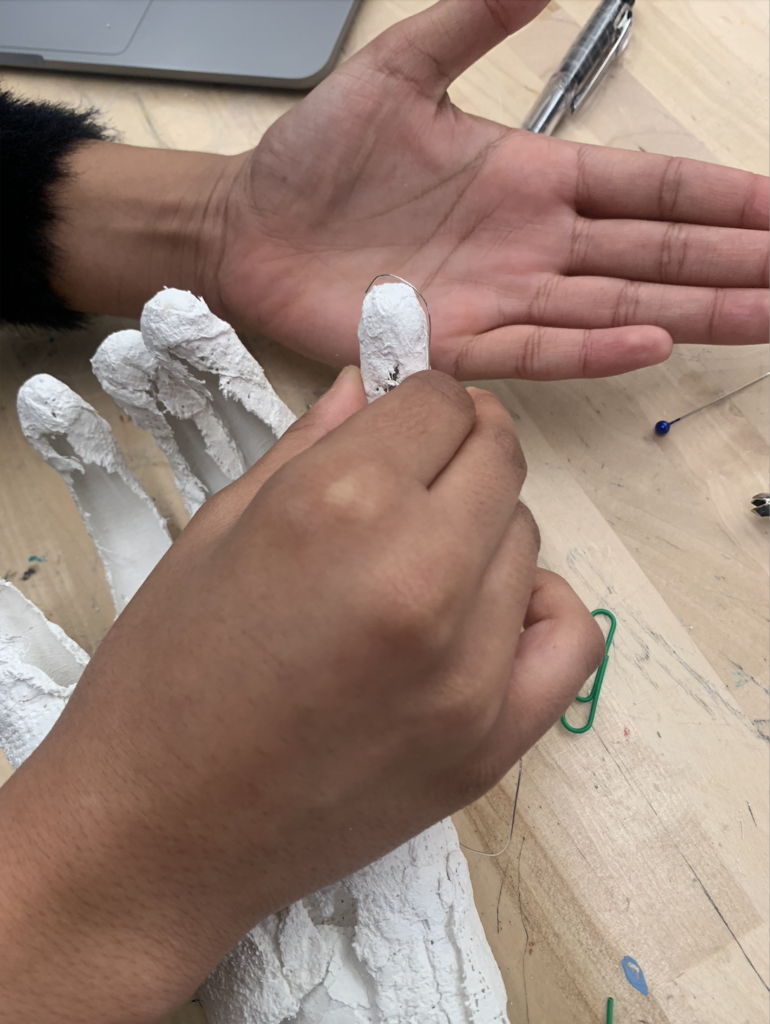
It’s hard to tell in this photo, but I am wrapping wire around the top point of the pinky of the cast. Let’s call this piece that was wrapped around the point we wanted to measure as segment x on the wire. We then bent the rest of the wire around segment x until it seemed like segment x was part of the circumference of a circle. That circle’s radius is the r that we will use for the K calculation for that point.
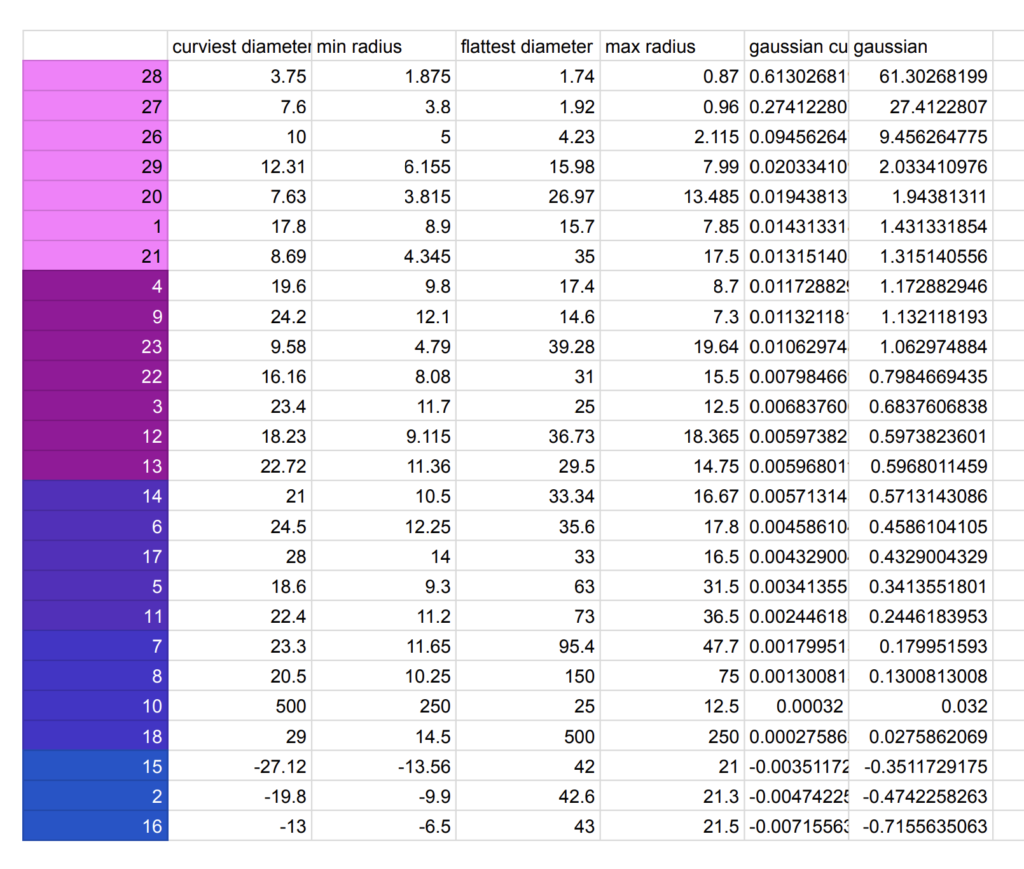
Notice that there are multiple ways to wrap a wire around a point on this hand. The true Gaussian curvature is the average of the minimum and maximum Gaussian curvature. We took that into account by guessing how we could wrap the wire to find these min/max values.
We found the Gaussian curvature for 30 points on the hand in such a way and assumed a gradient between them. We put this color paint on each of the 30 points, and blended them towards each other. These are the results:
Margaret and Adam were crucial in showing me Gauss’s theorems and I had a great time in brainstorming how we could capture the idea of surfaces and curves with casting and paint gradients. Thanks again!
P3: OpenSCAD Modeling with the Golden Ratio
The Fibonacci spiral is a direct visualization of the ratios created by the 2nd-order recurrence relation that is the Fibonacci sequence. The Golden Ratio of 137.5 degrees, is derived from that ratio with B/A = A/(A+B). I wish I had more time to go into the math before starting to build, but I was inspired mainly from John Edmark’s work with this angle in his sculptural pieces. I highly recommend this 5-minute overview of his work: https://www.youtube.com/watch?v=B5p2A5mazEs
We decided to use OpenSCAD to create many designs that would use the golden ratio. Our 3-D models always had a basic building block that were layered and twisted at 137.5 degrees. Let’s look at the cube:
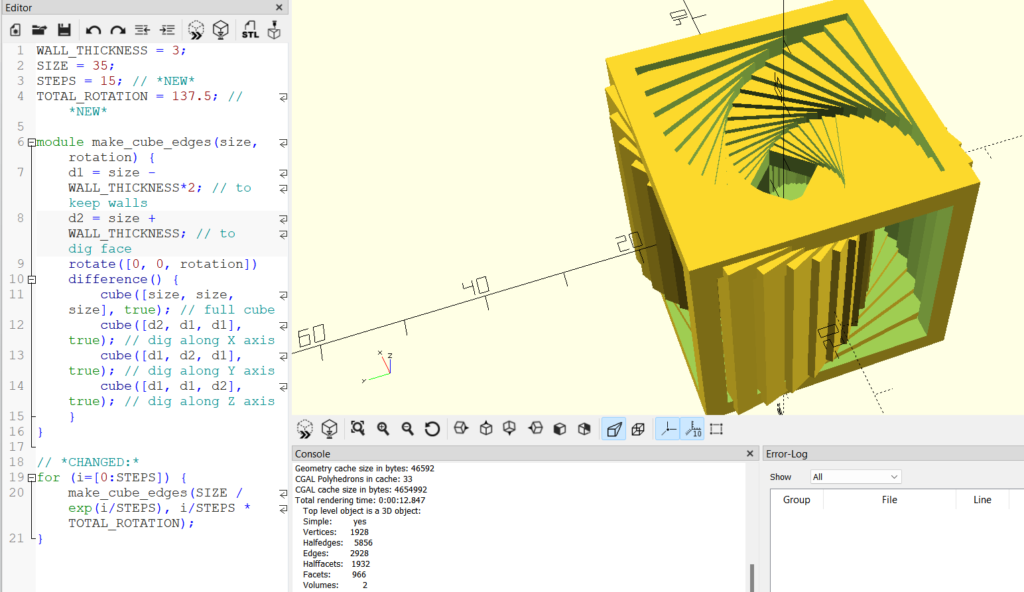
There were two modules defined which used the cubes to carve out the shape of the layer, ensuring that the edges were tapered. There is also a loop utilized in the program that iterates through the specified number of steps (STEPS), each representing a layer of the structure.
The size of each layer decreases gradually, and the rotation angle increases as the loop progresses which embeds the Fibonacci spiral in a cube format.
We started to use the FormLabs SLS powder printer for this, but it was clogged. Still, I had a great time learning how to use the golden ration for sculptural art.
Conclusion
Each of these projects was immersive and comprehensive enough that I got a finished product at the end, but these really scrape the iceberg for how much can be done with the medium or the math. My biggest take-away from Making Math was to approach these projects as if they are just the beginning, and I look forward to building on these projects in the future!
Leave a Reply